Leaderboard


Popular Content
Showing content with the highest reputation on 01/23/2017 in all areas
-
Of course you can but should you? In my limited experience with Alumite, it is not very buoyant because it's hard to add a lot of microspheres to it and get it to mold properly. So you need to be careful in ballasting the lure not to get too much lead installed. Pouring hot lead into a small ballast hole is not the easiest thing to do. And you would need to carefully drill the hole to make sure it will hold the correct amount of ballast and that you have filled it to the proper level. I think it's easier and more accurate to just glue a measured ballast weight into a crankbait. There is also the question of what effect if any hot lead has on the Alumite. I have no idea but unless there is no melting or charring, you will not get a securely installed ballast weight. You'll find out how secure it is the first time you slap the lure on the water. If it can, the ballast weight will break the finish and shoot out the bottom of the crankbait. Don't ask me how I know this!2 points
-
Have you been sniffing your nail polish again? Ben1 point
-
You can get by without a stirring system - but you'll have to keep stirring ALOT, keep your temps a little low, and you'll probably be forced to stick with opaque baits as trying to keep anything translucent or with sensitive flake at temp - and not scorch it - is near impossible without a stirring system (I speak from experience!!!). At first I used my Presto just for black and Green Pumpkin baits without a stirring system - it worked fine - I stirred alot and found I was just constantly "moving" between demolding, stirring, shooting, stirring...etc, etc.... was kind of crazy at times... but then I made a stirring system... makes the process 100x easier. I'd also recommend making/buying a PID controller to manage the heat... the PID and stirring system make the presto pot really easy to use - even way easier than using a microwave. There are a bunch of threads on PID controllers- IIRC I found most of the info I used to wire one up off google... J.1 point
-
Baitjunkys plastic is as good a deal as you'll find. Leonard(Bugpac) will steer you in the right direction for sure.1 point
-
Here ya go les. Millimeters and thousands.
 1 point
 -
Ces, to modify a mold for a different hook, lay your hook in the mold where you want it, close the mold and strike it with a hammer. I always sandwich my mold between a couple of 2x4's to protect them. That leaves an indention where you need to remove material to close your mold. Some people use a dremel to remove that material. I like to use a drill press and clamp with ball end mills and flat end mills. The dremel gets away from me. Do the same thing with wire forms but use the edge of a fine file to cut your grooves with. It takes patience and don't get in a hurry with it. Also, wherever you access the cavity or cavities at, make it a tight fit here or lead will leak out/flow out of the cavity here. It's usually around the wire or hook. I'll try to take a couple photos today of some molds Ive modified so you can see what I'm referring to.1 point
-
GLC is Greene Le Corporation. They are the ones who make Fishingingskirts.com skirt material , weed guards . glcfishing.com1 point
-
Had this issue way back and found it was me. I was using needle nose and pulling the jig out of the mold by the hook instead of the sprue. Also think I was pulling them out too soon. Ensure the lead has set, grab the sprue, use drop out or a good smoking from paraffin and they should be good. Agree, the powder paint and bake will lock them in tight.1 point
-
I use a halogen lamp close to my hooks to keep them heated as I use them. This helps keeping the lead from shying away from the hook. A smidge of super glue will also help if your not going to paint them.1 point
-
The deal with the mid west finesse jig mold is there is only a small amount of lead on the hook. If you read the inside of that mold they recommend using a hard lead, I use a 60% soft lead to 40% hard lead for most of my jigs and it will work for that. You don't need to go out and get hard lead right away, if you can, powder paint the head and cure it at 350 for 15 minutes, that will lock the lead on the hook and keep it tight, that is the best way. Just so you know, this will happen even to store bought jigs from major brands, I have had flick-shake heads come loose as well light shaky heads, there isn't a lot you can do on lighter heads other than paint or epoxy.1 point
-
Note: the afore mentioned pearl white I use is actually called metallic pearl white.1 point
-
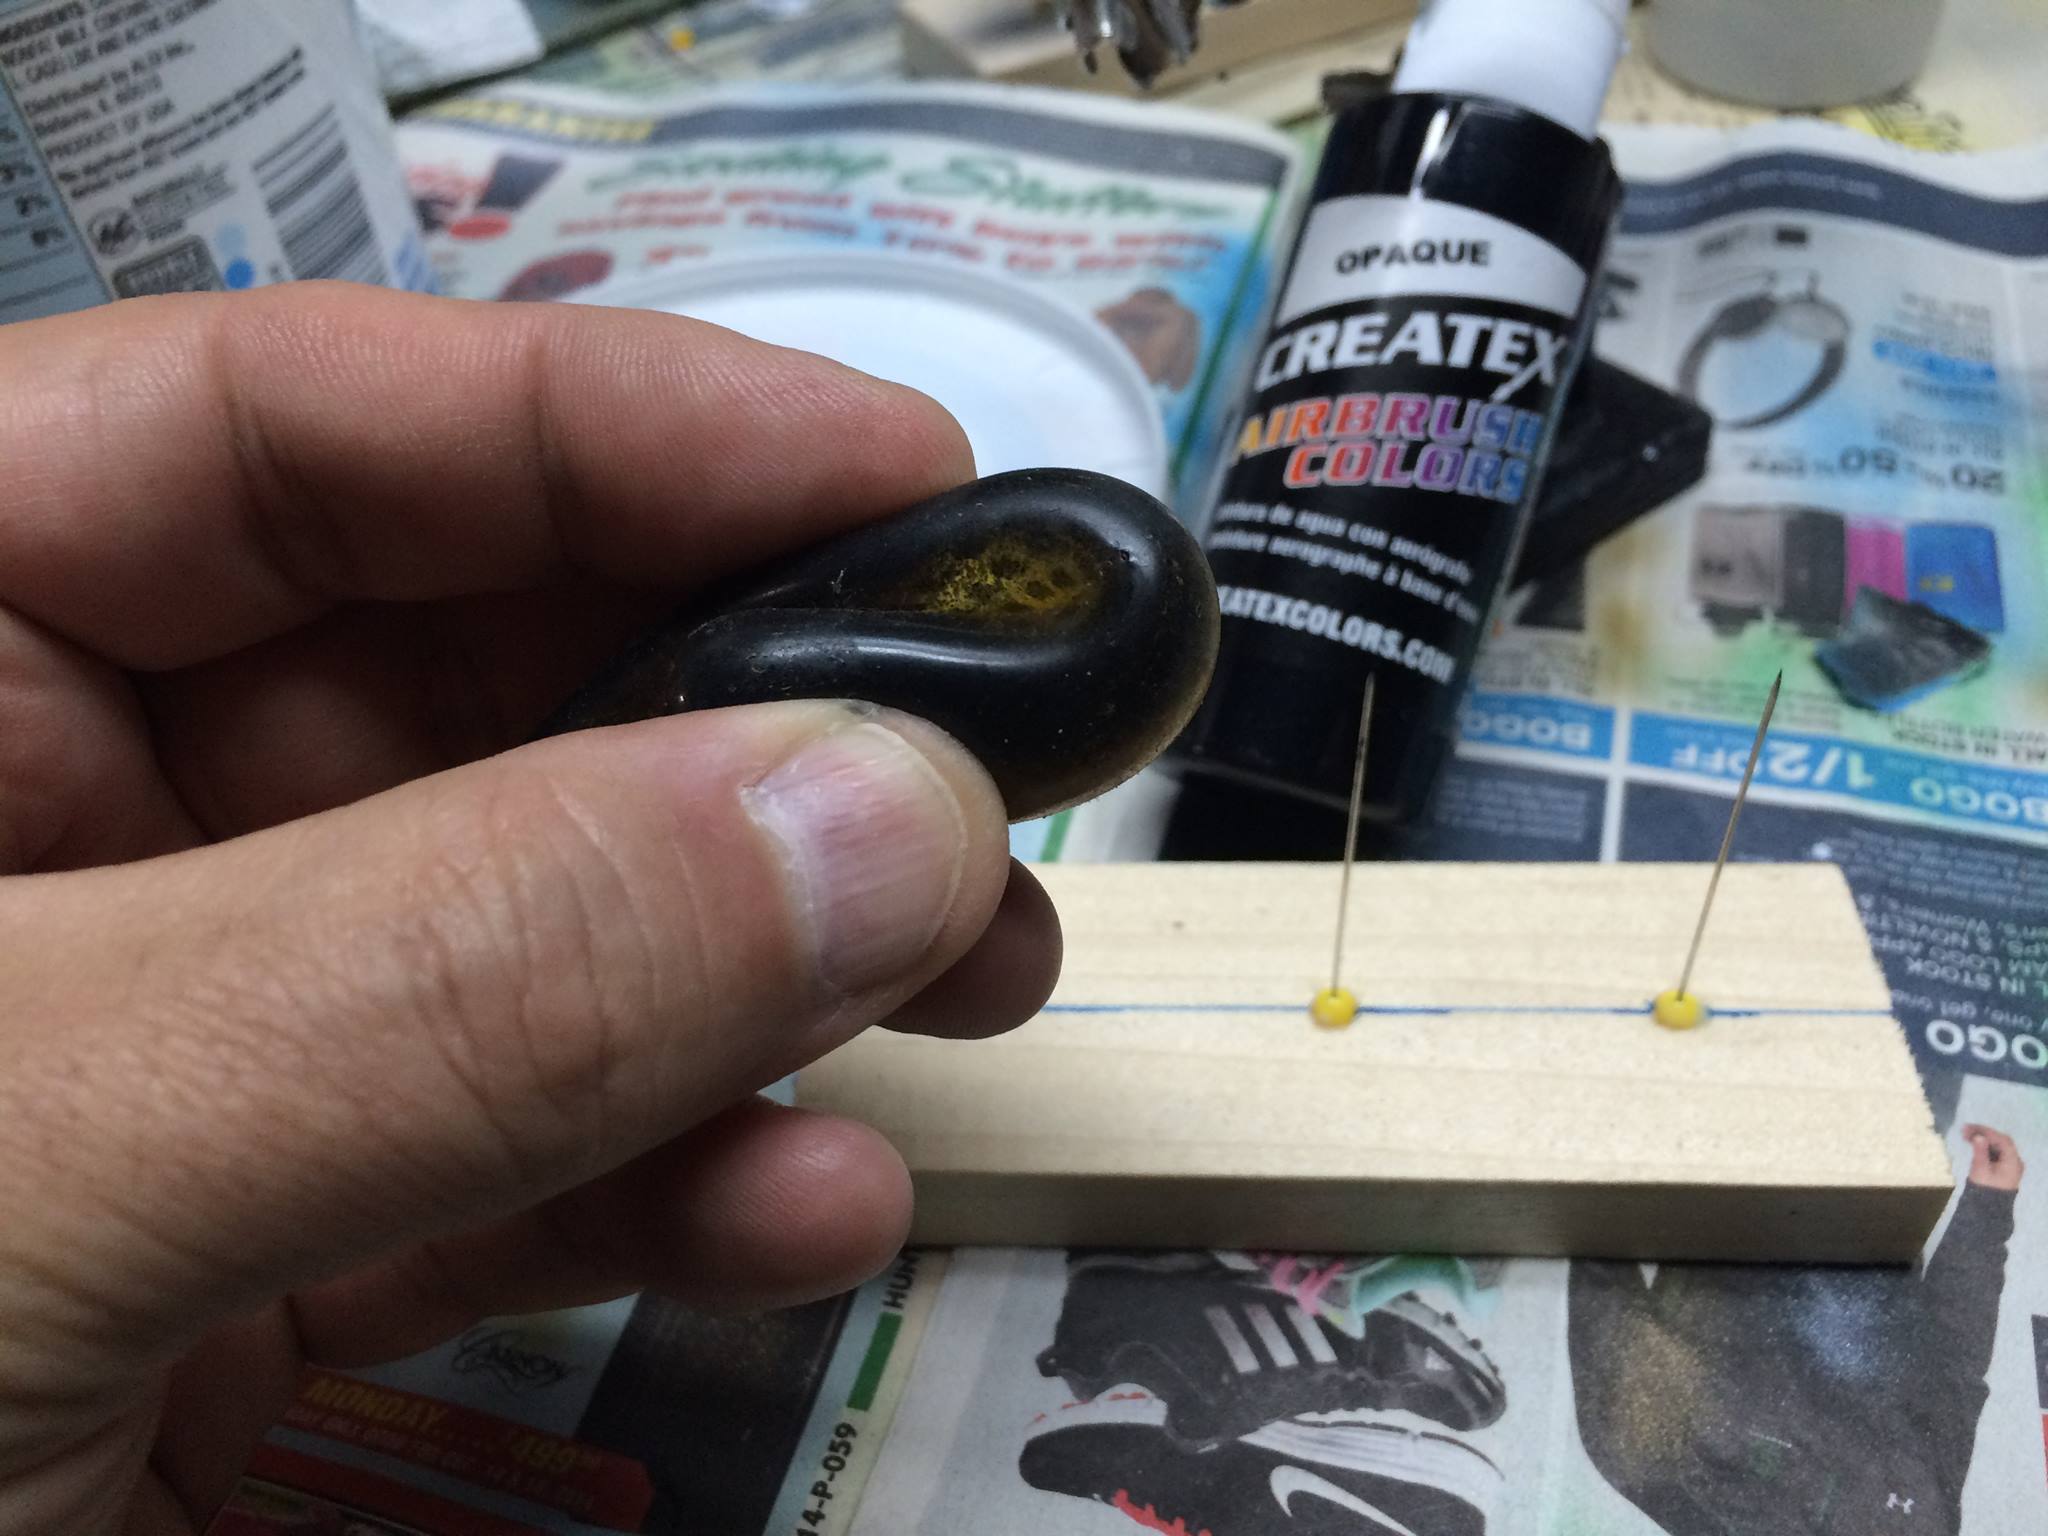
just using regular acrylic paints. using a brush with VERY little paint on the brush, lightly brush leaving just the hint of color. that is called dry brushing. I will usually brush on a piece of white paper to wipe a lot of the paint from the brush until it is leaving just a hint of color before applying the color to the bait. repeated brush strokes will allow you to build the color. when I do the back and belly of a bait I use rattle cans a lot and just mist the paint on. make a hanger from a paper clip and hang the bait from the line tie. then hold the bait at arms length and LIGHTLY spray. just short bursts so you can see the coverage. takes some practice but not difficult. now consider that a clear coat will make the details, in this case the scale pattern, stand out. in the picture I posted the scale pattern was to me too stark. I should have used a pearl white over it prior to doing the rest of the paint detailing. the pearl white lightly brushed on will soften the dark lines of the scale pattern without totally covering it. remember that with brushes, easy does it. you can add paint, harder to take it off !1 point
-
I drilled a hole close to the outer edge of the bottom of the pot. I then threaded it to accept the nipple. I use a half inch ball valve that I thread onto the nipple. It was all sealed with a generous amount of teflon tape. You can get different size tips for the valve that help regulate the stream. I had ti grind the nipple flush to the inside of the pot so as not to interfere with the stirrer. I run batches of 16 to 32 ounce most of the time. I have done 8 ounce batches, but rarely do them. It takes about 20 minutes to get a 16 ounce batch ready to pour. It will hold the plastic at temp for a long time. In any case you want to use it up as quickly as possible. I have not scorched any plastic since switching the pot and stirring system, I think you can still pick one up at Bear's fairly reasonable. There may be others1 point
-
and romans are made in japan, so as vman said the shipping is a huge part of the japanese made tackle prices being higher than the domestic tackle.1 point
-
I don't understand the question. you looked at the pictures I posted?1 point
-
Thanks Bassducer. I do have an infra red thermometer but unfortunately do not have a stirrer. I will have to make do I guess with stirring by hand at this stage. I have a 3/8" ball valve ready to go but was wondering how I would fix it to the bottom of the pot. I have a 3/8 nipple ( I intended to cut in half ) for which I was to drill a tight fitting hole through the base of the pot and to screw that into the ball valve. My concern is that there may be leakage from the joins particularly at the base of the pot.. How have you done yours? What do you think is a reasonable amount of plastic that can be heated and held at pouring temperature at any one time and an approximate time it woud take to get to pouring temperture.1 point
-
Roman Made Swimbaits Check this out. http://www.tackletour.com/autopsyromanmademother.html1 point
-
http://stores.jacobsbaits.com/dropshot-goby-3-6-cavity-mold/ closest at I can find. Everytime I see that bait/shape my mind wanders.....1 point
-
You wont find any better pricing or service on stainless steel lure wire than this guy. Ive been using him for the last couple of years to get my spinnerbait and Arig wires. Hilma & Edgar Salguero on Ebay Auction ID is edgara1106salguero edgara1106@yahoo.com Speedy service, no shipping, quality product and never any hassels.1 point
-
First of all, I don't fish large swimbaits. But I've heard of Roman swimbaits on the internet forums and blogs and they have a reputation for catching fish in California, where those babied trout-fed behemoths roam. The bottom line is always - Do they catch fish? if they do, and big ones, and have built a reputation for doing so, there are guys who will pay almost any amount of money you can imagine for them.1 point
-
Columbia coatings has a shimmer candy black. 22 bucks a pound. Use their search tool to find it. They also have a candy black translucent.1 point
-
Hello MarkNY I build lots of glide baits and most of the really good stuff I learned it on this site. I use PVC deck board and it works really good, but because I make this for muskie fishing I use hard wood dowel pins for the tow line and hooks, most muskie guys builders use hard wood like maple, oak, beech and a all bunch of other hard wood. What it makes the bait glide is the placement of the lead in the belie of the baits, for example on a 8 inch bait I will install lead at about 1.5 inches from the front and the second lead about 2 inches from the back and it can vary. Initially when I start to weight a bait I will have all my hardware installed than I put the bait in a vertical beaker full of water than I start hanging lead from one the tail hooks until the bait starts very slowly start to sink at that point I know how much lead I need and it's a matter how fast you want to sink, for me I like really slow sinker, once the total ballast is known now I use the kitchen sink to distribute the lead at the two belie holes where the bait is sinking level, you can also use a large clear plastic bin if you need more depth. Another tip you can make lead molds out of hard wood to pour the lead that you need for each hole, than insert them in the bait. Once you get started you get all kinds of ideas to lead the baits, I made bunch of different lead baits with a wire hangar from a few grams to 20 grams and I use these lead weights to figure out the amount of lead that I need for a particular bait, note the vertical beaker it's almost a must, I have two the bigger is 3 inch by 21 inches tall. Here is a website that has a nice page on building baits including glide baits, the site name bustingbass .com Hope this helps, if you have any question I will be glad to help Gino1 point
-
You can never go wrong with medium which in most cases will give you good action. Soft if you want a lot of action but durability will suffer.1 point
-
I agree with Mark. If I was going to work building and selling baits, I would want to clear a minimum $25ph. With the cost of postage from my location this would price my baits out of the market, so I stopped that idea before even getting started. This is why you will never find a Vman lure out there, I build for my own entertainment, I don't even give them away. Even though I know that $85 for a swim-bait is entirely justified, I would never feel justified parting with that much money for a bait. Dave1 point
-
Here's a facebook li nk to one of the best swimbait fishing teams out here on the left coast: https://www.facebook.com/search/top/?q=tacticalbassin glide baits They have a youtube site with teaching videos, and they're all free. They recommend the River 2 Sea S waver as a economical glide bait that works really well. I know it does for me. I used to make and sell jointed swimbaits. I had it down to 3 1/2 hours per bait, start to finish, and then another day for E tex top coating on the turner. That was making them in batches of 6 at a time. If you take 3 1/2 hours, and multiply it by the wage you need to make, like $25/hour, you can see that charging $100 for a hand made jointed swimbait is not that big a stretch. If you don't feel like you're getting a fair price for your work, you'll wind up resenting it every time you go to make a lure for sale, and that will kill the fun of lure making. It did for me. I only make cranks and smaller baits now, and only for my own fishing. I like trying to figure out why a bait works the way it does, and trying to improve on them.1 point
-
I could help you out on this one. In the winter time I make sure the Twinjector is warm including the block. The mold you are using should be a little warm to. Get both colors as close to 300-310 as you can. Make sure all things are in a place so when you fill the mold you won't have to wait. Remember when you hesitate the temp is dropping in the Twinjector. Fill both colors at the same time and move immediately to the block that should be on the mold. Now slowly push down the Twinjector. Slow meaning you see it move and more important you see it stop. Lift the whole unit including the block to the next hole and so on. Never push to fast on a nose pour swim bait. Most of them have a narrow gate and if you push to fast you will make it spray both colors into the mold. With a nose pour the mold will fill from the bottom up. And then at the end give it a quick push this will force out unwanted air right at the nose. And also fill out the tail. I don't know what you are using to get your temps but they need to be within 10 deg. If you want a swim bait with a nice color separation it needs to be 310 or below. Some colors can be challenging and you have one of them now. Any color with white can be a challenge too. Your senko mold is one of the easiest to get a laminate I have a few videos on you tube that show how I do it on a much bigger scale. Look up franksrooty2.1 point
-
Benno, Welcome to the Frey. My pots have a stirring system witch I thing is essential if not mandatory, I pour in raw plastic, start the stirrer and let it get up to temp. Then general consensus is to get it up to 350 degrees Fahrenheit then lower it to around 320 to 330 working temp (this can differ according to your plastic). A good infra red thermometer comes in handy at this point and the stirring system keeps thing moving and allow for more accurate readings. It also works out any bubbles and helps prevent hot spots while maintaining any additives in suspension. My pots also have valves so I can pour directly into a mold or fill the injector from then. I can also stop the stirrer and fill the injector from the pot. Hope this helps and I'm sure you will get a lot of information.1 point
-
First of all, use a sharp blade and go slow. Any skil saw (that's all a compound miter saw is) can grab and jam the work piece, which puts your hands in the danger zone real fast. Just be sure and leave enough wood uncut in the joints so you don't get any sag, which will cause binding and throw back. Not a good thing. When I made multijointed swimbaits, I cut the joints on the table saw while the bland was still rectangular, so it was fully supported by the saw table. I use a band saw to cut joints now, or just a dovetail saw in a wooden miter box. In jointed baits, close counts. It doesn't have to be perfectly symmetrical to work.1 point
-
If you make a prototype with several different line tie options, you can get a feel for what will work for whichever shape/lip combination you want to build. Use sst screw eyes, and allow for the additional weigh of the extra screw eyes. If you use sst screw eyes, you can try a line tie position, then remove it and relocate it and try again. That way, you don't have to allow for the extra screw eyes' weight. Just seal the old holes with crazy glue before you test swim your new locations.1 point
-
Lip size (and to a lesser extent shape), lip angle, the location of the tow point in relation to the lip, the amount of ballast, and the location of ballast are all factors. Building large batches of baits allows you to isolate these factors by playing with them and keeping notes. In other words, trial and error, with an unfortunate emphasis on error. Most folks don't get it perfect right out of the gate, I would say you are doing very well. Symmetrical profile is important too. You may be able to adjust a small amount by "tuning" the line tie to one side or another, but starting with a bait that has bilateral symmetry is very useful. It looks like the bottom alewife type bait has a little more meat on one side than the other. It will take water a longer time to go over the big side than the little side, so the bait will tend to blow out towards the smaller side. Try establishing a LOT of construction lines on your bait when you are carving, and get a contour gauge if yo don't already have one. That looks like maple... Is it? Maple is somewhat denser than other woods used for bait building, and because of that you can't ballast it as aggressively. I also think dropping the tow point towards the bill could help.1 point
-
If we have craw worms that are black with blue claws why couldn't we have a cat that's black with blue paws? Nice booth by the way. Ben1 point
-
Maybe even some fire tiger stripes1 point
-
Gouge the setting hole a bit. Red loctite. Ive done it to several del molds. With the .002 pins from mcmaster that is.1 point