Leaderboard


Popular Content
Showing content with the highest reputation on 02/04/2018 in all areas
-
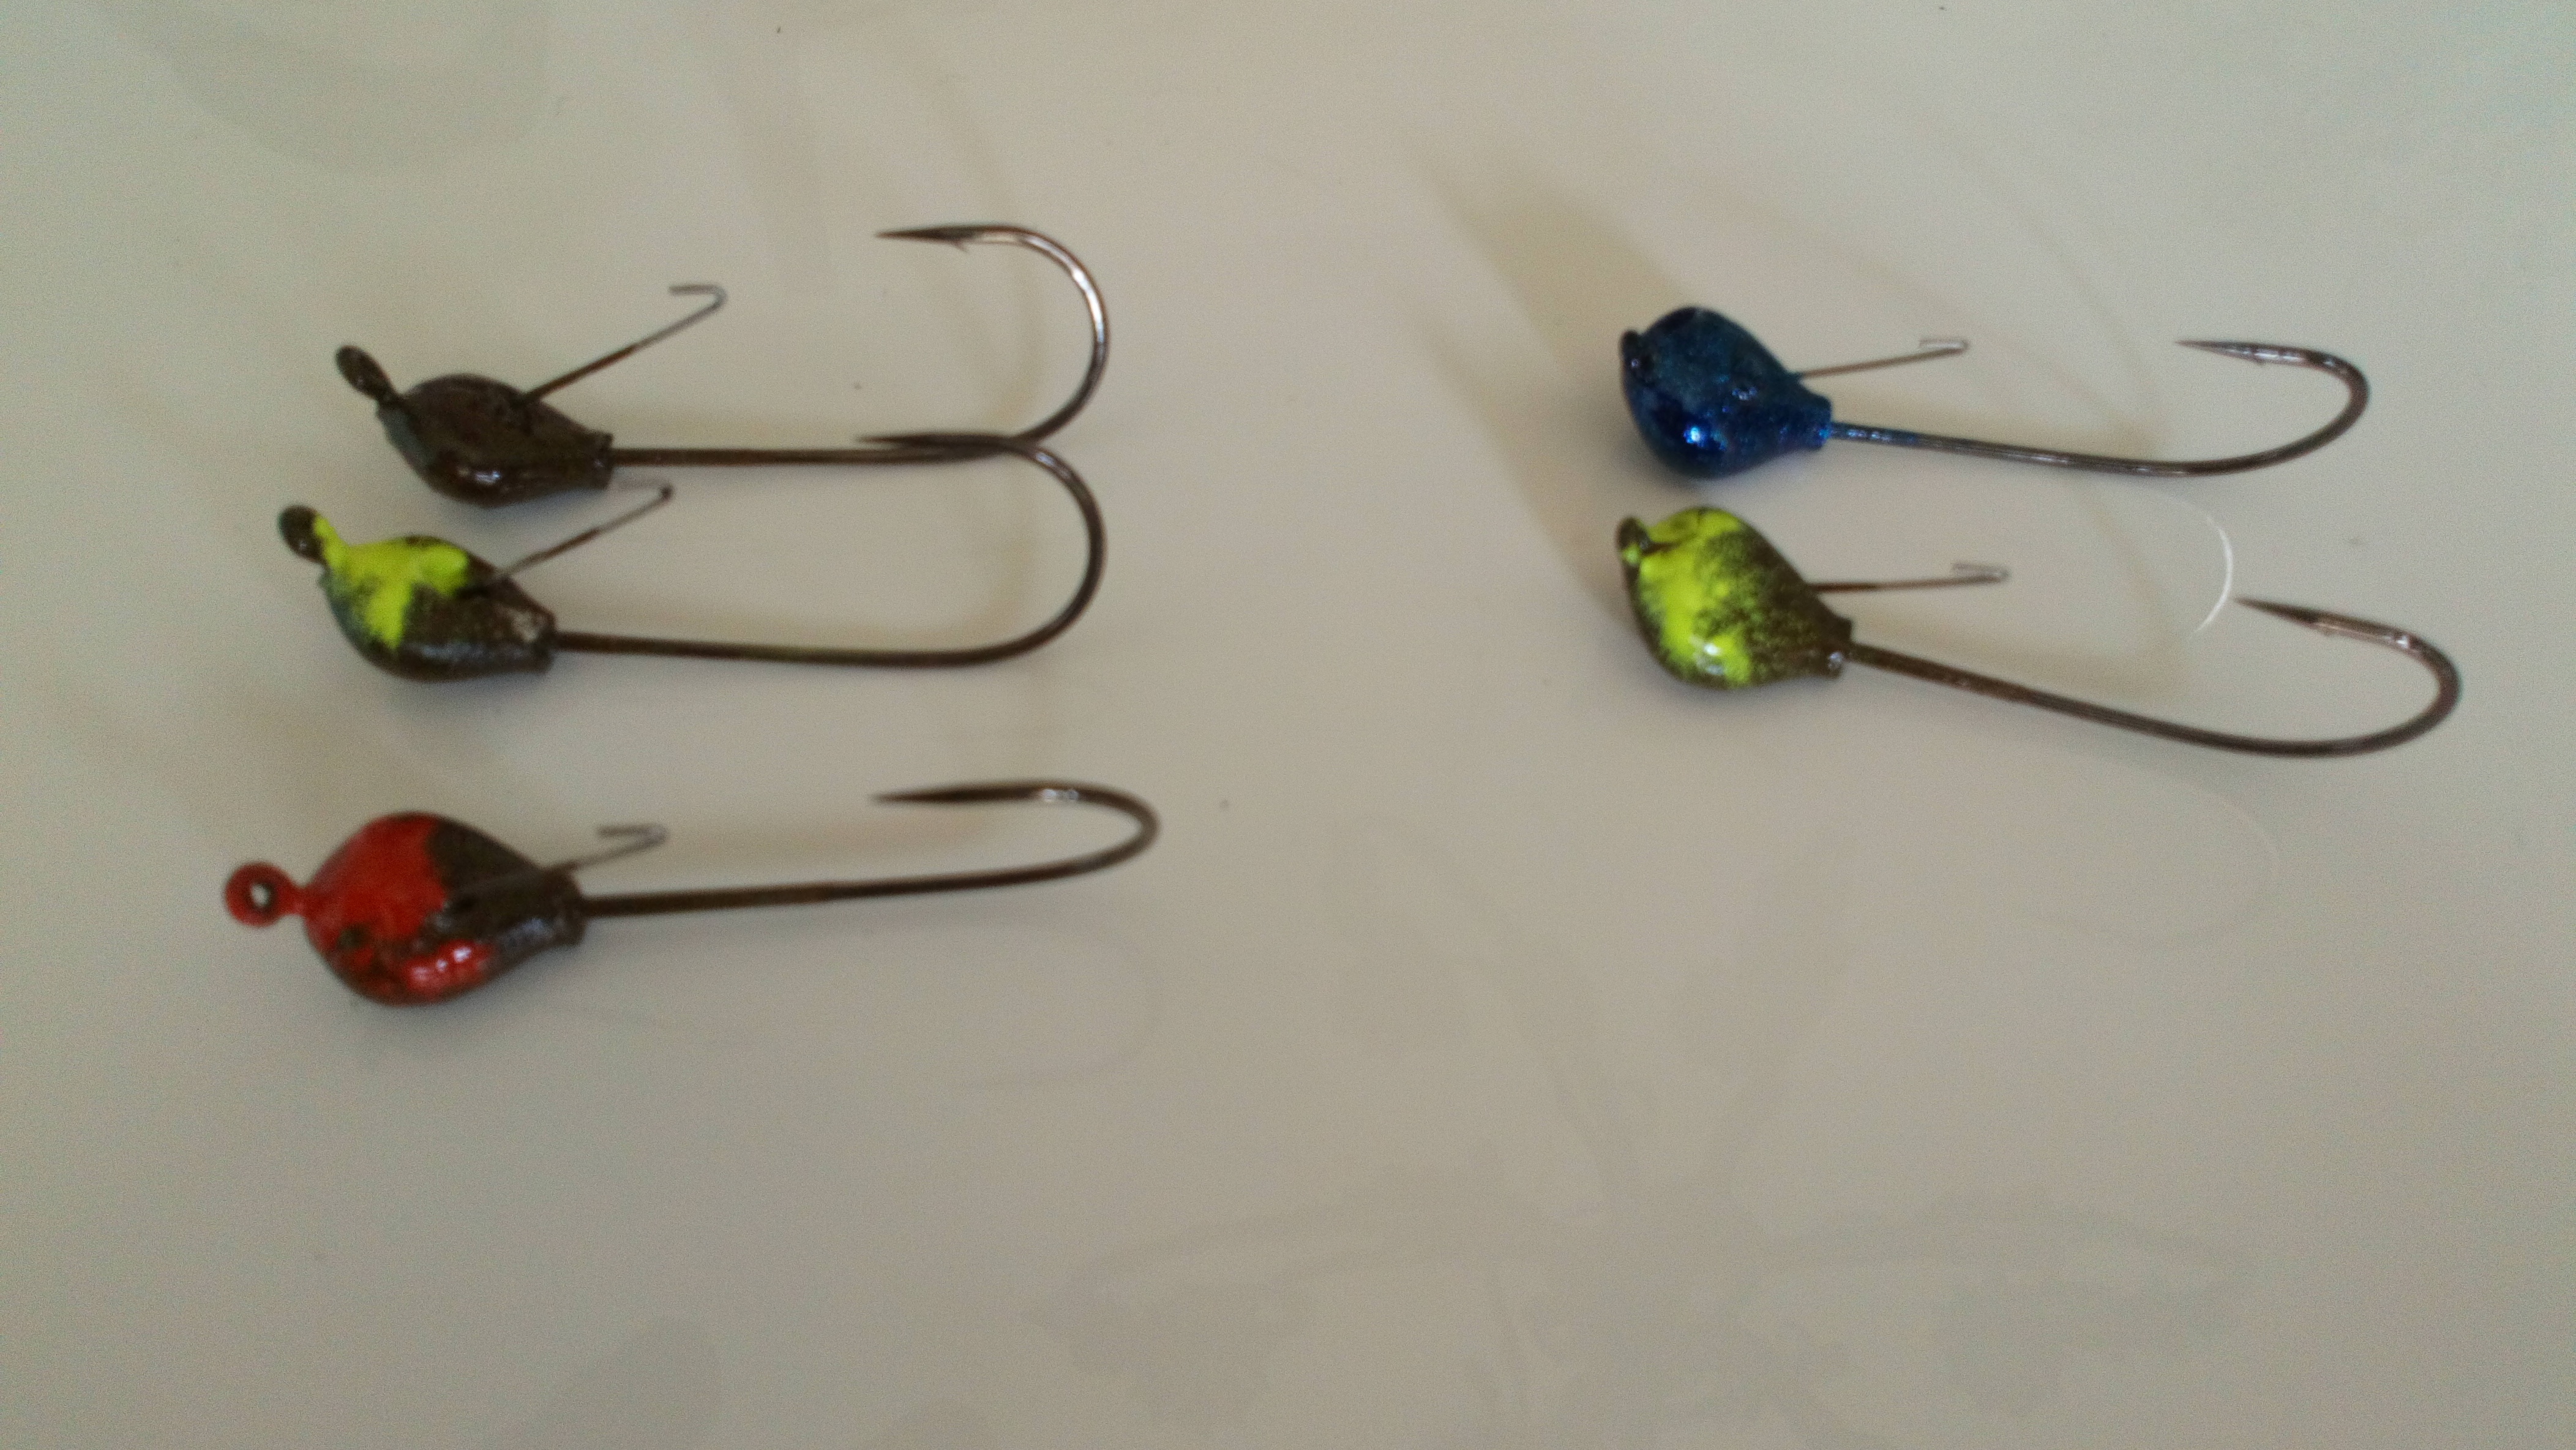
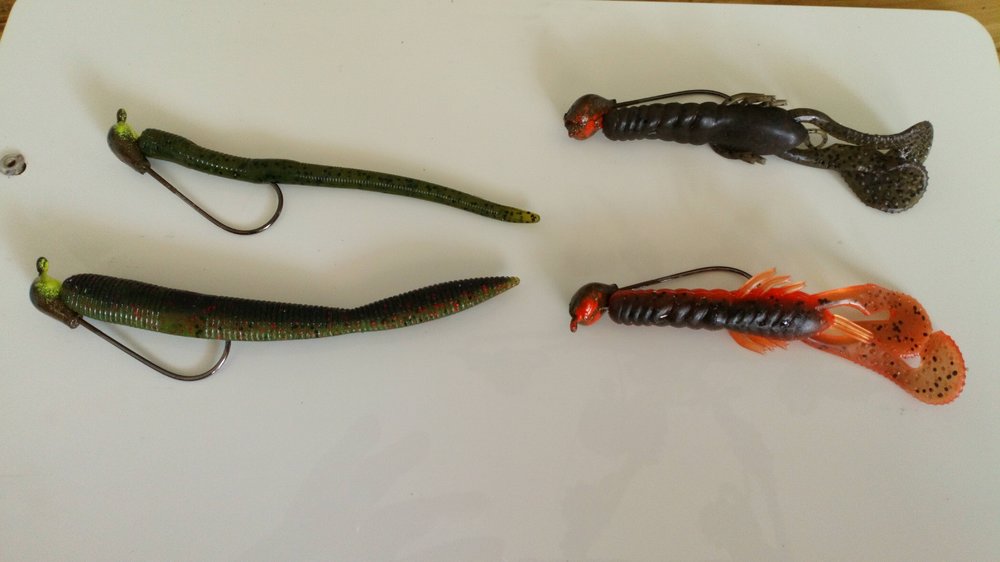
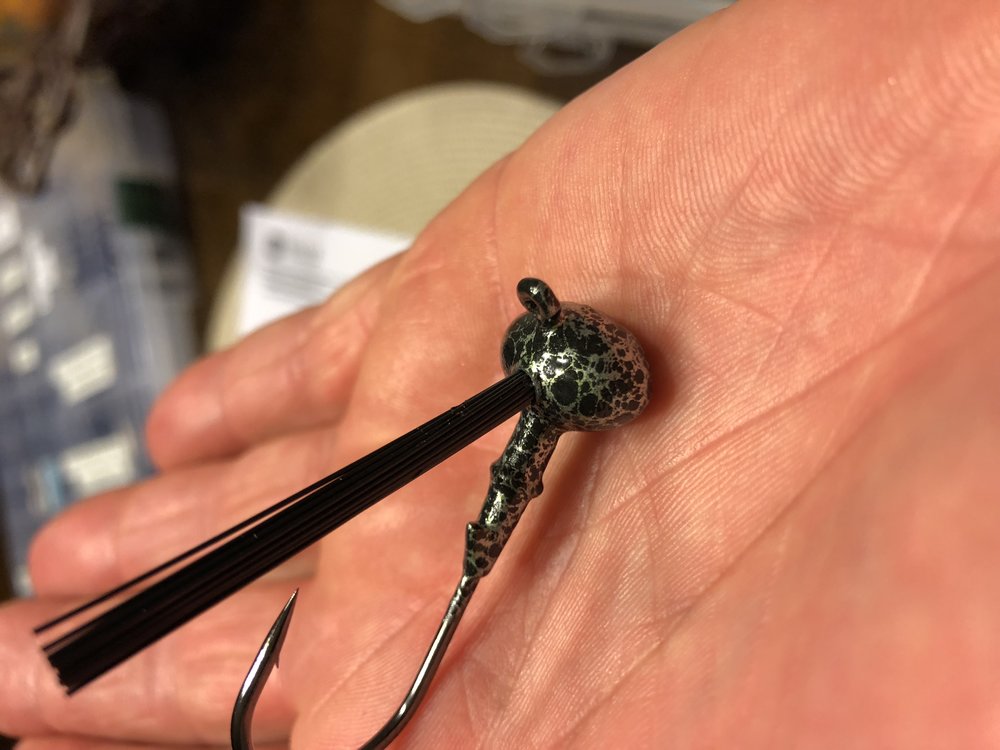
Been working for a while to figure out a shaky head that works well in gnarly rock, wood, and sparse grass and also Zman friendly. Love their baits longevity and bouyancy but don't play well with a lot of shaky heads. Came up with this using a modified s-bass head.
 2 points
 -
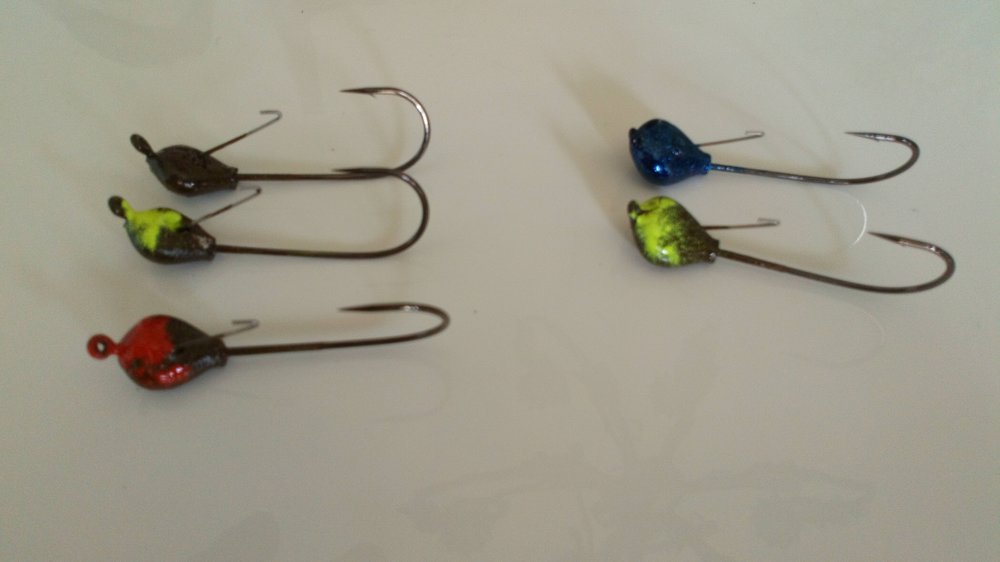
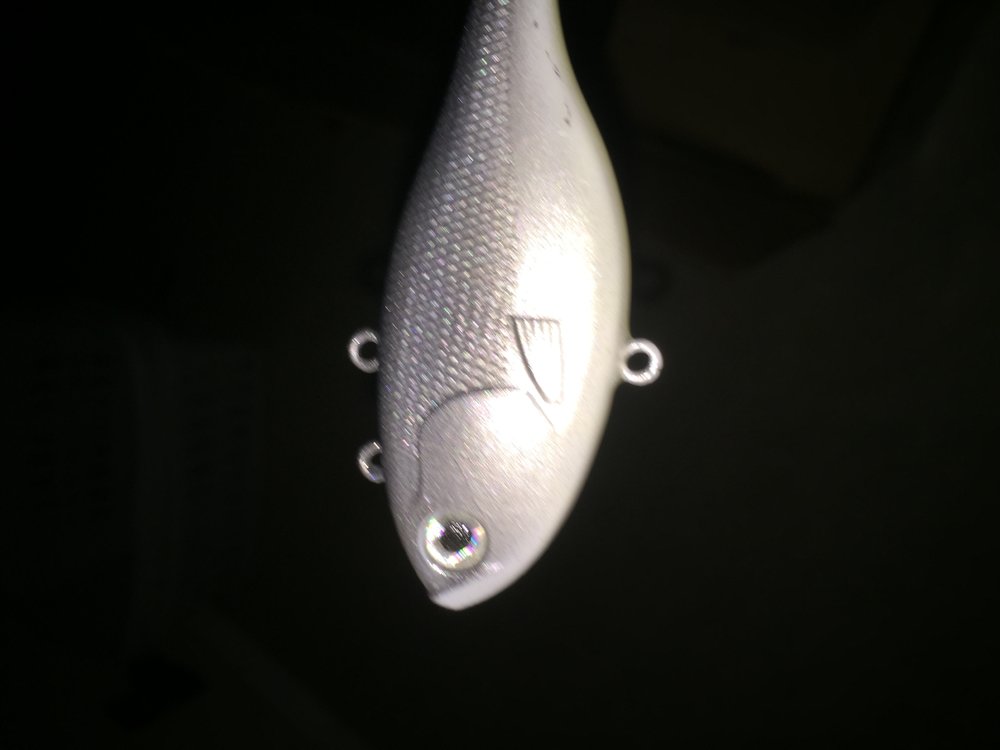
First try at using the Boss powder paint line. This is the illusion series of powder...seems to work well in my fluid bed with both steps.
 2 points
 -
Having the same issue, I followed Cadman’s advice. Perfect outcome. I would add that I respray the mold release paint from time to time.2 points
-
Thanks everyone for your opinions and guidance. Mark, no issues so far with scale mixtures after doing 4 - 150-160gm application sessions. Coated 26 baits. Chuck, I'll get some of those brushes for doing the bills after the finger rubs. I do like the result of a bit thinner coat that I can "feel" as I apply. I'm shooting another batch of 30+ underwater buzz baits during the next couple days and I'll post honest finishing results either way.2 points
-
Precision lures in Arkansas2 points
-
Check out Hughsey's link. At the 4 minute mark. I said stamp but pad printing is the true term I believe. Stamping use the pad printer head. The stamp/pad (silicone typically) presses down and "picks up" the paint/ink that has been left by the squeegee/pad (flat disc in the video that works similar to silk screen) then deposits onto the lures when loaded. Very common process in various industries.2 points
-
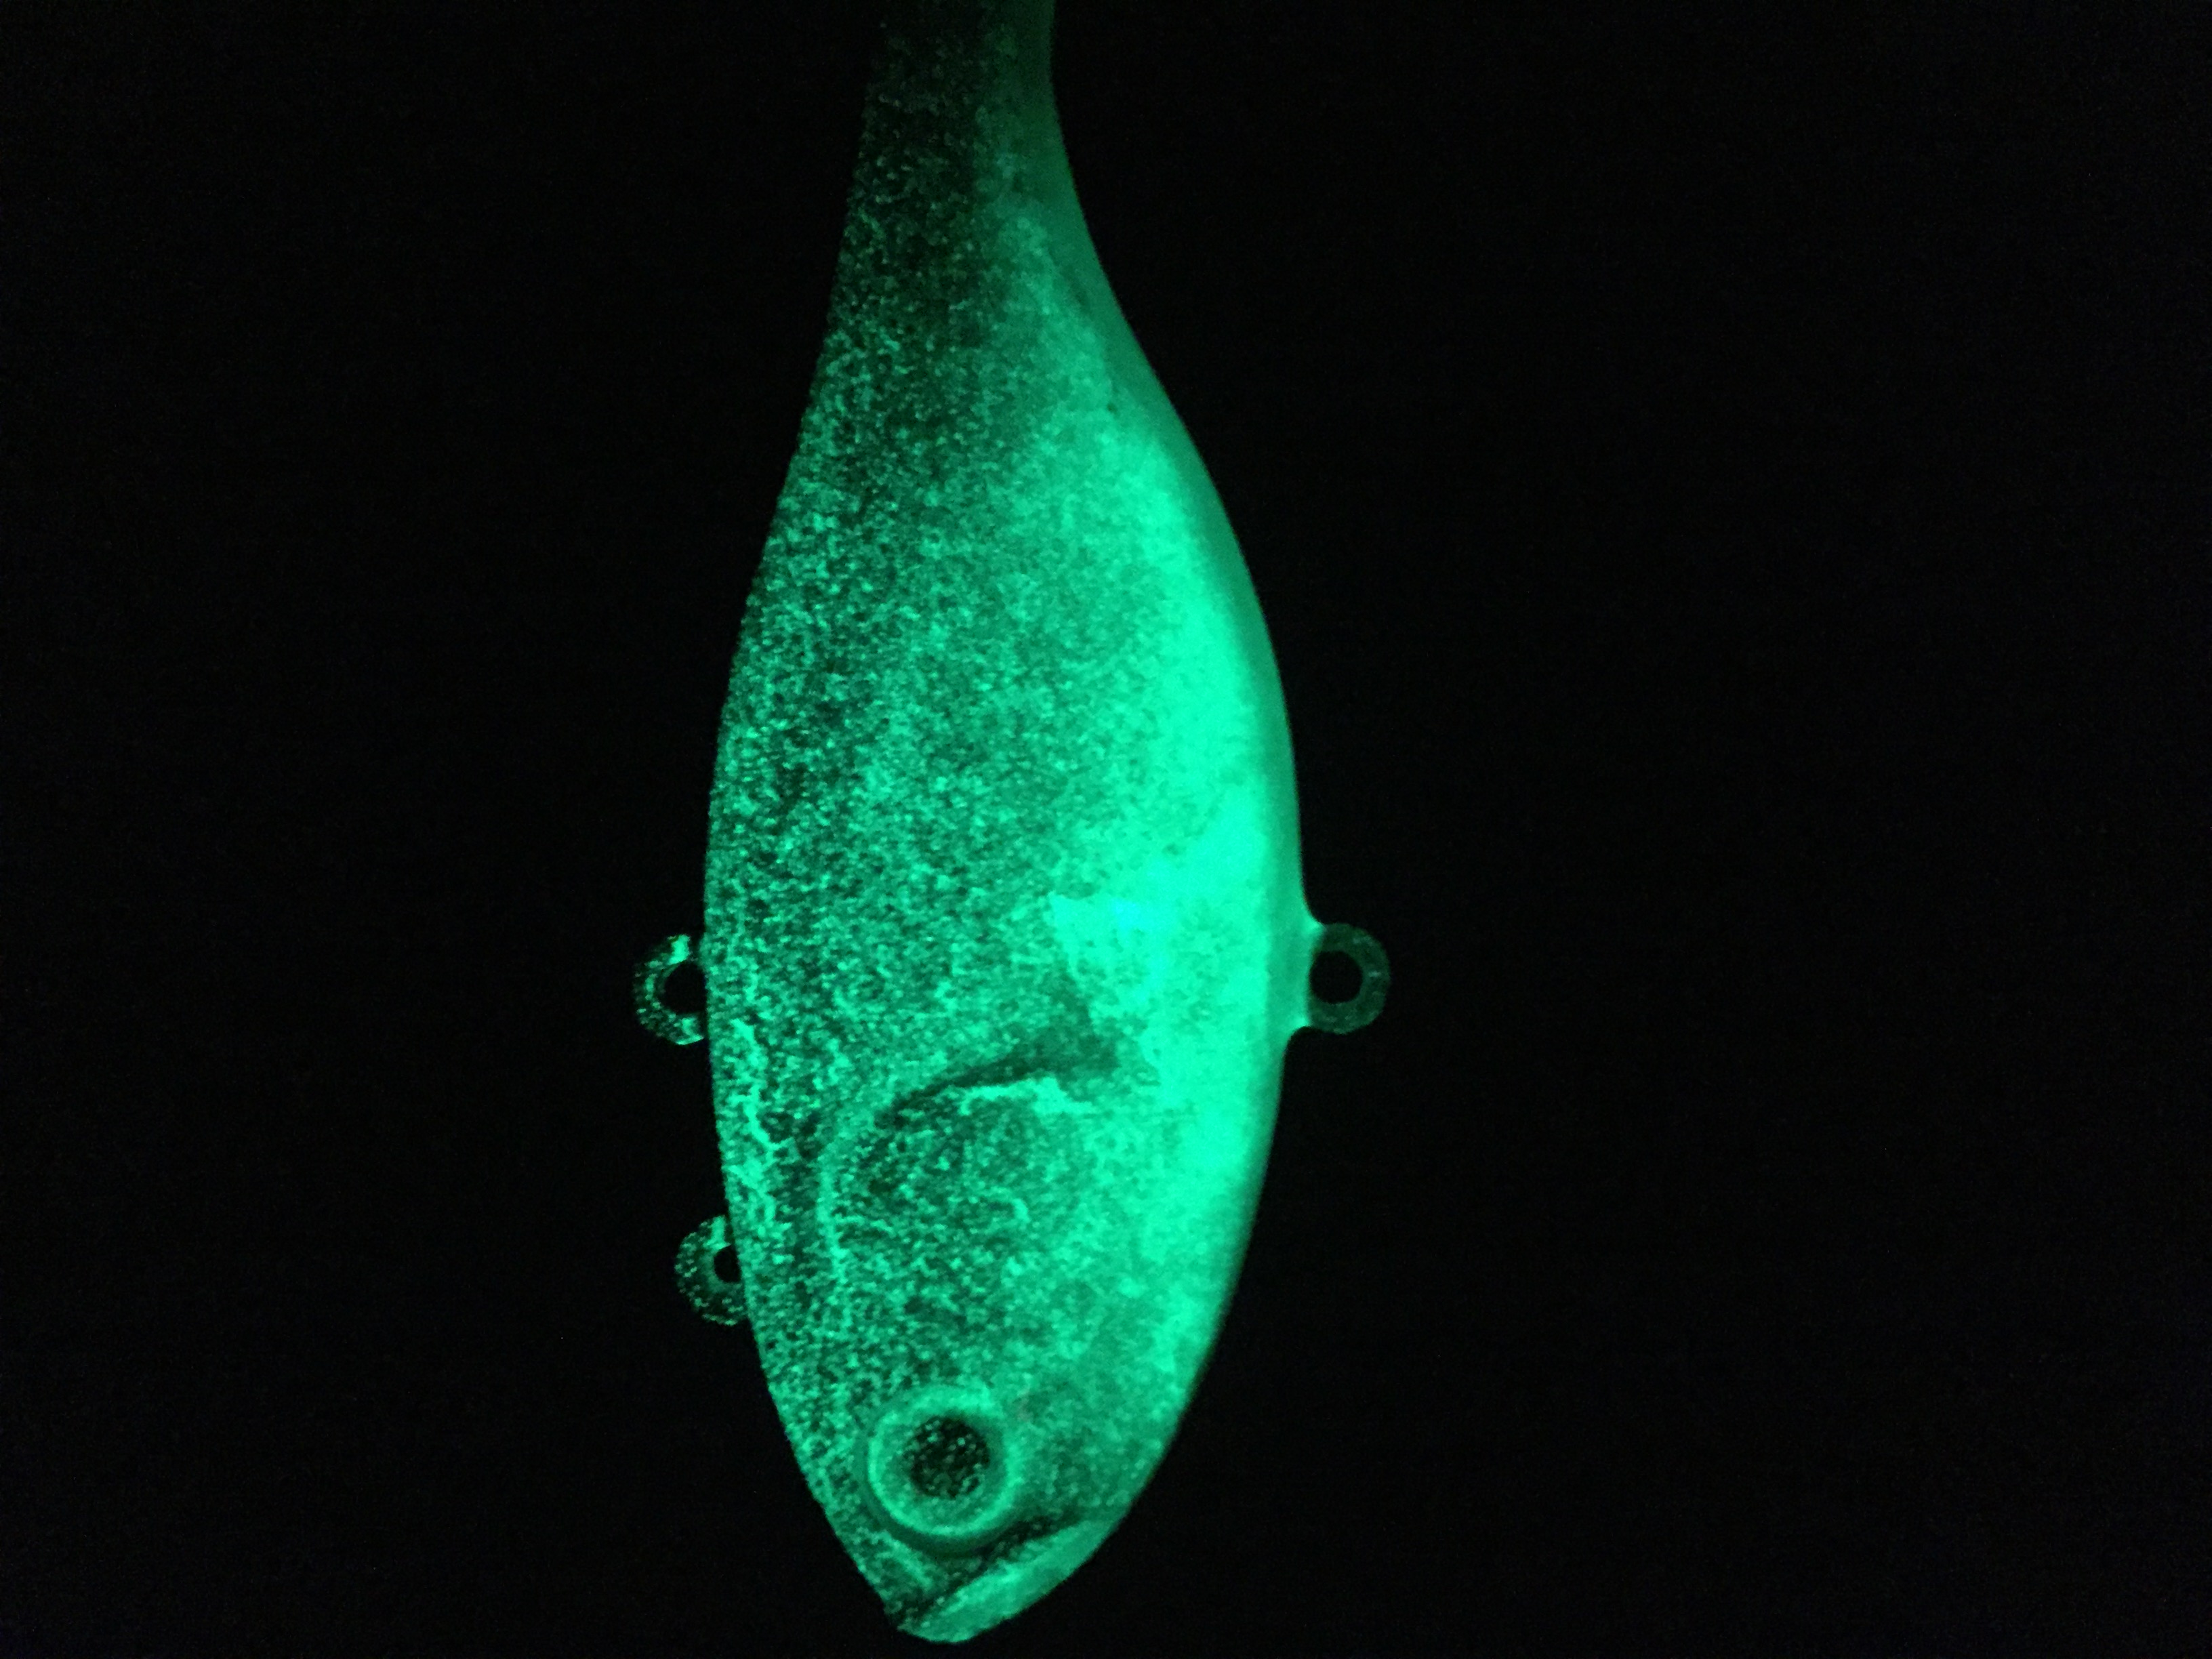
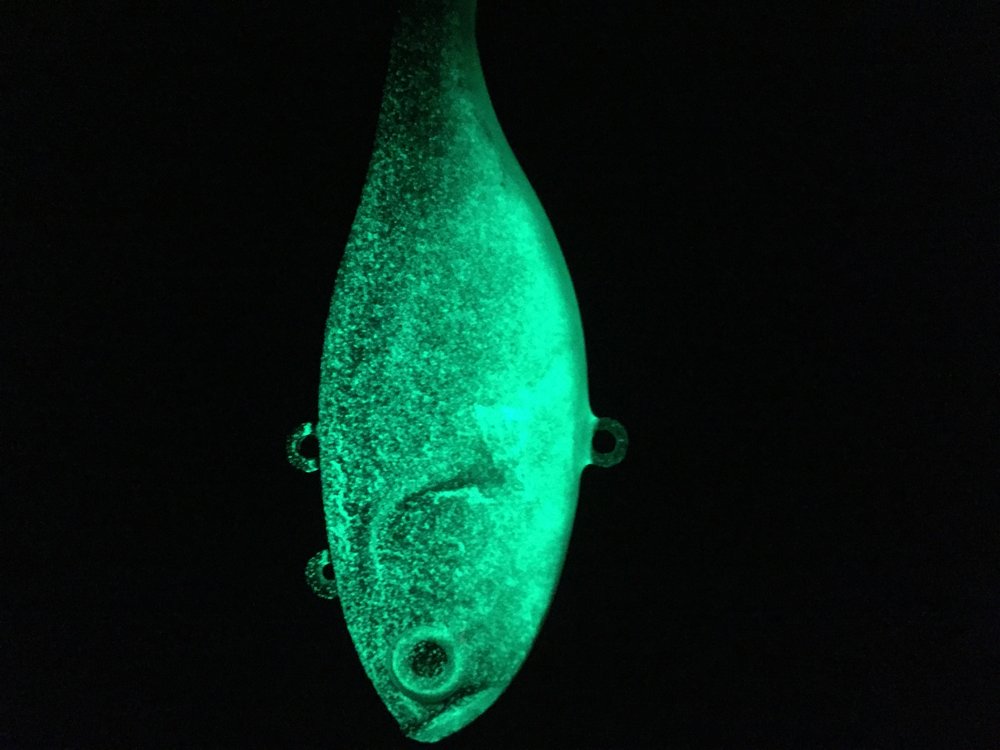
So I played a bit, I had some white powder coated jigs and I mixed up some e-Tex and the glow powder. If work but I should have used the 1 part, 1 part and 1 part powder that smooth on recommend. There was not enough thickness to have an over all glow. But they will work. I also put some on a rattle bait I had on the spinner, base color does seem to matter. its too cold to work in the garage with the door open, so once it warms up I will shoot some soft plastic
 1 point
 -
Hey Smalljaw...i have done a couple dozen so far. I bought a few of the different top coats colors and will be trying those soon. All of the ones i made vary slightly with different degrees of color on the top coat. For the most part though they look pretty similar. The base coat if very heavy powder so it didn't fluidize much but i figured it wouldn't hurt to leave it in the fluid bed. Most of the color separation happened in the curing stage in the oven. Seemed like the hotter spots in the oven yielded better results. I took the photo with my iphone then uploaded it to my Mac...1 point
-
As for applying epoxy with a gloved hand - please excercise caution. A gloved finger can act as a squeegee, resulting in thin or even dry spots. That lure looks great! But one lure is not a guarantee of future success. A thin, fine. but wider brush is speedy and much more consistent. Try thinning out a 5/8" fine hair brush. When you get it right, you can clean it with denatured alcohol and reuse it hundreds of times. The right tool allows us to do a better and more efficient job.1 point
-
Hopefully this works1 point
-
When prepping a bait that has a good coat of paint I scuff the finish with a Scotch Brite pad until it is uniformly dull, if the paint is damaged then I'll take sandpaper, usually 180 grit or 220, and remove the finish completely. It can be tedious work but good prep leads to a good finish1 point
-
This is done at the factory with an egg silk screen machine. You can see it done on this video a 4.091 point
-
soda blasting.1 point
-
I cut a couple of slots in the back of the lip and also sand the hidden part of the lip with my Drexel. I use Rod Bond epoxy Paste to glue it in. Pack the slot with epoxy and push in the lip. Wipe off the epoxy that squeezes out the back of the slot. You don’t want a slot that is too tight because epoxy has a minimum film thickness for strength. I like the epoxy paste because it’s strong and has a very long work time, well over an hour, that lets me fiddle with lip alignment. It also will stay in the slot and not flow out.1 point
-
Painter1, For the stand to work properly, you need to insert the flashabou so it cascades (for lack of a better word) over the edge of the stand. For flashabou, that means inserting the wired end into the hole on the stand. For flashabou accent you should insert the zip tie around the center. Here are a few pics that hopefully explain what I mean: Hope this helps. If you're still unhappy with the stand you can PM me and we'll arrange a return. Good fishing! -Matt Barlow
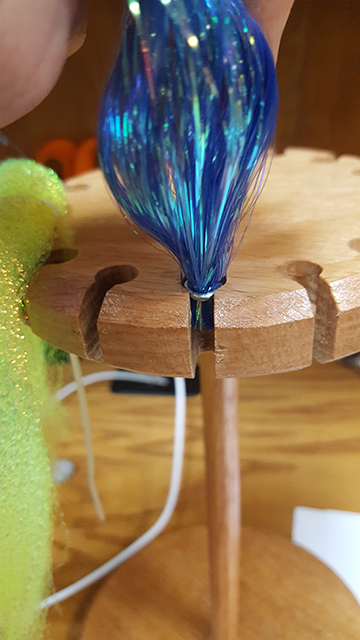
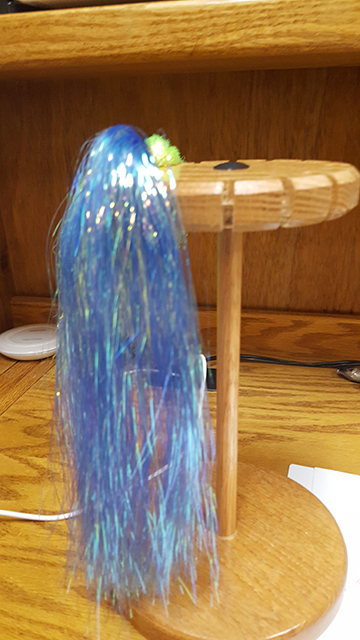
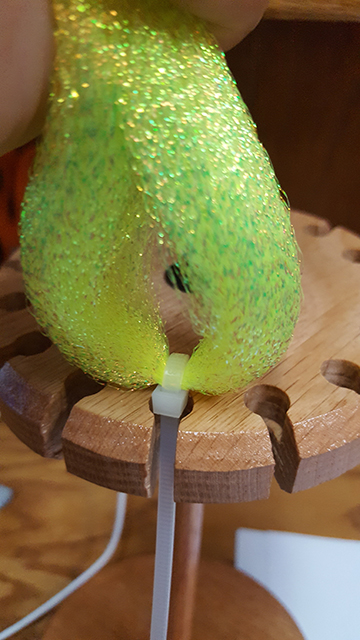
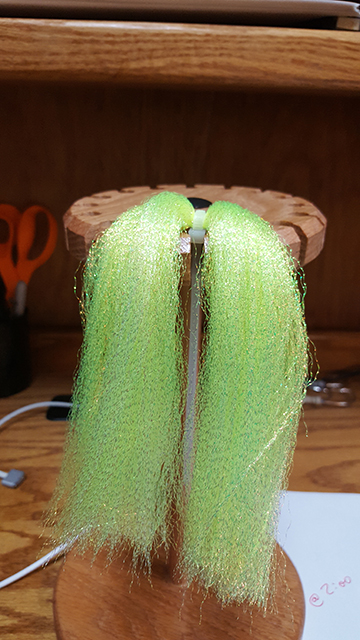 1 point