Leaderboard


Popular Content
Showing content with the highest reputation on 02/18/2018 in all areas
-
I was wondering if anyone has tried one of the craftwell air brush kits ? If you have would it be a replacement for a regular airbrush? I would think if it works as advertised it would be easier and cost effective (using sharpies) for a low volume lure builder1 point
-
https://www.bestvaluevacs.com/best-value-vacs-3-gallon-aluminum-and-mastercool-6cfm-pump-kit.html Pretty good value.1 point
-
Ah OK. Dinger Flicker shad has that. I have not fished one yet.
 1 point
 -
Actually, I got better result when I went with a lighter wire so I could make good eye bends. Or...with heavier wire I would do a partial bend until the wire touches the main wire ( like many of us do to put the swivel on for the blade for a spinner bait . I took one I made out to the garage and put some flipping braid on the clip and I could not get the bend to fail (although I ruined some clips!) The blade attaches at the bottom of the bend (then finish the bend) and rides at the top of the bend so I don't think the end of the bend ever gets enough force to bend or let the blade slip out.1 point
-
Preheating will expand the bubbles earlier but won’t remove them from the surface. Makes it longer to demold with the same result. Removing the air in the mold first is the answer. The vacumn and chamber seems expensive but when you have one it is priceless.1 point
-
We had a formula 5 heaping tablespoons per8 ounces of plastic,also noticed in my years of using the micro ballons some plastisols dint like the stuff,we used lurecraft hard formula,we tried a lot of other plastisols and the lure would tear and break very easy,A lot of trial and error is need with this stuff depending on wht plastic you use1 point
-
Last year I posted a tutorial with pictures about this issue. Use the Spoon Wires and cut them all in half (doesn’t need to be exact) with a side cutters. After you put your hook into the mold, lay the wire into place with the gap in the hoop facing forward. Where the wire meets (crosses) the hook, touch and leave a mark on the wire with a Sharpie. Remove wire, and at the mark, bend the wire 90 degrees (or a bit more) down with your pliers. Then snip off enough so that the wire sets flat against the hook and the mold closes properly. This keeps that wire secure in the jig, unlike the WEY375 wire. After painting the jig, the swivel split ring slides on easily and a quick pinch closes the gap in the hoop.1 point
-
This is my lid
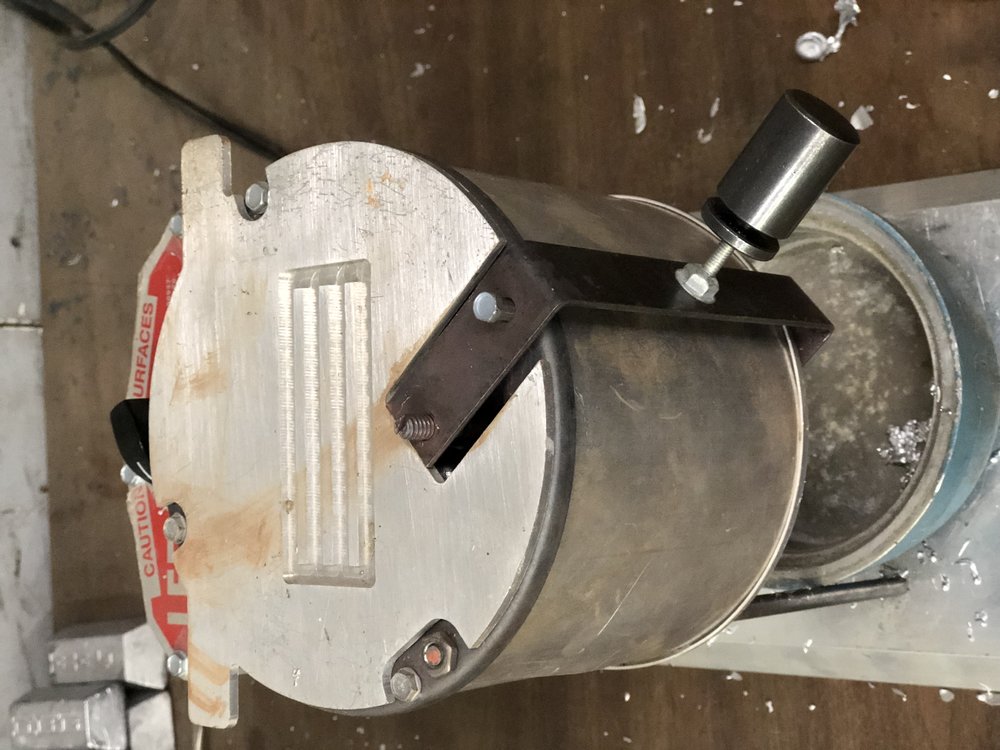 1 point
 -
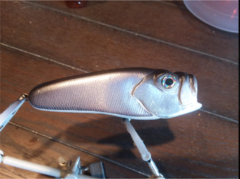 Molded and made cast with RC-3, sits tail down in water . Inspiration for head comes from a crappie 2.5 ounces and will fit with some size 1 treble hooks , rear dressed1 point
 -
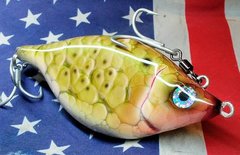
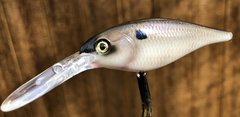 Painted on a DCB7. First time I ever tried for a “realistic” look.1 point
 -
I don't recall all of the details, but there were some previous discussions about this. There was mention of using an Arizona Ice Tea can for dipping. There were also some threads on making a POP insulators for the cans.1 point