Leaderboard


Popular Content
Showing content with the highest reputation on 06/02/2018 in all areas
-
Nope. I sure haven't. I've cut a few other synthetics like acetal, hdpe, peek, phenolic, G10, polycarbonate, and both cast and extruded acrylic, etc, but no synthetic countertop material. I would expect you can take a lot of depth of cut with it, but still the bulk of the cost of a machined mold is machine time. I've stuck with aluminum because it just works. If I sell a few less that's ok. I don't have to worry about a chemical reaction or heat tolerance causing issues... well except for the guys casting tin pewter. That does tend to stick to aluminum a bit. I tell them at the very least they need to keep a good coat of graphite in the mold, but...1 point
-
Under the Wire Bait category and under this forum, search out nail transfer foil or heat transfer foil , I use nail transfer foil.1 point
-
Have another question is their a brand that’s inexpensive that you might know about. I’ve seen some composite molds being sold for a very low price way cheaper than silicone molds. I’ve seen a company called moose ridge molds selling some composite molds and their super cheap and was hoping to find out what type of materials was used to make those. Thank you.1 point
-
I had an issue with denting as the baits cooled for a swimbait. I tried worm oil but they came out tacky. The smallest bit of Pam worked wonders. Like, Spray it onto a Q-tip and then go over the cavity of the mold with the Q-tip. Didn't come out tacky and zero dents. I'll say it made me go from hating the stone mold to loving it.1 point
-
There are different kinds of stencils made from different materials. The easiest for me are made from frisket material, a fairly soft plastic sheet with an adhesive back covered with a peel-off paper backing, manufactured for airbrush use. It’s easy to cut with an Xacto knife. The key is that I don’t peel off the backing and stick it on the lure. I leave the backing and just hold it against the lure. Then I wipe the overspray off and flip the stencil to do the other side of the lure. This has 2 advantages. I don’t have to make matching stencils for both sides, and I can save my stencils to build up a library for use on later lures. The disadvantage is that it is harder to know where the stencil should be held unless you mark spots on them to help you register exactly where they go on the lure’s side. I’ve made dozens of stencils and have built up a library through the years. Enough that I rarely need to make a new one. A roll of frisket material is cheap and is enough to make hundreds of stencils. Is it better than a vacuum formed stencil? No. But it’s easier and faster to make and can be used on different body shapes and sizes, which suits my hobby building.1 point
-
Bob, Have you ever tested cutting any of that material with your CNC ?1 point
-
There is a crankbait version as well as a jig color and they could not be further apart. I'm assuming the guy is talking about the jig color which may be a custom color but I'll tell you how I'd do mine. I would do Okeechobee Craw living image with some whisky solid barbwire to have the basic pattern down but make it my own by being just slightly different.1 point
-
Something I've noticed that u may not want to hear is skirt material varies on certain colors....i have some I put together I call copperhead and depending on the day the skirt tabs will actually be different colors when I'm buying them.even though it' the same part number. Sometimes they have more orange tint and sometimes it is a brownish red. As long as you get close you should be good bc once it' been fished a few times it'l start to fade anyways.1 point
-
you see the difference in the weight even though it isn't a lot just a bit using a scale he syringes eliminate the difference as they are of different viscosity and still occupy the same amount of space that is why using a graduated syringes take the error out of mixing epoxy Flex coat has a couple videos on mixing the perfect batch and they recommend using syringes they make the stuff so why would you want to do it any other way. it is like a pound of sand vs a pound of feathers which one takes up more space. here is a link to Flex coat web learning center lots of good info https://flexcoat.com/learning-center Just a few more things when mixing in a cup roll the cup and hold the stir stick to the side you get like a folding action and your epoxy flows over the edge of the stir stick or spatula and drags the every thing to the side from the middle. the little cups are I get mine at the Pharmacy cheap by the 100 if you get a lot of bubbles in your mix just give it a flick of a bic lighter and I do mean just a quick kiss of flame they instantly pop1 point
-
I tried both ways and the dip method worked best leveled nicely and you could remove the excess drip if one formed I use the rod dancer on fly rods to finish the wrappings is a tough as the finish on the blank when dry but still flexible so that it doesn't chip or crack. hope that helps. good fishing1 point
-
there are these 2 coatings gives a light glossy finish doesn't yellow this one is xylene based and has quite a smell recommended to be used with good ventilation does give a thin glossy coat http://www.anglersworkshop.com/Trondak/Trondak-Perma-Gloss or there is this one that is water based urethane based gives a slight vinegar smell have tried this one on Ice jigs and worked as well as the perma gloss http://www.anglersworkshop.com/RodDancer/Threadmaster-One for mixing epoxies for perfect mix you should really use these as the resin and hardener yes are different in viscosity but need to be measured equally for a good hard finish http://www.anglersworkshop.com/Flex-Coat/Flex-Coat-Color-Coded-Syringes1 point
-
Once you make a stencil, or a series of stencils, you can reuse them on the same blank indefinitely. The transparent stencils can be put over your partially painted lure. You can then mark it with a sharpie (ultra fine point). Mistakes can be erased with acetone or hair spray. Being able to see the current paint through the plastic gives you a clear advantage (pun intended). You can get it just right before cutting it with a Dremel, Exacto, or fine scissors.1 point
-
I would worry about using tape to mask an already painted area. That paint is easy to pull off. If possible, use a stencil instead. http://www.tackleunderground.com/community/topic/31562-vacuform-machine-for-clam-shell-style-stencils/1 point
-
Sounds like air pockets and not bubbles. As said either get/make a spru extender or baby sit the mold and keep topping it off as the level goes down. If it is not sucking down then the gates are too small and closing (cooling) and not allowing the plastic in the spru to be used.1 point
-
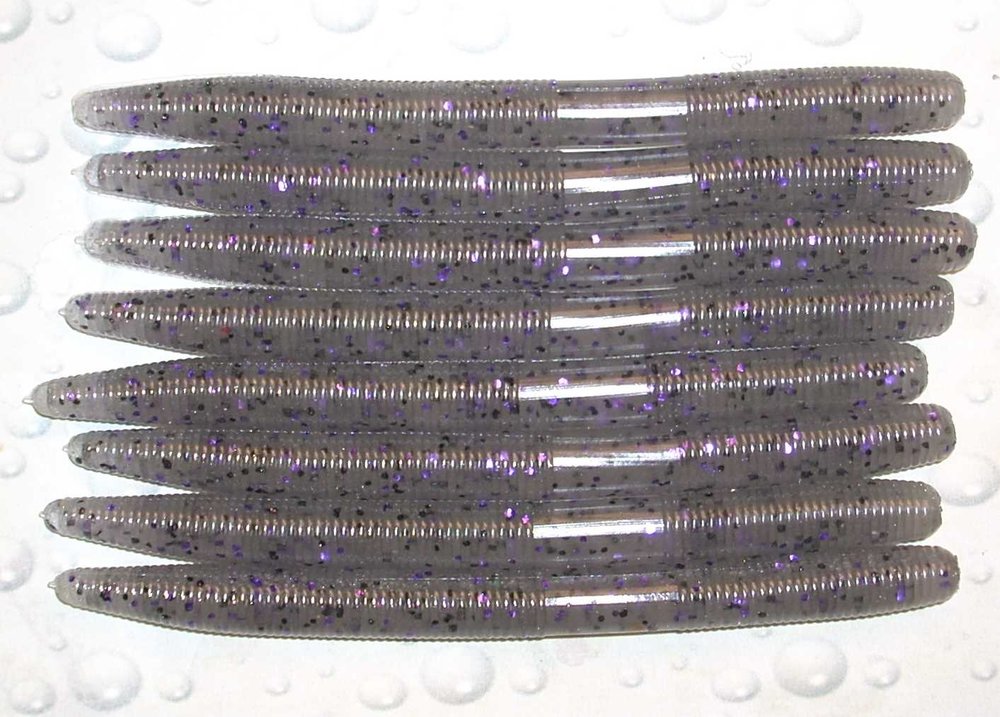
The HD additive is great and makes the baits more durable. However it is a grey paste that will cloud the color even more than salt. Glass beads is best way to get more translucent sinking baits that show color and flake well. Downside is it will scratch your injector.
 1 point