
Leaderboard


Popular Content
Showing content with the highest reputation on 02/10/2020 in all areas
-
I think that as long as they make a ton of commotion, noise and waves, you are on to something. It's really about being in the right place at the right time anyway. In my mind, the main purpose of a top-water bait is to get the attention of critters below under the water. It represents an injured fish, bird or animal, not sure which, not sure it matters if the fish are curious and more importantly, hungry. I say give it a shot!1 point
-
If the epoxy is slightly cloudy, add a few drops of denatured alcohol or 100% pure Acetone. Although D2T is easier to find locally, I would say Bob Smith 30 is preferred by most. Quality of this vid I made is terrible, but follow these steps.1 point
-
I’ve not seen amine blush with D2T but anything Is possible. If the “blush” is caused by very small bubbles, mix 3-4 drops of denatured alcohol into the epoxy after mixing the resin and hardener, to thin the mix and expel bubbles. To me, epoxy is half choosing a brand to get qualities you want and half using a set of techniques that will result in a good finish. We can’t see how you did it, in detail. What works for me with D2T is to measure it with syringes, mix the hell out of it, thin it with a few drops of DN, and apply it with a flat 1/4” artist brush that helps me brush on a uniform coat while breaking any bubbles.1 point
-
Are you using the same Devcon syringe or bottles or same thing occurs with different sources? Your mixing container...does the cured residual epoxy do the same? I have not had amine blush be an issue with Devcon 30 minute epoxy and have been using it for going on 16 years or more on lures. Based on what you have tried I wouldn't think the moisture in the bait/paint would not be an issue. Mixing issues almost always end up being tacky/slow curing baits or lumpy (faster cure) portions in the cured clear. I still believe your picture is consistent with amine blush. Typically if it makes its way to the surface it can be cleaned up completely or to a degree with the soapy water or may rub out with alcohol. May be trapped within the coat and didn't migrate to top of bait.1 point
-
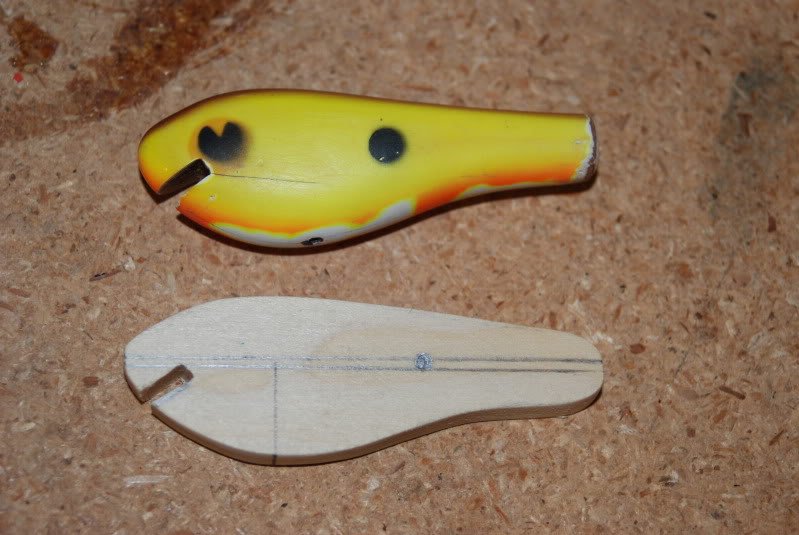
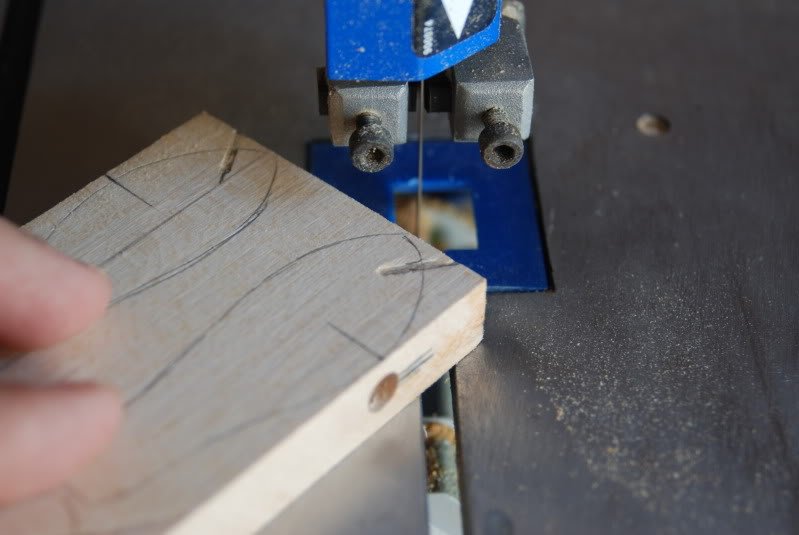
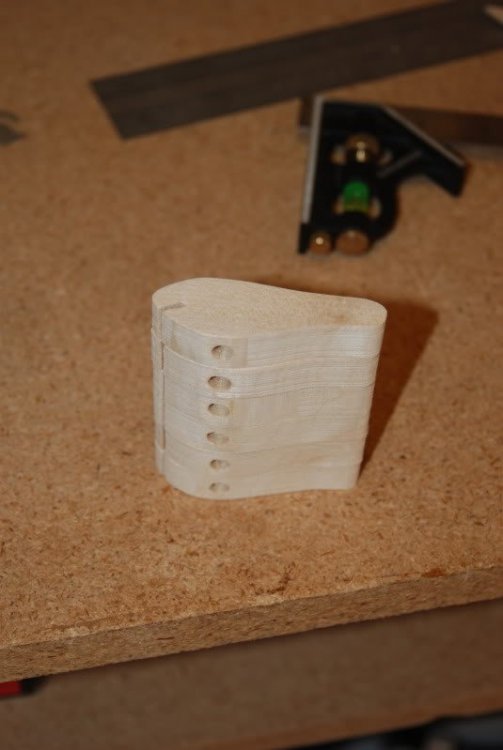
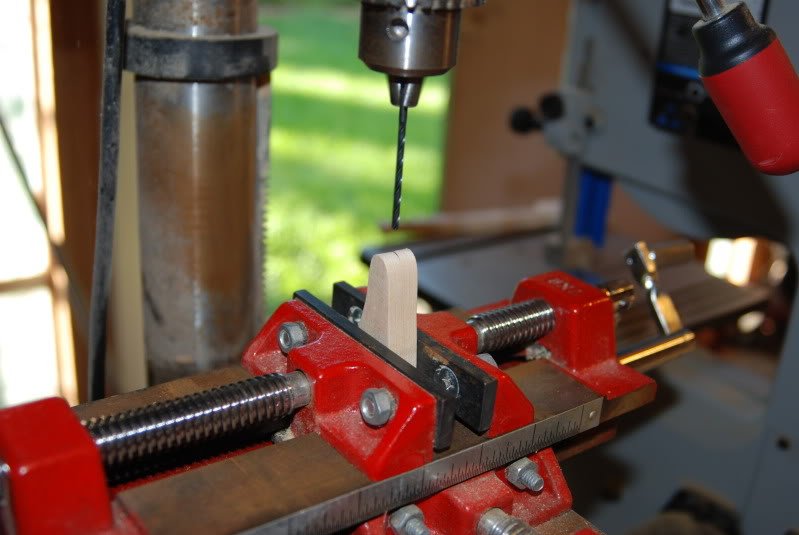
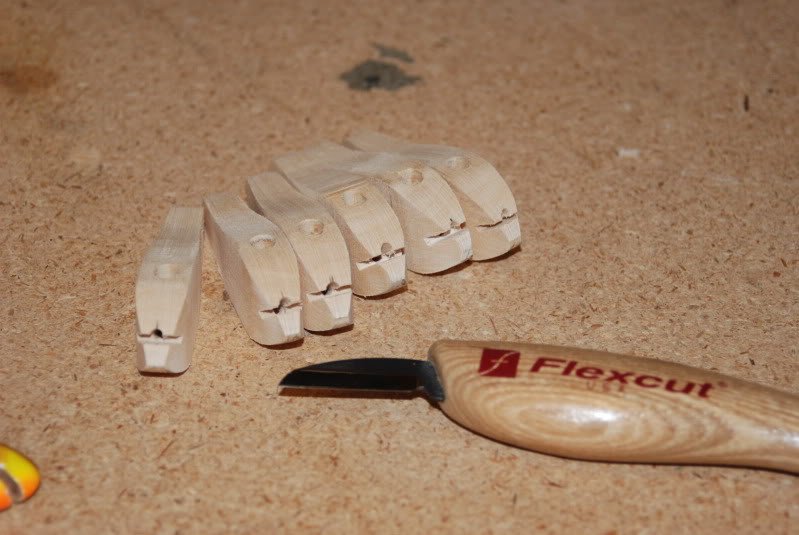
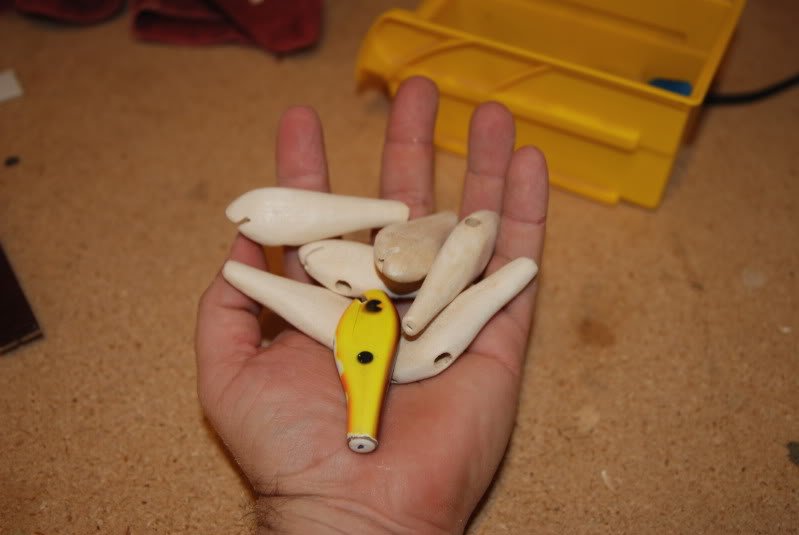
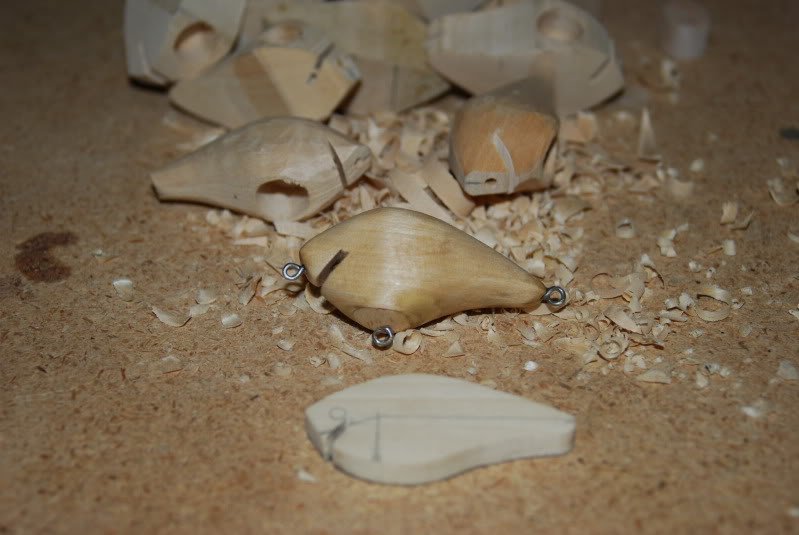
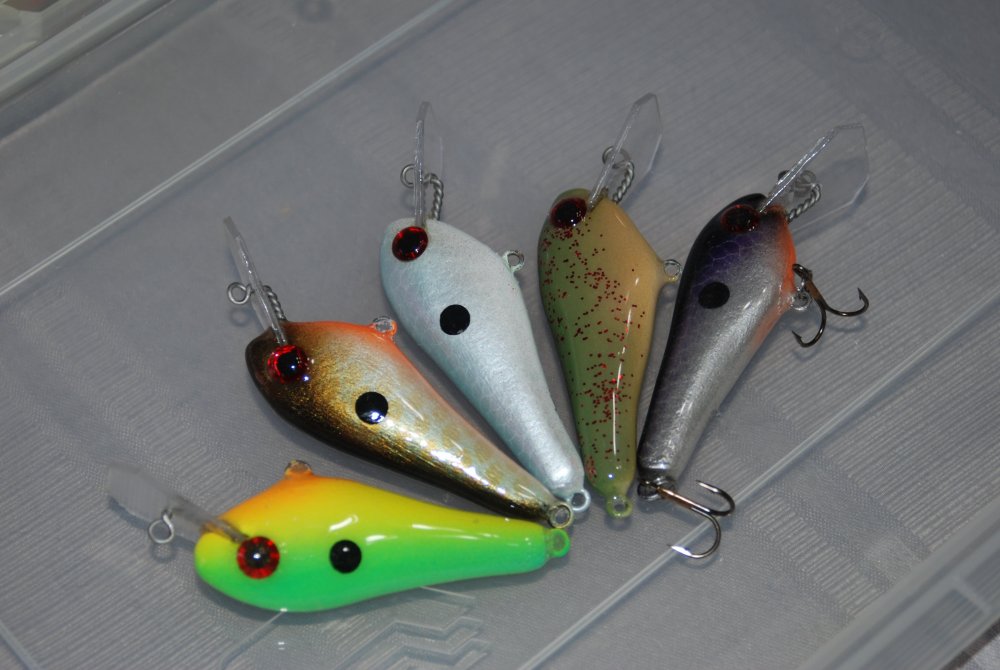
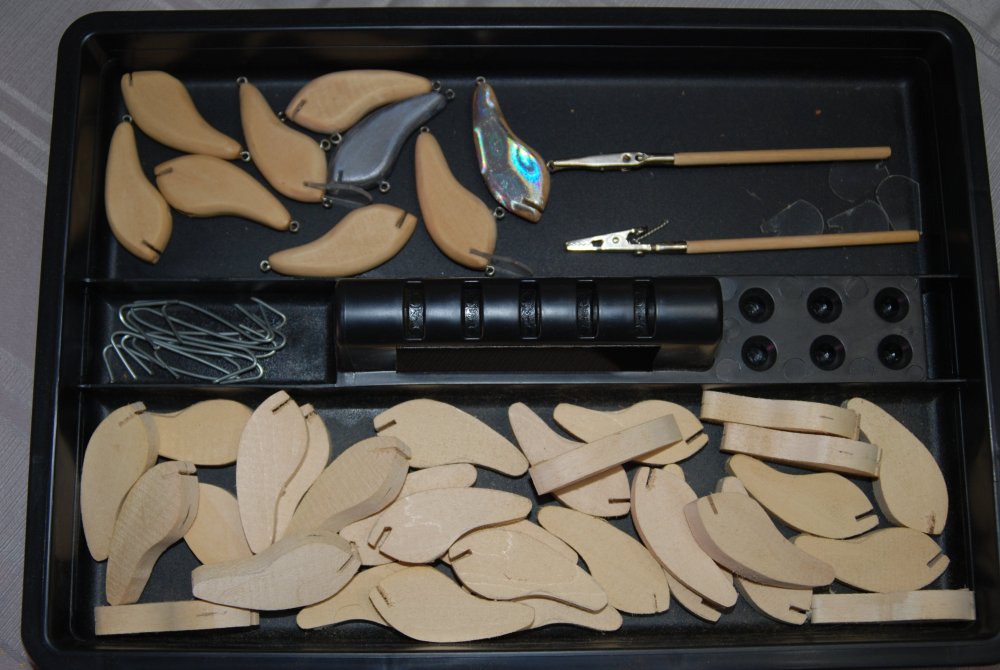
Hmmm.... well we could also work at learning to replicating our process in wood. Corey it really boils down to what you are looking for in making baits and what type of lure maker you want to be. It isn't too difficult to reproduce a bait. Yes there will be some minor differences but with a little experience you will be able to kick them out fairly quick with many being hard pressed to find differences. One just needs to work on processes that help achieve the goal. The learning curve is different and honestly some will never be able to do it but that shouldn't stop you from trying. First and foremost stock preparation is important. I always want squared stock with parallel faces. Simply makes it easier through out the entire process. Flat side are the easiest to start with but the same process for round baits. The pictures included are from reproducing a discontinued bait but the process the same for the most part for making a bait consistently. I keep a journal of the build. The stock dimensions, bait length, width, etc.. are all added and notes taken throughout the build and failures. I cut a template out of card stock, note card, etc.. initially and add line, hook hanger, weight placement, rattles, etc.. this template is temporary and will get transferred to 1/8 plywood or Masonite at some point. A lip template also gets made. The paper templates get stored in a little pouch taped to the notebook page. The template is then used to trace the bait on properly prepared stock. Easy to drill everything in the square but if you have flat sides can easily position in vise to drill holes properly. Once you get things worked out jigs are easy to make so you can replicate it on a lot of baits. I typically start with half dozen baits. One offs aren't very useful in my opinion and a waste of ones time in regards to tool set up. You will find that doing multiples a lot faster than a series of one offs. After this I sand all the baits on an orbital spindle sander (drill press with drum attachment, dremel, or hand sanding all also work just fine). At this point you will a series of blanks to carve/shape that area all starting the same. From here on you need to think symmetry and repetition of the same task/motion. Starting out good idea to give yourself a reference line along the middle of the bait. Trace top down view on the bait and mark points to taper the nose and tail towards. You can carve, sand, use bandsaw, etc.. to rough this out. Jigs can help here also but not needed. Try and do everything in a series to build muscle memory and get the hang of it, taper the right nose side, then the left, then do every blank that way, then tail, etc... eventually you don't need to be as anal about it as you gain you eye on what needs to be done. Sand the tapers smooth (just a few passes). Helps starting out to mark reference lines for shaping bevel along back and belly of lure then take passes with your knife, chisel, or sand to the line. Do the top right side first, then the top left and keep referencing your center line, Then to the belly in the same fashion. Then go back and do the same to smaller amount along the prior bevel and down further onto the body and closer to the center line. Keep repeating until you get a rough shape of the body needed. You will end up with a little facets but all sands out very quickly. Flat sides much easier but same process for rounded baits. Sharp edge makes short work and long draw cuts can peel off and edge in just a few passes. Can shape a bait in minute once you get the hang of it. It doesn't take too long and it gets a lot easier. You can knock out a lot of blanks and make jigs to speed aspects up. I don't worry about jigs until I get everything worked out. Once that is done becomes easy to reference notes and knock some baits out. Lots of other tricks but easier to focus on the basics.

 1 point
 -
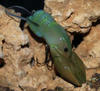
Got it! That looks exactly like a Strike King Wild Shiner jerkbait! For sure. https://www.fishingsupercenter.com/products/strike-king-wild-shiner-jerkbait Get rid of the old lip and make yourself a new one!1 point


