


cadman
-
Posts
4,233 -
Joined
-
Last visited
-
Days Won
104
Content Type
Profiles
Articles
TU Classifieds
Glossary
Website Links
Forums
Gallery
Store
Posts posted by cadman
-
-
46 minutes ago, Alpha550 said:
Thank you all for your help! I have ordered Frankford Arsenal spray and it will arrive next week. I also ordered a Lee production IV Pot. Cadman, I will try the suggestions that you gave me when I receive everything in the mail next week.
Let us know how it goes.
-
 1
1
-
-
Randy,
Welcome to TU. I always tell everyone that pours, first buy Frankford Arsenal "Drop Out". It is a mold release spray. To use clean all your lead cavities with Mineral Spirits or Naphtha. Let dry or evaporate, then spray the cavities lightly with the mold release. A little goes a long way. Just make sure you get all the spots. Your cavities will turn a light gray color. Once its sprayed it will dry in about 5 to 10 minutes. Then heat your mold and try it out. That should solve 90% of your problems.
You can also gap your mold a little to release any trapped air.
Going to a bottom pour pot is definitely a plus, because you can stick the pot nozzle into the cavity hole and it will be similar to injecting lead into your mold.
Some things to try.
-
1
-
-
Yes try the victory hooks. I tried a couple on a spinnerbait and I was happy with them. I don't throw them a lot, so maybe there will be some problems as time goes on. It's worth a shot.
-
On 10/13/2022 at 7:01 PM, Kasilofchrisn said:
the red lettering from the envelope should be facing down.
They are designed to let moisture out but not in so that would give you the best air flow.
That's good to know. I didn't know there was a difference. Thanks for the info.

-
1
-
-
2 hours ago, mark poulson said:
I buy my air brushes and parts here:
https://www.coastairbrush.com/categories.asp?cat=234
I've found their prices fair, and their service good.
Thank You Mark
-
1
-
-
I have an old Iawata Eclipse HP-CS (2006 vintage) that probably needs a needle, tip and a cap I assume. I am also looking for some Createx paints. I will be using water based paints. Where are some places that have some really good prices on these items. I might be lucky and still get some Cyber-Monday deals. Thanks in advance.
-
tdarin176
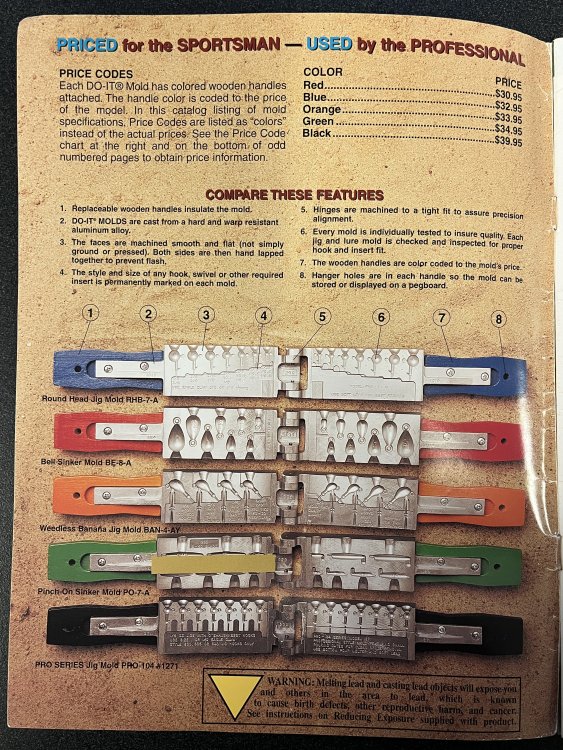
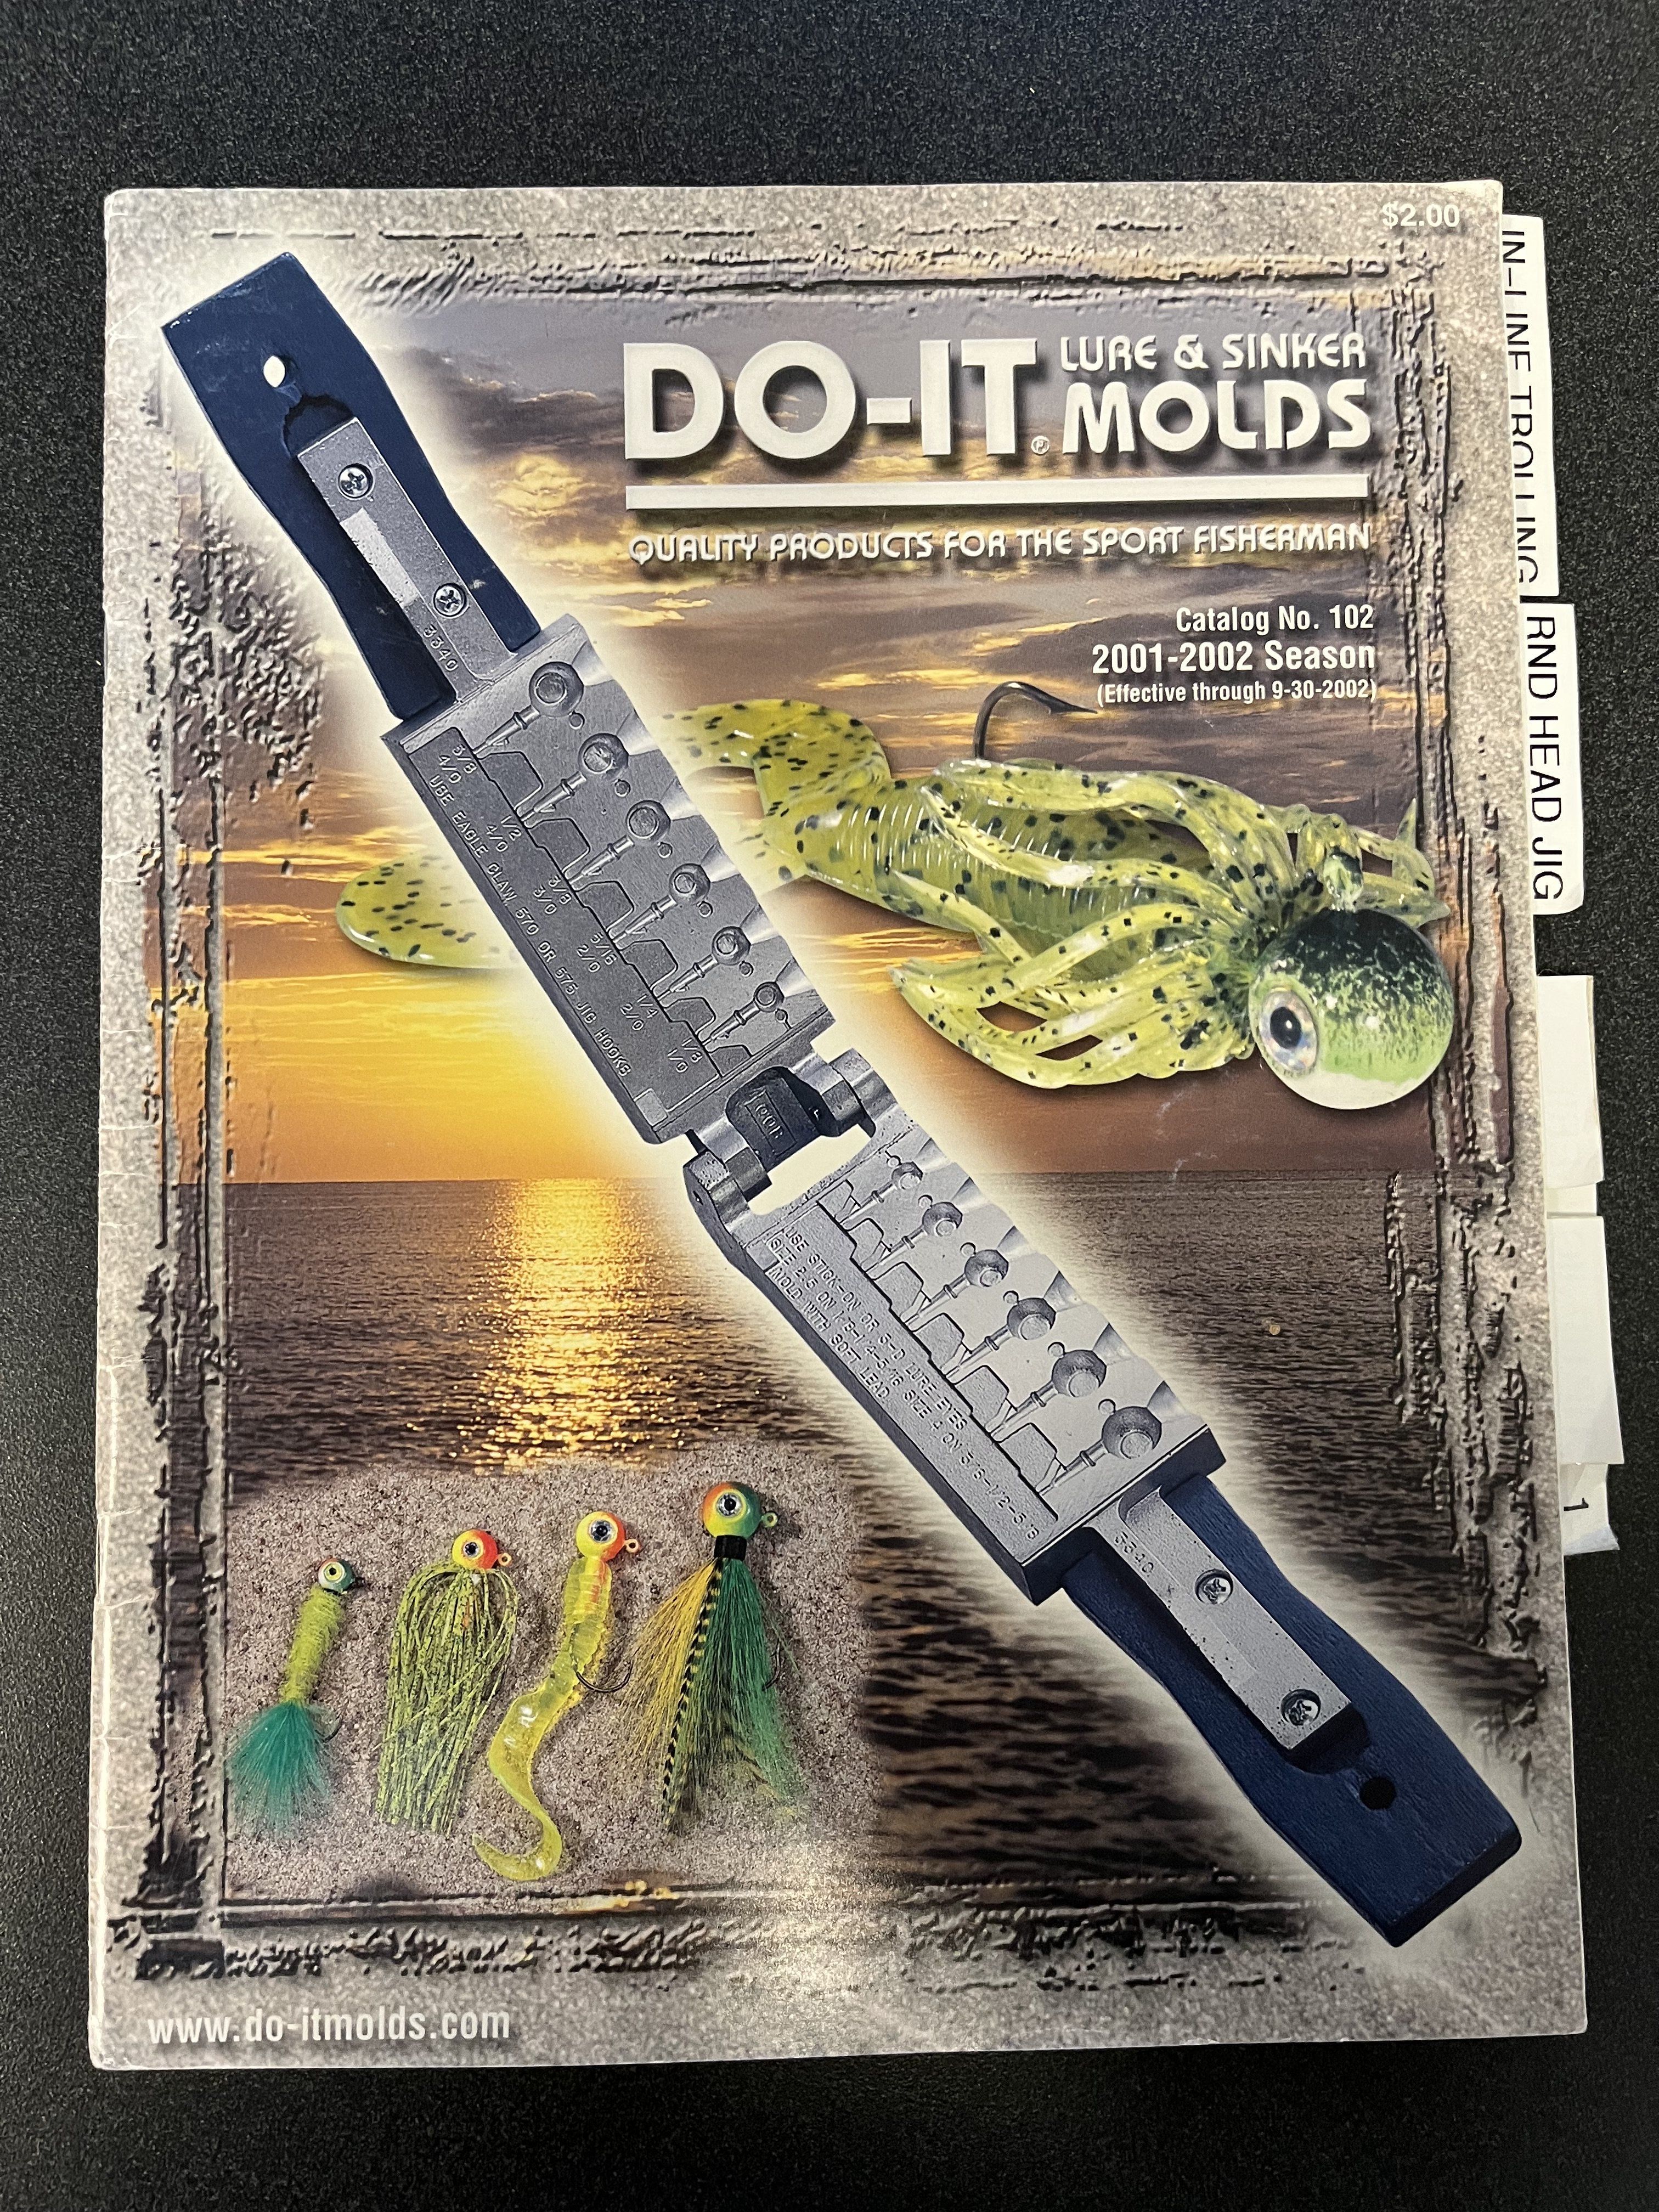
I found some more info for you as I looked at my Do-It catalog collection dating back to 2001-2002. All the pages in the catalog were all green and white. 2001-2002 was the last year they had colored handle molds. Starting 2003 all handles were black. See attached pics. some interesting info from way back in the day. It looks like t he black handle molds were the professional molds where they were better cast molds and the molds had multiple cavities of the same size head throughout the mold.

-
1
-
-
Welcome to TU. On the color handles, if I remember correctly. The different colored handles were the different price ranges for the different molds. For example all the orange handles were one price, all the blue were another and so on. I believe there were only five colors. Red, blue, orange, green and black. There might have been a yellow. Do-It stopped making colored handles prior to 2006, don’t know the exact date. They are all black now.
As far as the molds go if my memory serves me correctly:
#1. I believe you attach a hook at the back end of the wire form and you wire wrap the hook. I can’t remember if this is a free spinning wire inside the head. I also believe that you cast it out and reel it in dragging it on the bottom.
#2. It is a smaller profile jig that looks like a bass jig with a weedguard. Don’t know why they call it a walleye jig.
#3. I have its cousin which is a stand-up jig with a spinner blade on the back (mine does not have a weedguard). The correct 1623 hook has a crimp in it which kept the hook from turning in the mold. The 1623 CR hook is no longer manufactured by Eagle Claw. They do make the #1623 w/o the crimp. This jig is to be drug on the bottom, tipped with a minnow or a grub. Unfortunately this is a poor design. These jigs never falls flat on the bottom of the lake with the hook pointed up. They always fall over even if they do fall flat on their base. There are much better jigs for using live bait or grubs.
#4. Yes it is a Sparkie style head spinnerbait with a weedguard. Weedguards on spinnerbaits are unnecessary in my opinion since the wireform will hit the weeds first. Interesting concept at the time.
#5. I have this mold. It is a good dragging jig for the bottom and a good choice for a minnow or a grub. It has a wider base on the bottom of the jig making it better for dragging.
#6 Post pic of mold. I’ve seen this before but don’t remember.
This is all the info I got on this. I may have forgotten some info and maybe some info is inaccurate, however someone will be on here to add more info or correct me.
There is a guy on here “SmallJaw” that has been pouring jigs for a long time. He may have more input on these molds.
-
1
-
-
4 hours ago, Outlaw4 said:
i have been using the KBS aerosol spray on lots of stuff. So far its been pretty good at not flaking off and holding color. And i've had one can spraying stuff now for a while. I'd say you could do a lot worse
Thanks, I'll try the diamond clear coat spray.
-
55 minutes ago, mark poulson said:
I do touchup with sharpies.
Hey Mark, wouldn't that be a great idea, if the reel companies sold an after market touch-up paint like they do for cars? Wow, now there is an idea for reel manufacturers to cash in on. I am sure many guys would buy it. The only problem is all the SKU #'s they would have to keep for all the years and models.
-
2
-
-
13 hours ago, BobP said:
I painted an aluminum reel using automotive primer and enamel. It began to chip almost immediately. You have to use very thin coatings if you want the reel to go back together. We’re I to do it over (I would not) I’d try KBS MCU thinned and shot with an airbrush as a clearcoat. but I do not believe there is an amateur coating regime that can be as good as a factory job so my scratched and chipped reels will have to wear their damage as a sign of good times.
Bob,
Thanks for the info. I understand the thin coats, I also had a feeling that there is no clearcoat as good as the factory coat. Out of curiosity, do you think KBS Diamond aerosol spray would work? My other thought was to go with enamel spray cans. The only problem with that is if I screw it up, will I be able to get the paint off of the side plates without damaging them? The side plates are plastic and I'm sure I would need lacquer thinner to take off the paint. With that said, the lacquer thinner may soften the plastic side plates since it is so strong. Is KBS removable once sprayed on?
Thanks..............Cadman
-
So I have some slightly beat up baitcasting reels that I would like to air brush and clearcoat. The reels themselves including the sideplates are plastic. I have read a lot about prep before painting and so on. My big question is clearcoat. I have used in the past D2T and E-Tex for my jigs and that works fine and they both are durable. However I am thinking that these clearcoats would be too thick for a fishing reel. What would you guys use for a clearcoat. If anyone has painted reels before with good success please chime in. Also we can communicate off line if that is easier.
Thanks in Advance...........Cadman
-
Did you try etching primer before painting?
-
1
-
-
I do not spray powder on blades, so I can't give you input on that process. There is a guy on here called "smalljaw" he is an expert at spraying powder paint and he may chime in. Anyway, just a couple of questions. Are you spraying both sides of the blade? Whether you are or not, you can still heat the blade and apply the powder paint on the blade with the brush tap method if you want to try that. I do that and the blades come out really nice. You can then put the blade in a horizontal position in a toaster over to bake. I would then put the dots on whether with paint and then powder clearcoat and bake or another option for dots is to use a hole punch and you can use colored electrical tape. Once you punch out the dots you can stick them on your blades and then clearcoat with Devcon 2 ton which is a more durable clearcoat. There are a lot of options and I'm sure others will chime in.
-
Welcome to TU. If you are referring to the body, brass is pretty heavy.
-
2
-
-
I like Devcon 2 to (D2T). Reason being is the finish is hard when it cures and that is about 24-36 hours. The only drawback is that D2T has a slight amber color to it and it will make your white jigs not as white. But for other colors it works really well. JMO.
-
I use small gate shears that cut close to the bottom of the sprue. I believe mine are Xcelite. I have never been able to get a perfect flush cut, where you don't need to touch it up with a file. The smaller the jig the easier it is to touch up the remainder of the sprue. However if you don't care about the sprue remains showing, than just cut and paint.
-
I prefer a co-poly as well. I use Yo-Zuri hybrid.
-
I as well do something similar to smalljaw. Only thing different is always make sure each mold is covered with "Drop out" and I use a 100 watt bulb with the clamp on reflector shield aimed at my hooks in a black old teflon frying pan. The 100 watt bulb keeps the hooks very warm depending on how high you adjust the bulb from the hooks.
-
1
-
-
Do You use (Franford Arsenal) Drop-Out? If not start there first and 90% of your problems should disappear.
-
2
-
-
You can use 1/16 drill bits for pouring. When you are going to powder paint, stick in small 1/16" copper wire in the weedguard holes, once powder is applied immediately take out the copper wire, and hang jig on rack for baking. Copper wire can be re-used over and over. Once you are done with all your painting, put all jigs in oven, bake ,let cool and then epoxy or glue in weedguards. This is the easiest and cleanest process in my opinion. If you have more questions PM me.
-
2
-
-
12 minutes ago, m.t.pockets said:
what is the correct side? Writing to the inside of cup or facing down to the work bench
Doesn't make a difference as far as I'm concerned. However do not cut the circle with the seam in it. Make sure your cutout circle is all one piece..
-
1
-
-
Not to take anything away from TJ, but I bought the fluid discs from him and they did not work with my powder. With that said, all powder will not work in all media. I have seven dedicated powder cup colors. Out of the seven 3 of them have Tyvek media, 3 of them have vacuum cleaner bags and 1 has a brown bag. So this tells me and I have been doing this for along time, that all powder pigments are not created equal. I found this to be true with not only my powder but CSI (Pro-tec) powder as well.
On another note, vibratory movement as mentioned above is the key to a lot of problems. Since you are using an air source, let your air pump touch your fluid bed, the vibrations may help. Also you can build a small stand on your fluid bed that can sit on top of your air pump which will vibrate as well. A little ingenuity will solve many of your problems. Good luck.
-
2
-
 1
1
-
-
Are you using wire or thread. Wire is easier, as you only need to make two or three wraps. I put a rubber collar over the skirt I want to tie on. I then slide the skirt with the rubber collar over onto the jig. I start my wire all the way at the top of the jig head, wrap it several times, twist, cut and then slide the rubber collar off. No need to move the weedguard. If I were using thread. I would tie the skirt and then put in the weedguard later.
-
1
-

Worm Nose Sinker Mold?
in Wire Baits
Posted
Sometimes, you just have to try several options until it all comes together. Drop-Out does work. Also you can try to gap the mold or like mentioned above scratch a vent line to relieve any trapped air as you pour. Glad it all worked out for you.