

eastman03
-
Posts
442 -
Joined
-
Last visited
-
Days Won
26
Content Type
Profiles
Articles
TU Classifieds
Glossary
Website Links
Forums
Gallery
Store
Posts posted by eastman03
-
-
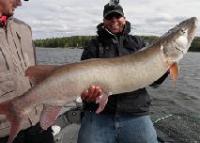
I agree, every single type of finish will have its pros and cons. Make sure you learn how to use whatever you choose. I like a few different types of slow cure epoxy like Envirotex, Devcon 2 ton, Ecopoxy, Alumilite clear cast. They have all worked well. For my big musky lures, I will use two or three coats on the top to try to get protection.
-
wow that is cheap!
My first airbrush was a badger patriot 105. It is a bit more expensive than the china no name junk. You can occasionally find it on sale. It was a very good airbrush for a long time for me, until I upgraded tot he iwata eclipse.
-
Yup, boats put away, time to brush off the lure making stuff. I like to experiment with painting and effects because it's fun, but I usually have a few standards when I fish.
1. Perch
2. Firetiger
3.cisco
4. walleye
5. Something wacky and bright, chartreuse with black dots.
6. Jet black
Granted, cisco or walleye color patterns can vary a lot.
-
 1
1
-
-
Stainless Steel Tig Welding wire. Lots of size options. Comes in straight pieces (no unrolling and trying to straighten before hand), and it is quite stiff. Cheap and available.
308L Stainless Steel TIG Rod – Canada Welding Supply Inc.
I used some 3/32 (or .09) for a thru wire flap bait musky lure that I made. The wire was able to hold the hooks out, and the blade in the back. The lure was a mild failure lol, but the wire worked well.
-
1
-
-
I know this has been posted before (by me), but Engineered angler does a good breakdown of different methods to get a chrome base. Check it out. There are several Videos from true silver plating to rattle can chrome.
-
Here are a few of his links that explain "intercoat". It helps get a good finish. Not always necessary, but it helps. As well his tests to get a good spray chrome finish.
-
It's nice when you use epoxy like Devcon as a sealer. The paint ends up looking so smooth. Those are the lures people are shocked to believe that it is made of wood. I have not had that with poly or just hardener. I've tried a bit of everything in this process. If it is a test bait just for me, I will just hit it with some poly, so I can water test it. Then primer and paint, then epoxy. If it is a bait I want to look amazing, or for a customer, I will seal the wood with hardener, then epoxy to get that glass smooth surface. Prime. Paint. Epoxy (x2 or 3). These are musky baits, so it may be different for smaller bass type lures.
Either way, try it out different ways, see what works well for you.
-
1
-
-
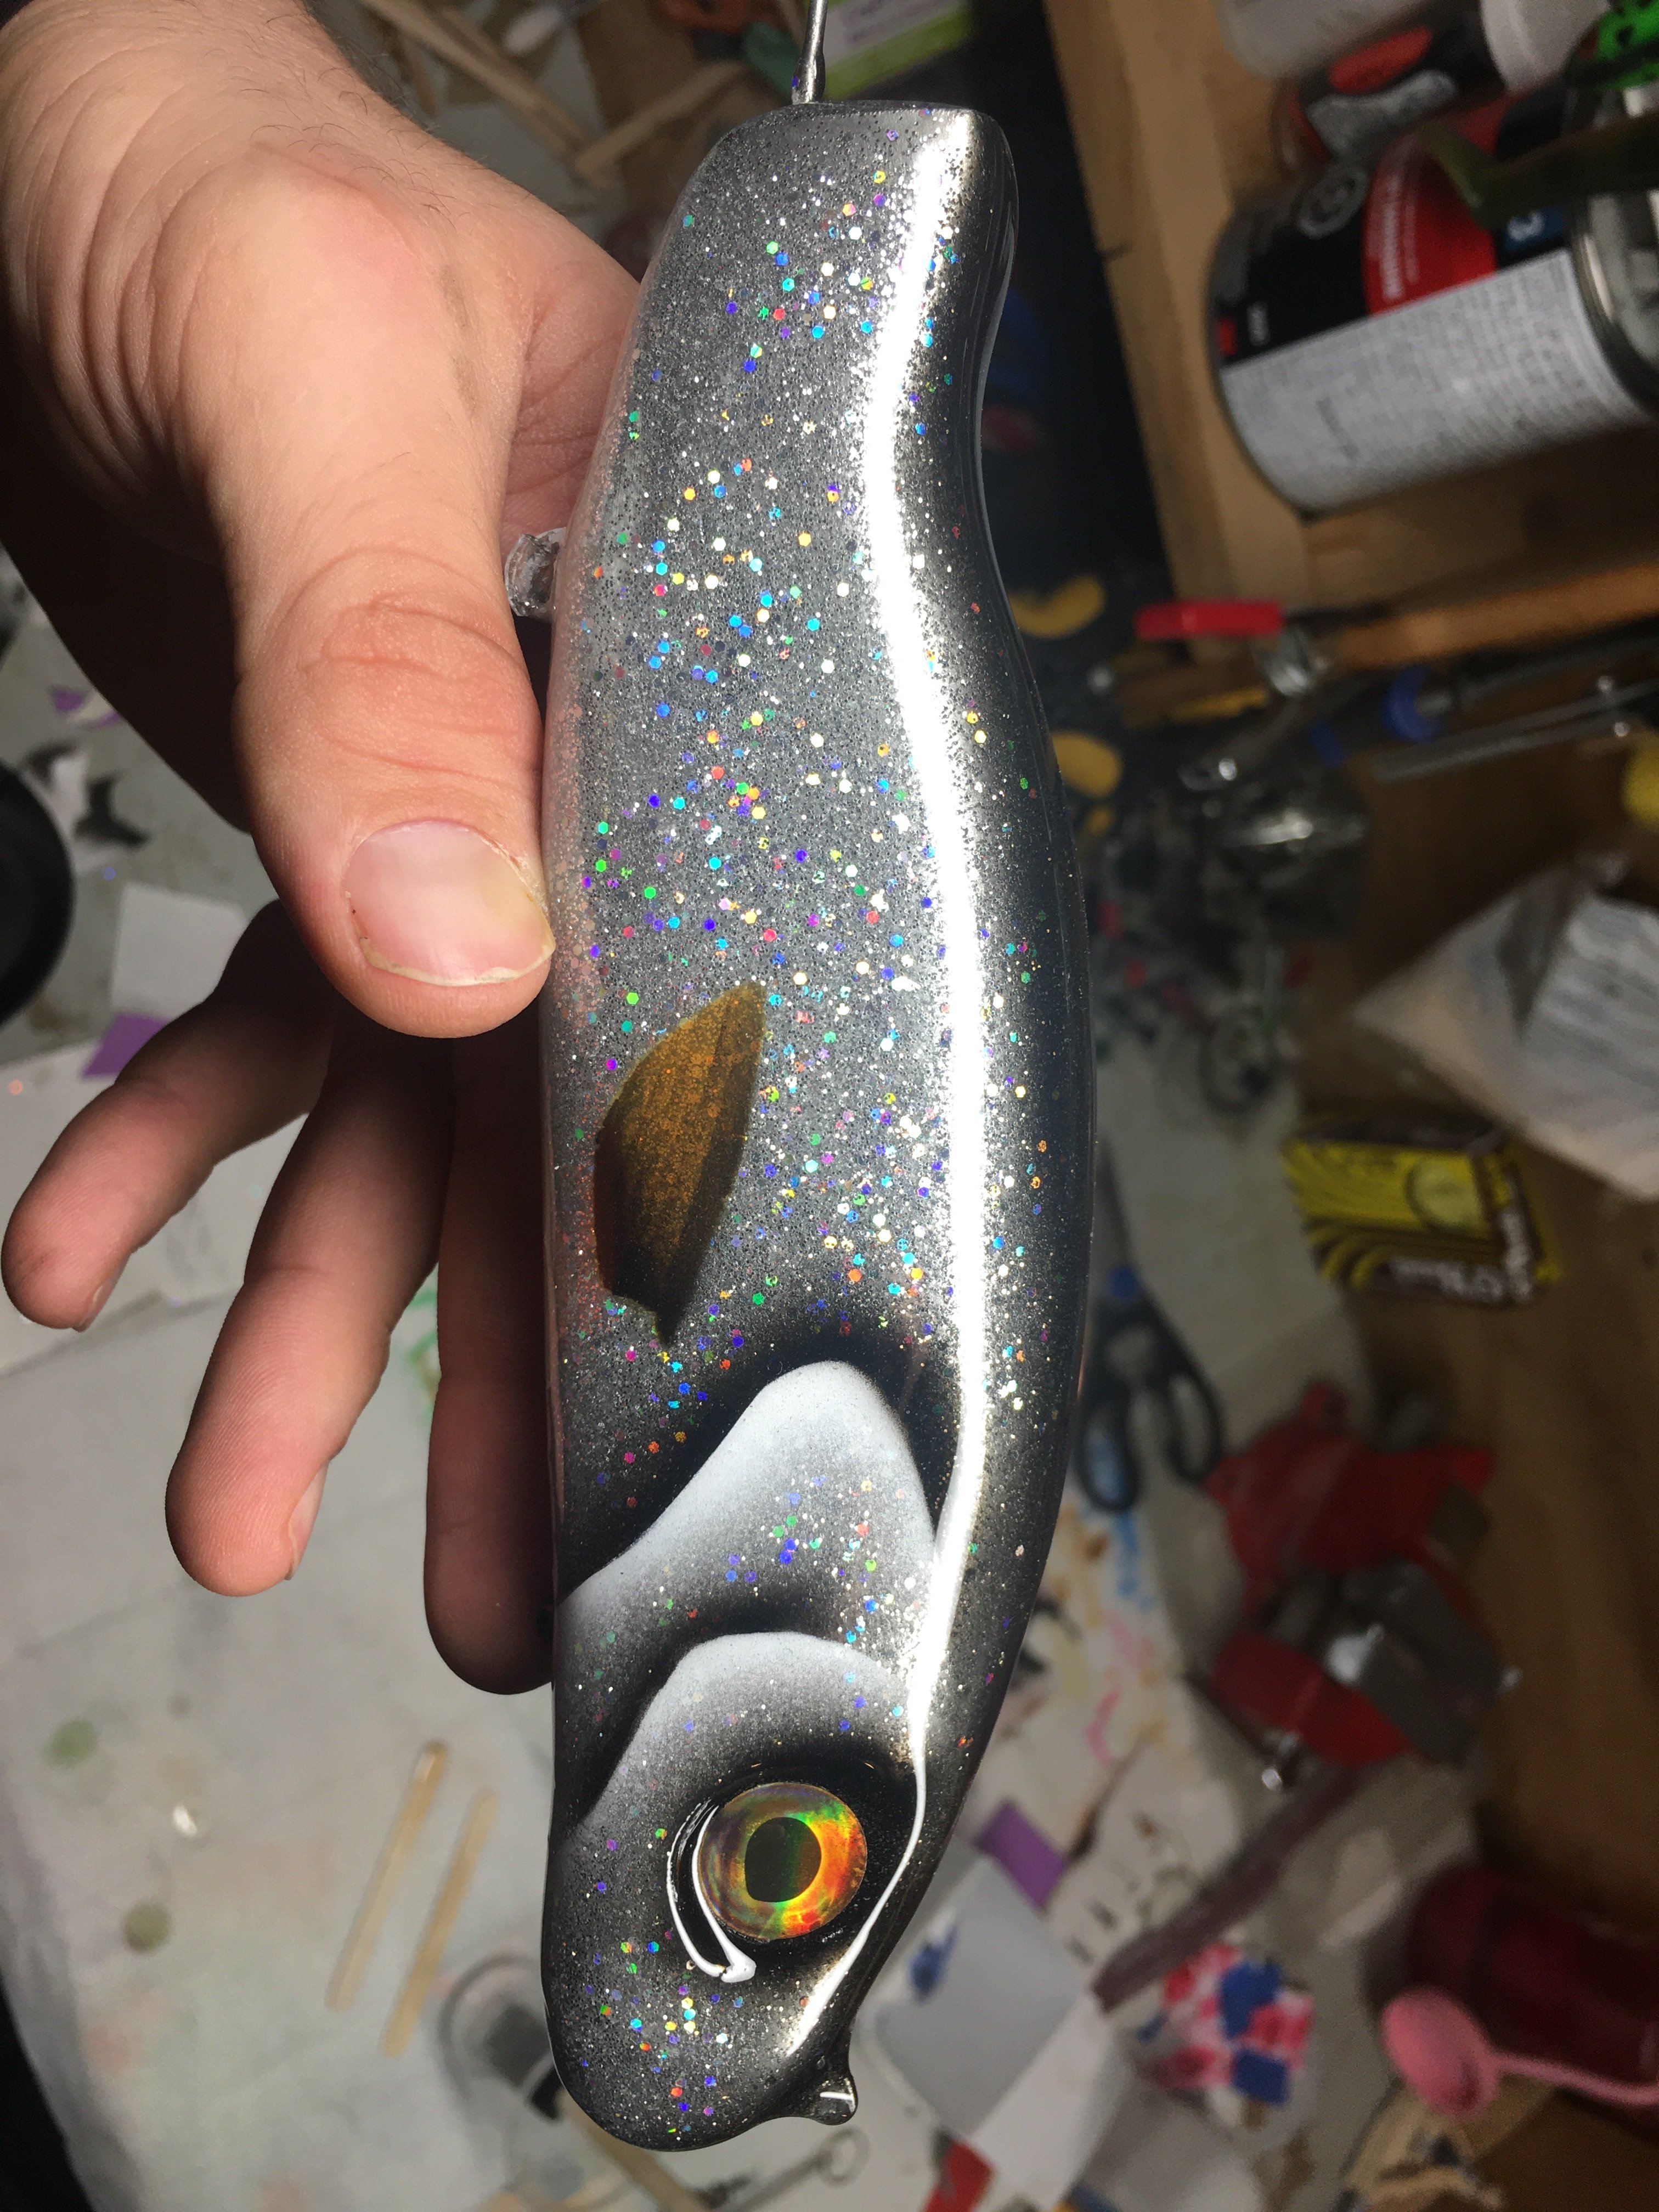
I love adding glitter to a base coat. It may just be me, I don’t have much evidence. But I feel like it makes the base cost of epoxy more resilient to chipping/damage. Could that be possible?
-
1
-
-
-
I have used it many times on final coat - but only in small amounts so it doesn't cover the paint job too much. I have never had an issue with the resin not curing.
-
1
-
-
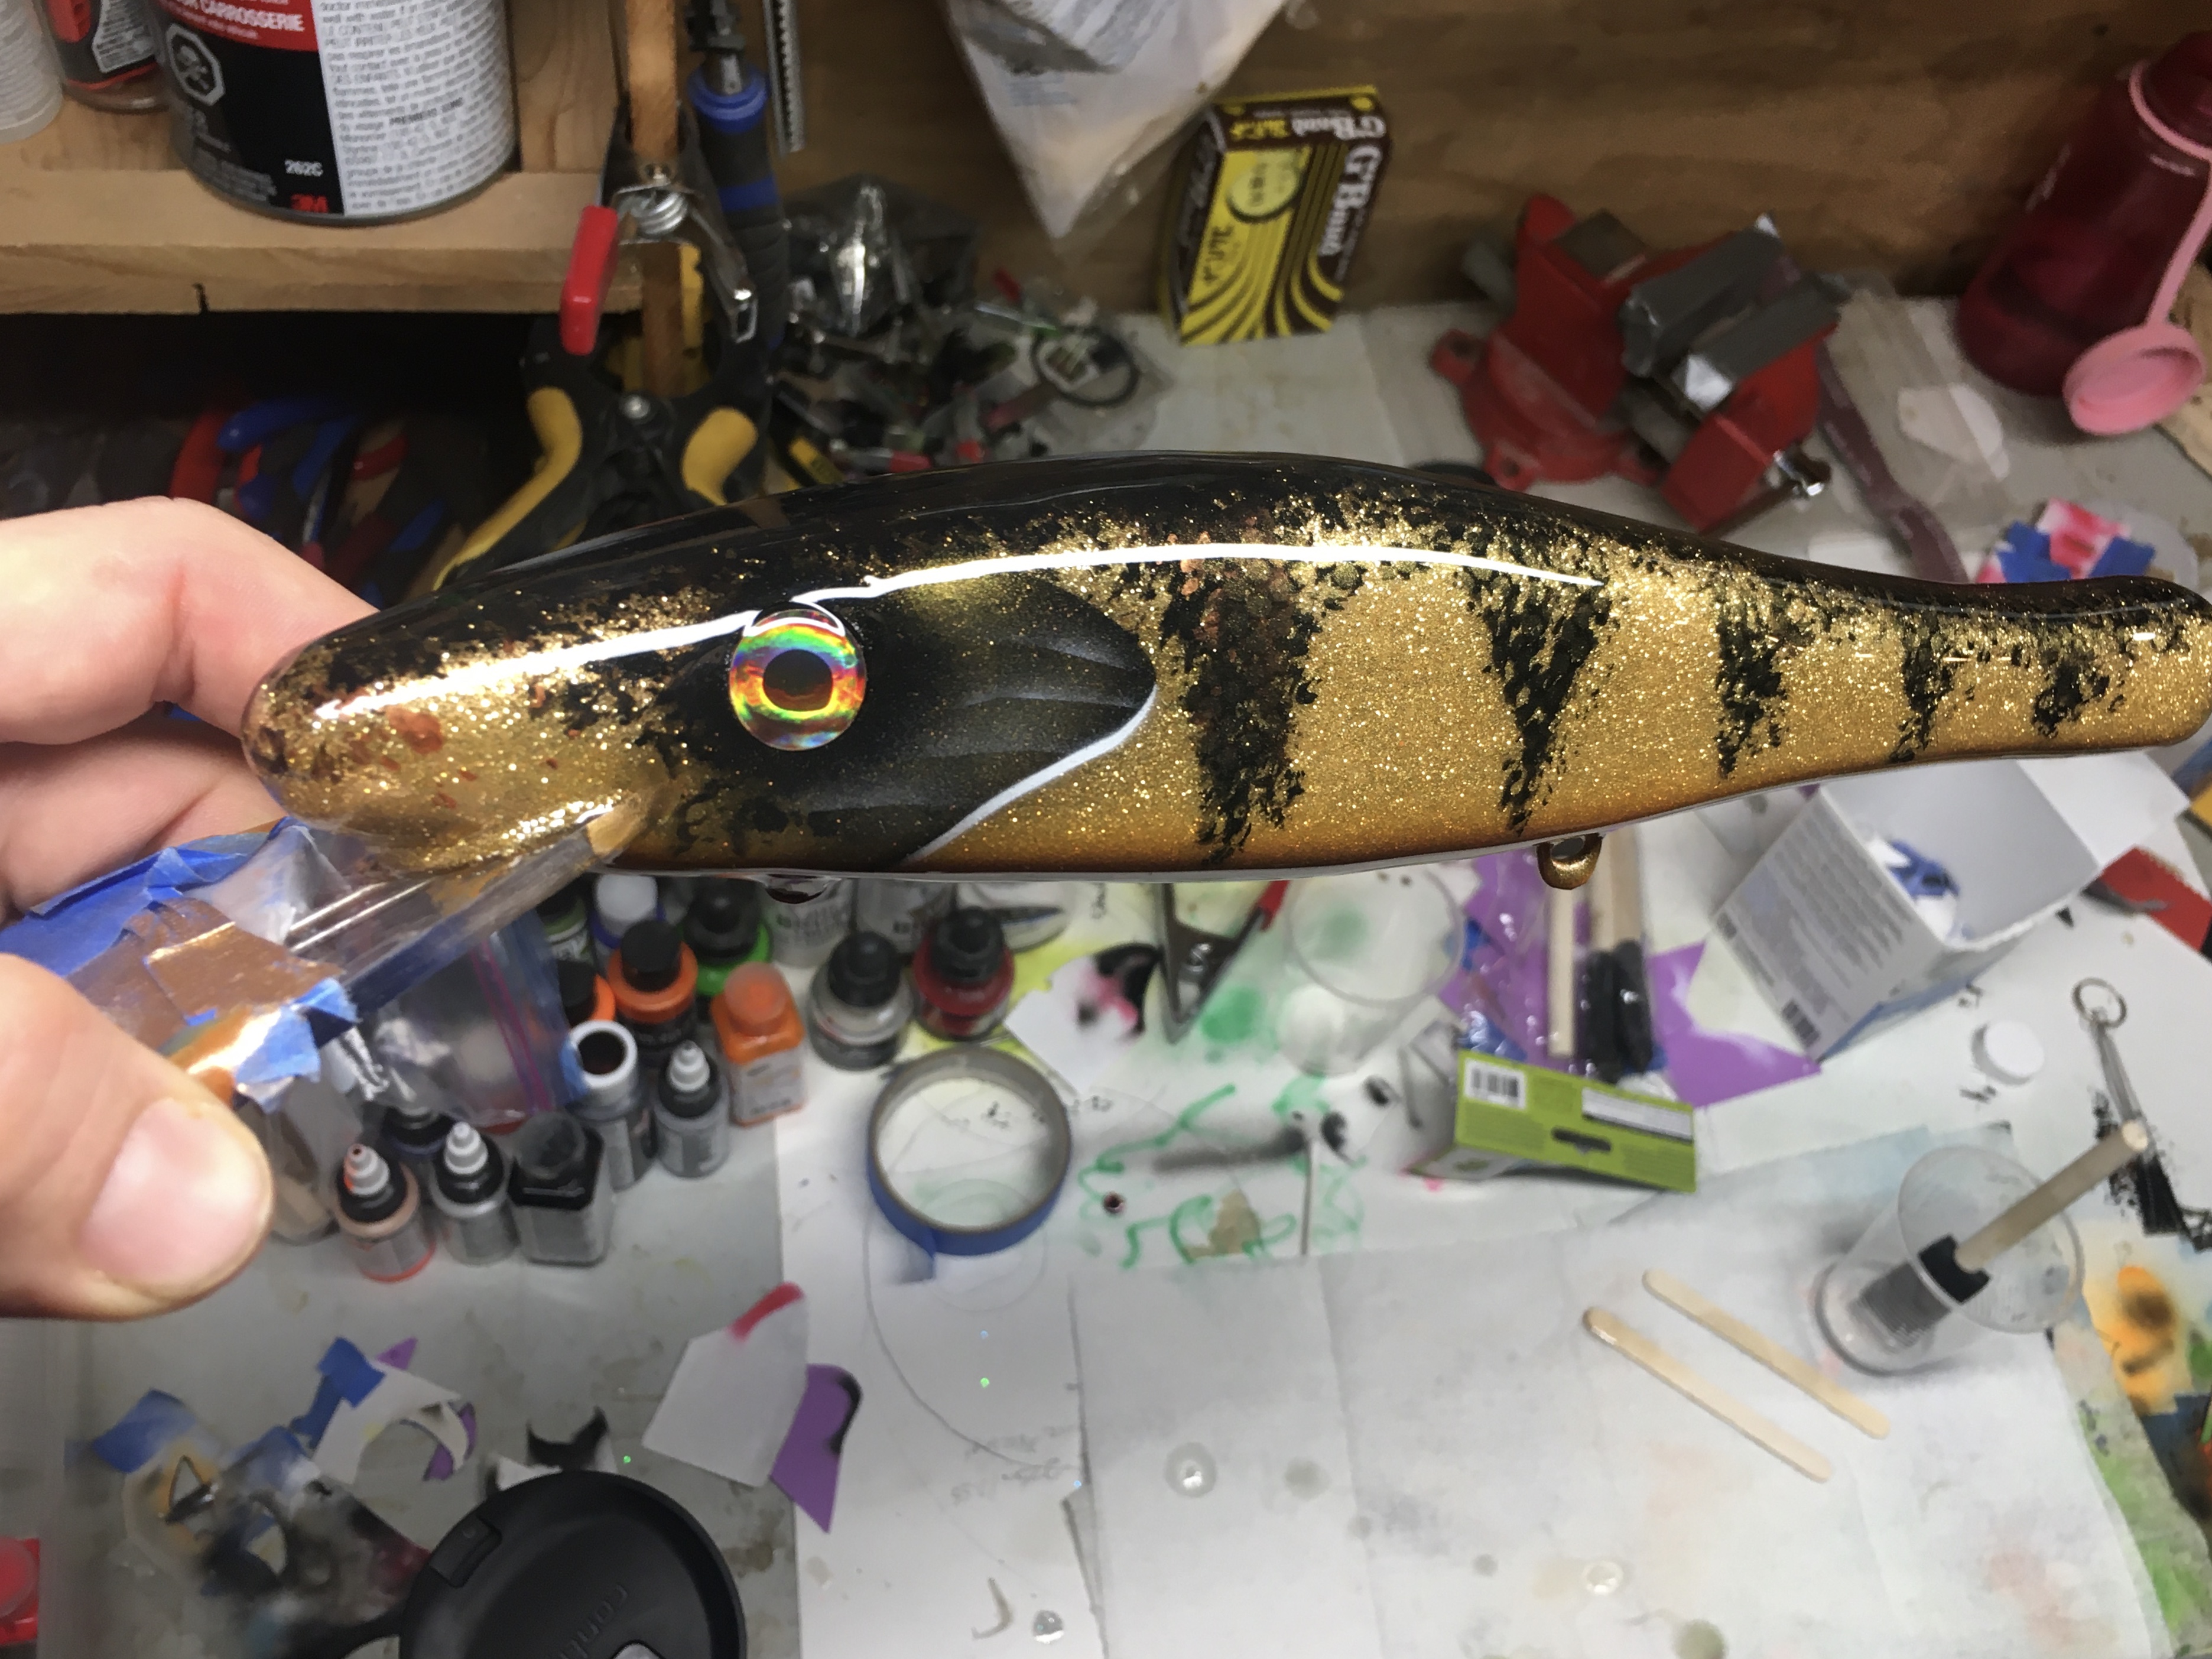
I've done a fair amount of work with glitter in my epoxy. As a base coat before paint, you can put almost any type of glitter you can imagine. I've used the cheap stuff from the dollar store, all the way up to the expensive metallic pigment. They all work. The larger size the glitter is, the harder it is to get a smooth surface overall. The pigment can be added over the top of paint to give the epoxy a tint kinda. Even a small amount of regular glitter works over top of paint.
I'll see if I can dig up some pics.
-
1
-
-
That looks great. How did you make that stencil in the first place?
-
Looks good so far! Keep it up. Don't be discouraged if you make a lure and it totally is a flop. We have all been there. Just give it a try, don't overthink your first lures.
The tough part of a diving crankbait is getting the lip slot to be perpendicular to the wood so it dives true. I like to cut that slip slot while i have flat sides. You will have to kind eyeball where to put the lip. At this point I would take some 80 or 120 grit or so and sand it to the shape you like it. Maybe finish off with 220 or so. Then cut the lip slot/put wire in and weight (it will most likely need a bit of weight to give it a ballast). Once all the hardware is in, I would seal the wood one way or another. It helps keep any moisture out, but really it can help the overall appearance of your lure. There are tons of methods - polycrylic, polyurethane, superglue, epoxy are a few.
Size and shape of the diving lip will be tricky to if you want to make a unique lure. Honestly, copy one of your favorites to start. It will give you a feel for how it works. Then you can start making the same kinda lure and try different size or shapes or angles, there are many options. You can learn a lot from the ones you fail at too!
There is tons to talk about - keep asking questions.
-
2
-
 2
2
-
-
It was @fishordie79 that helped me with my own lure eyes. It just adds to the customization! and fun.
-
1
-
-
Go to the tutorial section of this form. There is some great information about how to make lure eyes. I forget who walked me through it. But I was able to use a version of photo editing software and make my own holographic water slide decals with eyes, then drop epoxy on the eyes to get that 3d shape. I'll see if I can find the links.
-
1
-
-
I have used a small c clamp to hold together a stack of lips. I will cut them to rough shape (individually) on a band/scroll saw. Clamp them together then I will use my belt sander to finish the shaping. It works ok. It ensures you at least have consistency between that particular batch of lips. I usually only make like 10 lures of the same type, so I don't personally need 1000's, in that case you may need a better system.
-
I also like the bondo aulrich posted. I will put in just a small amount of the hardener, so I have some working time. Make sure its all the way mixed. Then once I force it into the slot or whatever needs filling, I will wait about 4-5 minutes (very much depends on the amount of hardener). Once it is semi hard it is super easy to use a razor knife and take off all the high points. Then once hardened, sand down as required.
I sometimes use epoxy/saw dust, wood filler, or the baking soda super glue trick. They all have their places. Bondo works well for a larger slot on my musky lures (it is also the cheapest and one of the strongest!).
-
2
-
-
I've used flex cut knock offs (probably not quite as good quality as flex cut). All knives dull, even good quality ones. if you don't have the means to sharpen blades back to razor sharp, go with a knife that holds disposable razors. So, even though I have a few carving knifes, I often end up grabbing a razor blade knife because it is always razor sharp (its hard to sharpen a blade with a curve) lol.
The Lenox that was talked about is very good, it holds the blade without it wiggling. Some of the razor knifes with the snap off blades also wiggle around which is annoying. I have used the Milwaukee folding razor knife - but its blade release is kinda right where i like to hold it when I'm doing details, so i didn't like that too much.
lol so after all that rambling, my answer is I'm not sure yet lol. I use several different ones. Depends on the purpose. Very different when carving small scales vs rounding out a block to roughly shape it.
-
JD_mudbug is on it. You need some heavy duty knipex round nose pliers to make nice bends/loops, paired with vise grips, or a good set of pliers/kliens to pull on the "free" end. Anything small or no name you will bend the pliers eventually. I don't make alot of baits, so bending a few heavy duty wire harnesses is no prob for my hands (I work on power poles and wire as big as my arms, so .062" isn't to difficult). I have made a heavy duty jig in the past for a lure i made a lot of. I'll see if i can get a pic. I pound some nails into a board where i want the bends, and cut the head of the nails off. So i can use my kliens to pull the wire around the bends, and get a consistent wire harness.
Good quality tools make life slightly easier. I've never used any pre made bending tools.
-
1
-
-
Heck, while you have it in two parts, groove out the weight/rattle chamber, get the wire in there, before you put it back together (Unless it is going on the lathe I suppose).
I have done this with a few baits where I don't have the thickness of wood I need. Put a dab of superglue in two or three spots. Shape the lure. Pry it back apart at the center joint. This allows you to put in internal rattles, wire, weights... and then glue it back together. Lots of options.
-
Regular old wood glue. Make sure the two sides going together are flat, and use a good quality glue like titebond 2, and that wood will be as good as one piece.
-
1
-
1
-
-
Exactly what Bob/JD said. I use .051" or .062 for musky baits, and .041 for some of the smaller baits. I like to use SS tig welding wire. Cheap, straight lengths, and available in most hardware stores.
-
Exactly what he said! They are very thin layers. But I always wait a night before epoxying. Usually because I'm done for the evening anyway. It's a slow production for me. lol
-
I like using polycrilic as a midcoat between layers when I'm going to apply a stencil or mesh. I have had tape pull paint off, or if I mess up the stencil/mesh, i can wipe that layer back off to the midcoat and try again! It is like locking in the layers that I like lol. Safety blanket. I follow the steps that engineered angler showed in one of his vids. I dilute it with water, and spray several light coats onto the lure. It dries quickly. I will usually put on a coat before finishing with epoxy as well.
-
2
-

Paint Colors
in Hard Baits
Posted
I'd have a peak at your local buy/sell like facebook marketplace or Kijiji. Seems like a lot of people have gotten into airbrushing for a brief time and sell it all when they realize they don't want to do it anymore. I've picked up a bunch of Golden/Aztek/Createx paints for a bargain that way.