


markbxr400
-
Posts
30 -
Joined
-
Last visited
Recent Profile Visitors
402 profile views

markbxr400's Achievements
")
Newbie (1/14)
0
Reputation
-
I then use Durham's water putty to fill the remaining hole, and file/sand to shape.
-
I drill and glue in the small (1/32 oz or 1/16 oz) bullet shaped worm weights along the bottom of my lures. I space them as needed to get the best orientation and action in the water.
-
Good idea. Just started turning, carving and painting my own River Runts and Vamps. Search "Carving the face of a river runt" to see my tutorial. Search my gallery, or search on the hard baits gallery for "runt" to see the accompanying pictures. Each pic also has a description of that step. Thanks to everyone who have and are contributing to my learning. Mark
-
I went ahead and took pictures of each step in my process and posted them in the gallery in the hard baits section. Each pic has a description of the process. You can find them by searching for "runt" or looking in my gallery (member name "markbxr400"). While there seems to be quite a number of steps, the whole process takes me less than 5 minutes per lure, and I get fairly consistent results from lure to lure. These lures dive well, and action is very good. I've caught dozens of speckled trout and redfish on these. I hope this helps. Mark
-
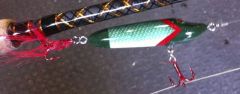 The finished lure after painting and epoxy.
 -
 Final product.
 -
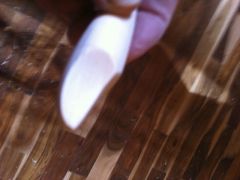
 wrap a piece of cloth type sandpaper around a dowel, and smooth the two sides of the nose.
 -
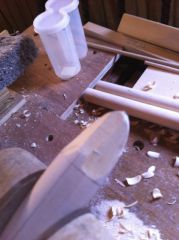
 This is what the nose looks like after the rasp.
 -
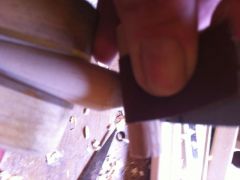
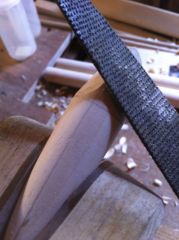
 Another pic of using the rasp to smooth and final shape the nose.
 -
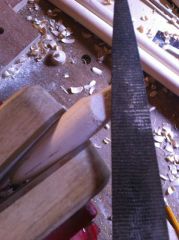
 Using a rounded rasp (I use a Dragon file), lightly continue to shape and smooth the two sides of the nose.
 -
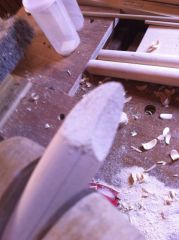
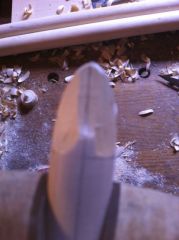
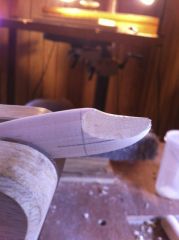 Profile view of carved nose.
 -
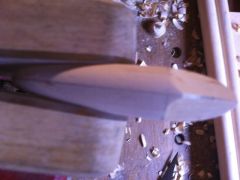 This is how the nose looks after carving.
 -
 Now, using the bent skew chisel, continue working the two sides of the nose to the new top centerline.
 -
 Redraw the top centerline along the new flat area just created in the last step.
 -
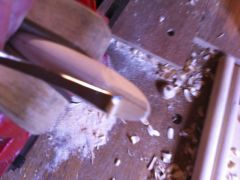
 Using your chisel, carve right down the top line to start creating a curve nose.