markbxr400
TU Member-
Posts
30 -
Joined
-
Last visited
Content Type
Profiles
Articles
TU Classifieds
Glossary
Website Links
Forums
Gallery
Store
Everything posted by markbxr400
-
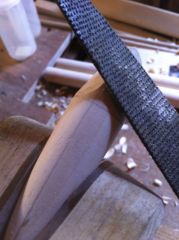
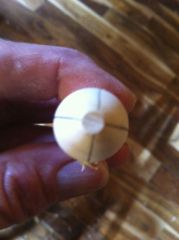
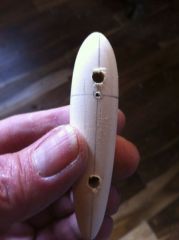
I then use Durham's water putty to fill the remaining hole, and file/sand to shape.
-
I drill and glue in the small (1/32 oz or 1/16 oz) bullet shaped worm weights along the bottom of my lures. I space them as needed to get the best orientation and action in the water.
-
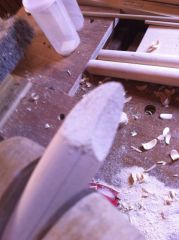
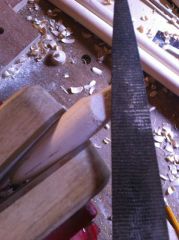
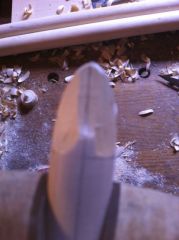
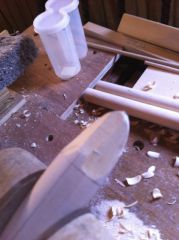
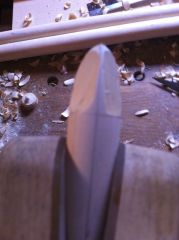
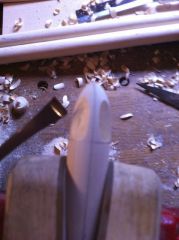
Good idea. Just started turning, carving and painting my own River Runts and Vamps. Search "Carving the face of a river runt" to see my tutorial. Search my gallery, or search on the hard baits gallery for "runt" to see the accompanying pictures. Each pic also has a description of that step. Thanks to everyone who have and are contributing to my learning. Mark
-
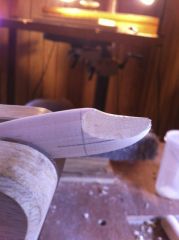
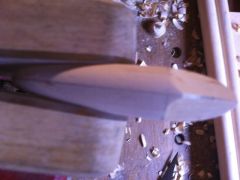
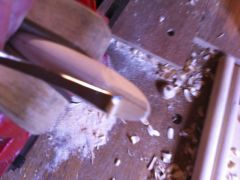
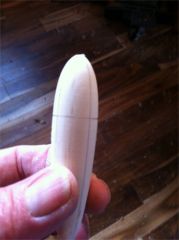
I went ahead and took pictures of each step in my process and posted them in the gallery in the hard baits section. Each pic has a description of the process. You can find them by searching for "runt" or looking in my gallery (member name "markbxr400"). While there seems to be quite a number of steps, the whole process takes me less than 5 minutes per lure, and I get fairly consistent results from lure to lure. These lures dive well, and action is very good. I've caught dozens of speckled trout and redfish on these. I hope this helps. Mark
-
-
-
-
-
-
-
-
-
-
-
-
-
-
-
-
-
I try not to over think this. I tend to lose lures, so I don't get too hung up on them having to last forever. I'll usually knock out a dozen at a time. I use Minwax sanding sealer - dip the lure, use a wire or disposable Oral-B dental brush dipped in the sanding sealer to work it in all the hardware holes. I probably dip each one for 2-3 minutes. I'm more interested in making sure I have the sealer in the holes thoroughly, rather than the exterior. I let them dry about 12-24 hours, lightly sand and start my painting. After painting and installing eyes and hardware, I coat with a single coat of E-Tex, and turn 4 lures at a time for 8 hours on a simple rotisserie. I let them dry 48 hours total, clean up the eye hooks, install the rings and hooks and go fishing. I notice you don't have a rotisserie - Lowes is clearing them out for $22 now. I just screwed two 1x4 boards about a foot long standing up off a 3rd 1x4 board about 30-36" long (depends on the rotisserie you get). Mount the rotisserie, add 8 alligator clips, one to each rotisserie prong, and then use wire and a rubber band to mount the lures to the alligator clips.
-
I've not noticed any shrinkage. I fill the hole completely, and just proud of the surface of the lure. Once dry, I use a small file to shape the filled area back to the surface, then sand. Once I've sealed and painted, I can no longer tell it was ever drilled/filled. It's a pretty quick and effective way for me. Mark
-
I have been using Durham's Water Putty. Mix a little of the powder in a small cup with water to a putty consistency, spread it in, let it dry, file and sand it off. Waterproof when dry.
-
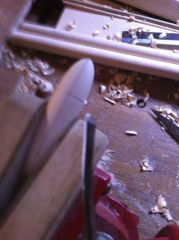
I bought the vise to build a replica Martin OM acoustic after retiring. Amazing the things these vises can hold throughout the process without the jaws messing up the piece.


