LHL
-
Posts
50 -
Joined
-
Last visited
-
Days Won
4
LHL's Achievements
")


-
I'm far from an 'expert' but have some anecdotal advice I'd like to give you: There's a fine balance between stability and instability in a glide and I think you did a great job showing this in your experiments. An 'unstable' lure will have a tendency to roll. This roll is also what causes the lure to have an 'S' swimming pattern when straight retrieved. Instability is increased the higher the center of gravity is. A ballast close to the center line will cause it to roll and the further away from the center line the more stable it will be. A stable lure will have no roll, and therefore no swimming action on a straight retrieve BUT will often have a really good gliding action when given a hard twitch. It's because this hard twitch/jerk forces a point of momentary instability, and when the lure stabilizes itself it then glides like a torpedo in a straight line either left or right. You need something that is stable enough to glide, but unstable enough that it has a small amount of belly roll. From your experiments, I think you found both "extremes." My advice would be to find something in the middle. Two things I would try: 1. Start with the most stable gliding bait, drill out your weight holes and add the weights. Test it. If it's a torpedo on the straight retrieve, remove the weights, drill the holes deeper (closer to the center line), put them back and test again. Keep doing this to see what happens. My thought is the closer the weights are to the center line, the more it will roll, but the less it will glide. 2. Start with the better swimming lure. Remove a small amount of weight from the largest ballast and take that little bit you removed and add it back to the bait so that it remains level when sinking. Test it. Keep doing this until you achieve a glide that's far enough with a bit of belly roll and you should be able to also have it swim on the straight retrieve. The last thing you could do would be to change the shape of your lure... This sounds like it would be the most difficult but it would be interesting to see what your lure looks like to get a better idea of what's happening.
-
Adding the ballast for me removed all body roll in the bait as far as I can tell. The body is more or less a cigar shape with the belly slightly deeper than the rest of the bait to put the ballast weight as low as possible. It's still free to spin around the shaft but it rights itself as soon as it hits the water and has yet to spin out on any speed retrieve. The belly hook also helps with this.
-
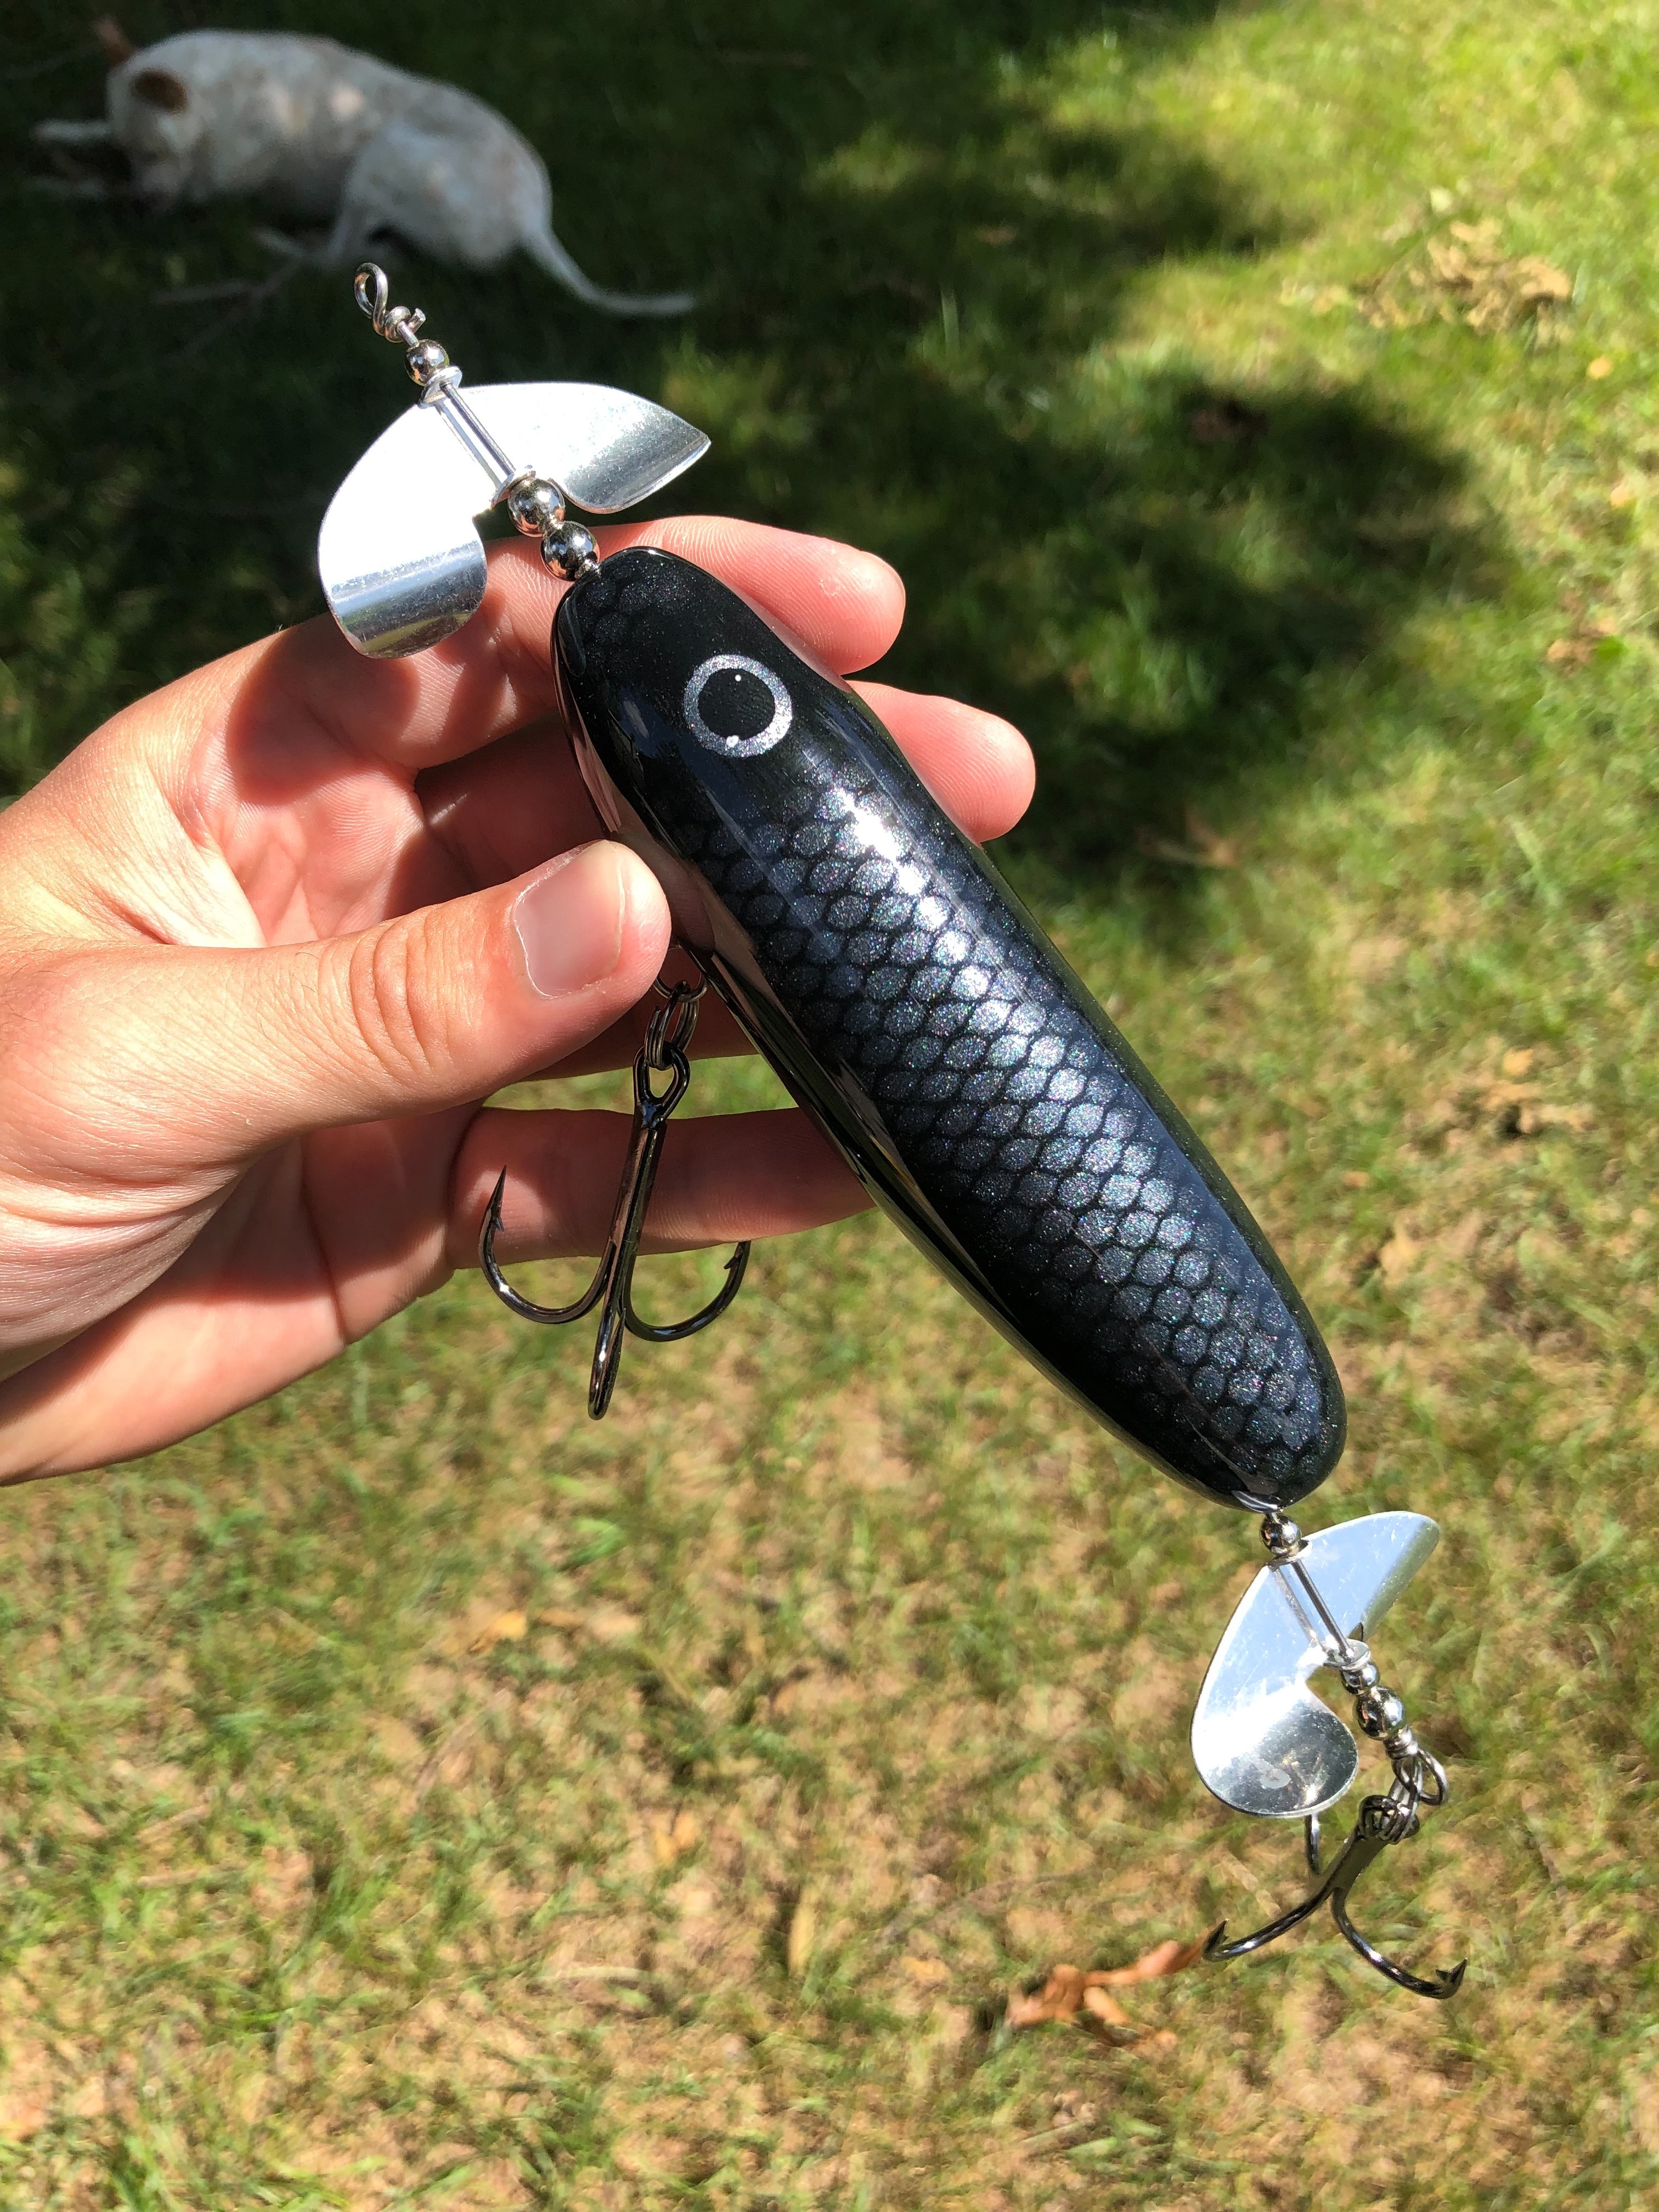
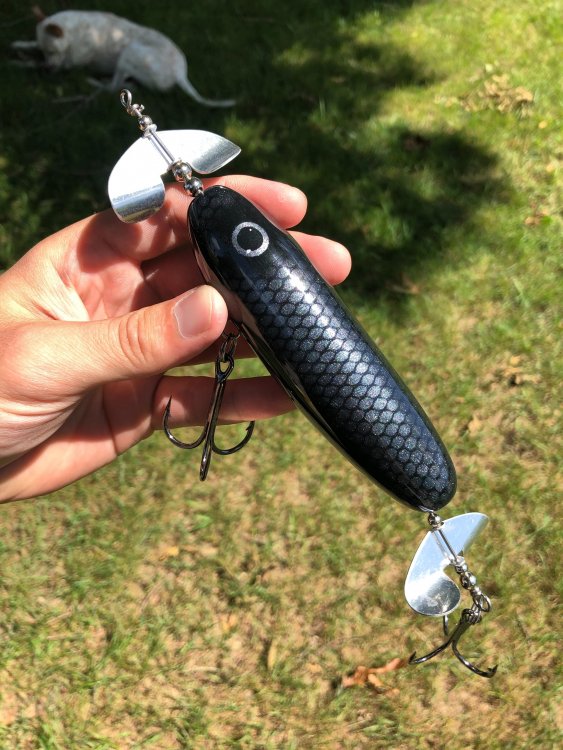
JD has already provided a ton of good information but I'll throw my hat in the ring here since I just recently built a delta prop bait. Hopefully this picture can help explain some things. I went with a through wire construction so I started by carving the cedar blank and then drilling a hole straight through the bait. This presents it's own complications as the wire is free to slide back and forth which will pinch the blade in the back when retrieving the bait, stopping it from rotating. To counter this I added a bead in the back and then bent the wire in a 'Z' shape so that the bead presses against the body when the lure is retrieved but stops at the bend in the wire, leaving the rear blade freedom to spin. Check out Musky Madness Trophy Topper for better pictures of the bend. I didn't go with the cup washers or screw eye base eyelets but if I were to do it again I definitely would. The final note I'd make is I added a small amount of weight just behind the front hook hanger to act as a ballast to keep the body from rolling on the retrieve. I'll have to double check but from what I remember in my testing this bait sits pretty level, if not very slightly tail down. If it sits nose down then the front blade will dig and not throw any water which is the whole point! This is a more subtle top water but if you bend the blades up to almost 90 degress you'll get a lot better commotion out of it.
-
"Papa Red Fish" on Instagram made a tank akin to a lazy river to show the action of some of the lures he makes. It's a really interesting concept you can see here: https://www.instagram.com/p/CMPHg1KH7cu/
-
Like most I use Devcon 2 ton epoxy and scuff the lips with 80 grit sandpaper. I had to remove one of the lips because it slipped out of position (whoops). I ended up using a hammer to pop it out but instead of the lip coming out cleanly the entire nose of the bait broke off. The epoxy joint ends up being stronger than the wood itself in my case.
-
Ahh okay that makes more sense! Thanks for the clarification.
-
I'm slightly confused on these pictures @eastman03 since I can see your stay-lok snap connected to a screw eye, but the connection point on a headlock is to a pin on the aluminum lip. Where did this screw eye come from?
-
You'll probably get more response posting in the soft plastics section of the forum
-
For a 7inch glide bait I personally like to have one hook in the first third of the bait and a second hook on the back third. I've noticed that a lot of predatory fish will hit a glide head first, and so a hook near the front is very useful. As for the weight placement, Hillbilly has a great idea: drill several holes along the entire body of the lure that will accept weights and temporarily hold them in place with screw or tape or hot glue etc. This will really allow you to play with the weight placement without building a ton of lures. Be sure to bring a notebook with you too and take lots of pictures if you can. The mind can easily forget! (Maybe that's just me?..)
-
I actually really enjoy epoxy I currently have (not etex btw). It has a very hard but not brittle finish and has a long enough work time so I can clear coat 10 baits without it setting up on me. I work slow so the long cure time is actually preferable to me. It's worked great all summer until now but it's no big deal; just glad I found the answer to my problems and potentially help someone else who may have the same issues
-
I just wanted to briefly share something with you all that I'm sure most of you who read the safety data sheet on your epoxy already knew... My epoxy was taking an exceptionally long time to cure (4+ days) and I couldn't figure it out. I thought that I was not thoroughly mixing it enough or that I was handling the baits too much with bare hands. I ran through the gambit but just couldn't figure things out. One day while reading the side of the epoxy container I noticed that it said the epoxy should be cured in temperatures between 70F and 80F. It's winter here and the heat is on but my indoor temperatures are still in the mid 60's.... To remedy the situation, I repurposed an old heating lamp for a bearded dragon we no longer have and have now gotten the cure time back down to 24 hours! So if any of you are having issues with tacky epoxy and have 'tried everything' to get it to work, check the data sheet to make sure your are fulfilling your temperature requirements.
-
I would buy the colors you need! For example on my lake I've had a lot of success throwing white and chartreuse baits so I went out and added chartreuse to my collection of paints so that I can paint something I have confidence in. Or one lake I fish has a large population of hammer handle pike so I bought the colors to paint a pike pattern. I first bought the Createx Primary pack for about $25 and then added to the collection as needed.
-
@eastman03always has the best advice when it comes to musky lures! The only thing I would add to this other than what has already been said, is that when I drill through wire for larger baits, I prefer to drill a pilot hole with a shorter drill bit first for the nose and tail of the bait. The smaller drill bit is much easier to 'aim' and will not wander as much as the long drill bits. It takes a lot of practice but it definitely can be done! The first through wire construction baits I made were the slot method which is the easiest in my opinion but still very time consuming. I prefer to fill the slot with wood shims first so that I don't have to use as much epoxy. The only downside to this method is I'm not sure it would work with swivel hook hangers as the epoxy would get all over the swivels.
-
 LHL changed their profile photo
 -
Solid tip right there! I'll have to remember that if I ever use those. I have a bunch in a box but never used them before. But those are GREAT first lures! I can't build a crankbait to save my life so this is much better than I've ever done.
-
Harbor Freight 36 pack 1/2" horsehair acid shop brushes
LHL replied to exx1976's topic in Hard Baits
DJ Custom has a nice short video showing his process for taking care of the harbor freight brushes: