O'baits
-
Posts
20 -
Joined
-
Last visited
-
Days Won
4
O'baits's Achievements
")
Newbie (1/14)
24
Reputation
-
We're actually talking about the same thing but my lack of English throws my post a bit off the track. Not my native language, sorry about this. I'll try to explain again. Exactly correct, if you want a long glider, then weight is distributes evenly. It still has the zig-zag motion but it's hindered, although, it glides very good. By this I mean, when weight is distributed evenly, bait turns when you twitch it and then it glides straight or makes a very subtle arc. But if you wish to have walk the dog motion, and by this I mean what I and what is thought to be walk the dog motion where I live, meaning the zig-zag and to be more precise, the motion when you reel your bait in and when you make a pause, bait immediately turns, not few degrees but even as far as 180, then most of the weight should be behind CoF. I think there are two types of walk the dog motions or at least people understand this consept in two different ways; First is when bait turns by twitching and glides after this, And second being when you regularly reel the line in and when you stop, the bait immediately turns, even without any twitch. It doesn't glide well when weight is behind CoF, but it turns very quickly. This is what I consider walk the dog motion, you just reel your bait in and it makes swimming motion and when you stop, it makes a turn. And when you twitch this kind of bait, it might do a 180. So one more time, most of weight behind CoF = fast turn, glide hindered Weight distributed evenly = very good glide, turning only when twitching. Not turned very good by just stopping your reeling in. Weight in front of CoF = doesn't turn on stops, glides probably nose down. Hopefully this time I explained more precise.
-
Also, if you wish to make good "walk-the-dog" glider, then you have to consider that distributing the weight evenly on nose to tail, hinders the desired glide. You have to consider that to make an efficient walk the dog motion, weight or CoG needs to be behind Center of Forces. Center of forces is tallest and widest part of your bait, the point where water starts to flow freely pass the bait. Usually pretty easy to just look your bait from front and finding that point. Easy to understand with a dart. Flight of the dart is the widest and tallest point of the dart. Obviously. That's the CoF. Weight is in front of it. If you throw dart as it's supposed to be threw, it flies straight. In the other hand, if CoF is in front of the weight, weight wants to go pass this as air hinders the motion of the darts flight. So if you throw your dart flight first, it turns around, ie walk the dog motion of the baits. If weight is distributes evenly on both sides of the CoF evenly, motion is hindered quite a bit. If CoG is in front of CoF, walk the dog motion blunts away totally, it just glides straight. Like when you throw that dart the right way. If all weight is behind CoF, then the bait might do even as much as 180 degree turns. Throw your dart backwards and you'll see. Obviously needless to say, not all likes that motion nor they want that dominating their gliders. Then it's obvious they'll try to hinder that motion by getting the weight in front of CoF.
-
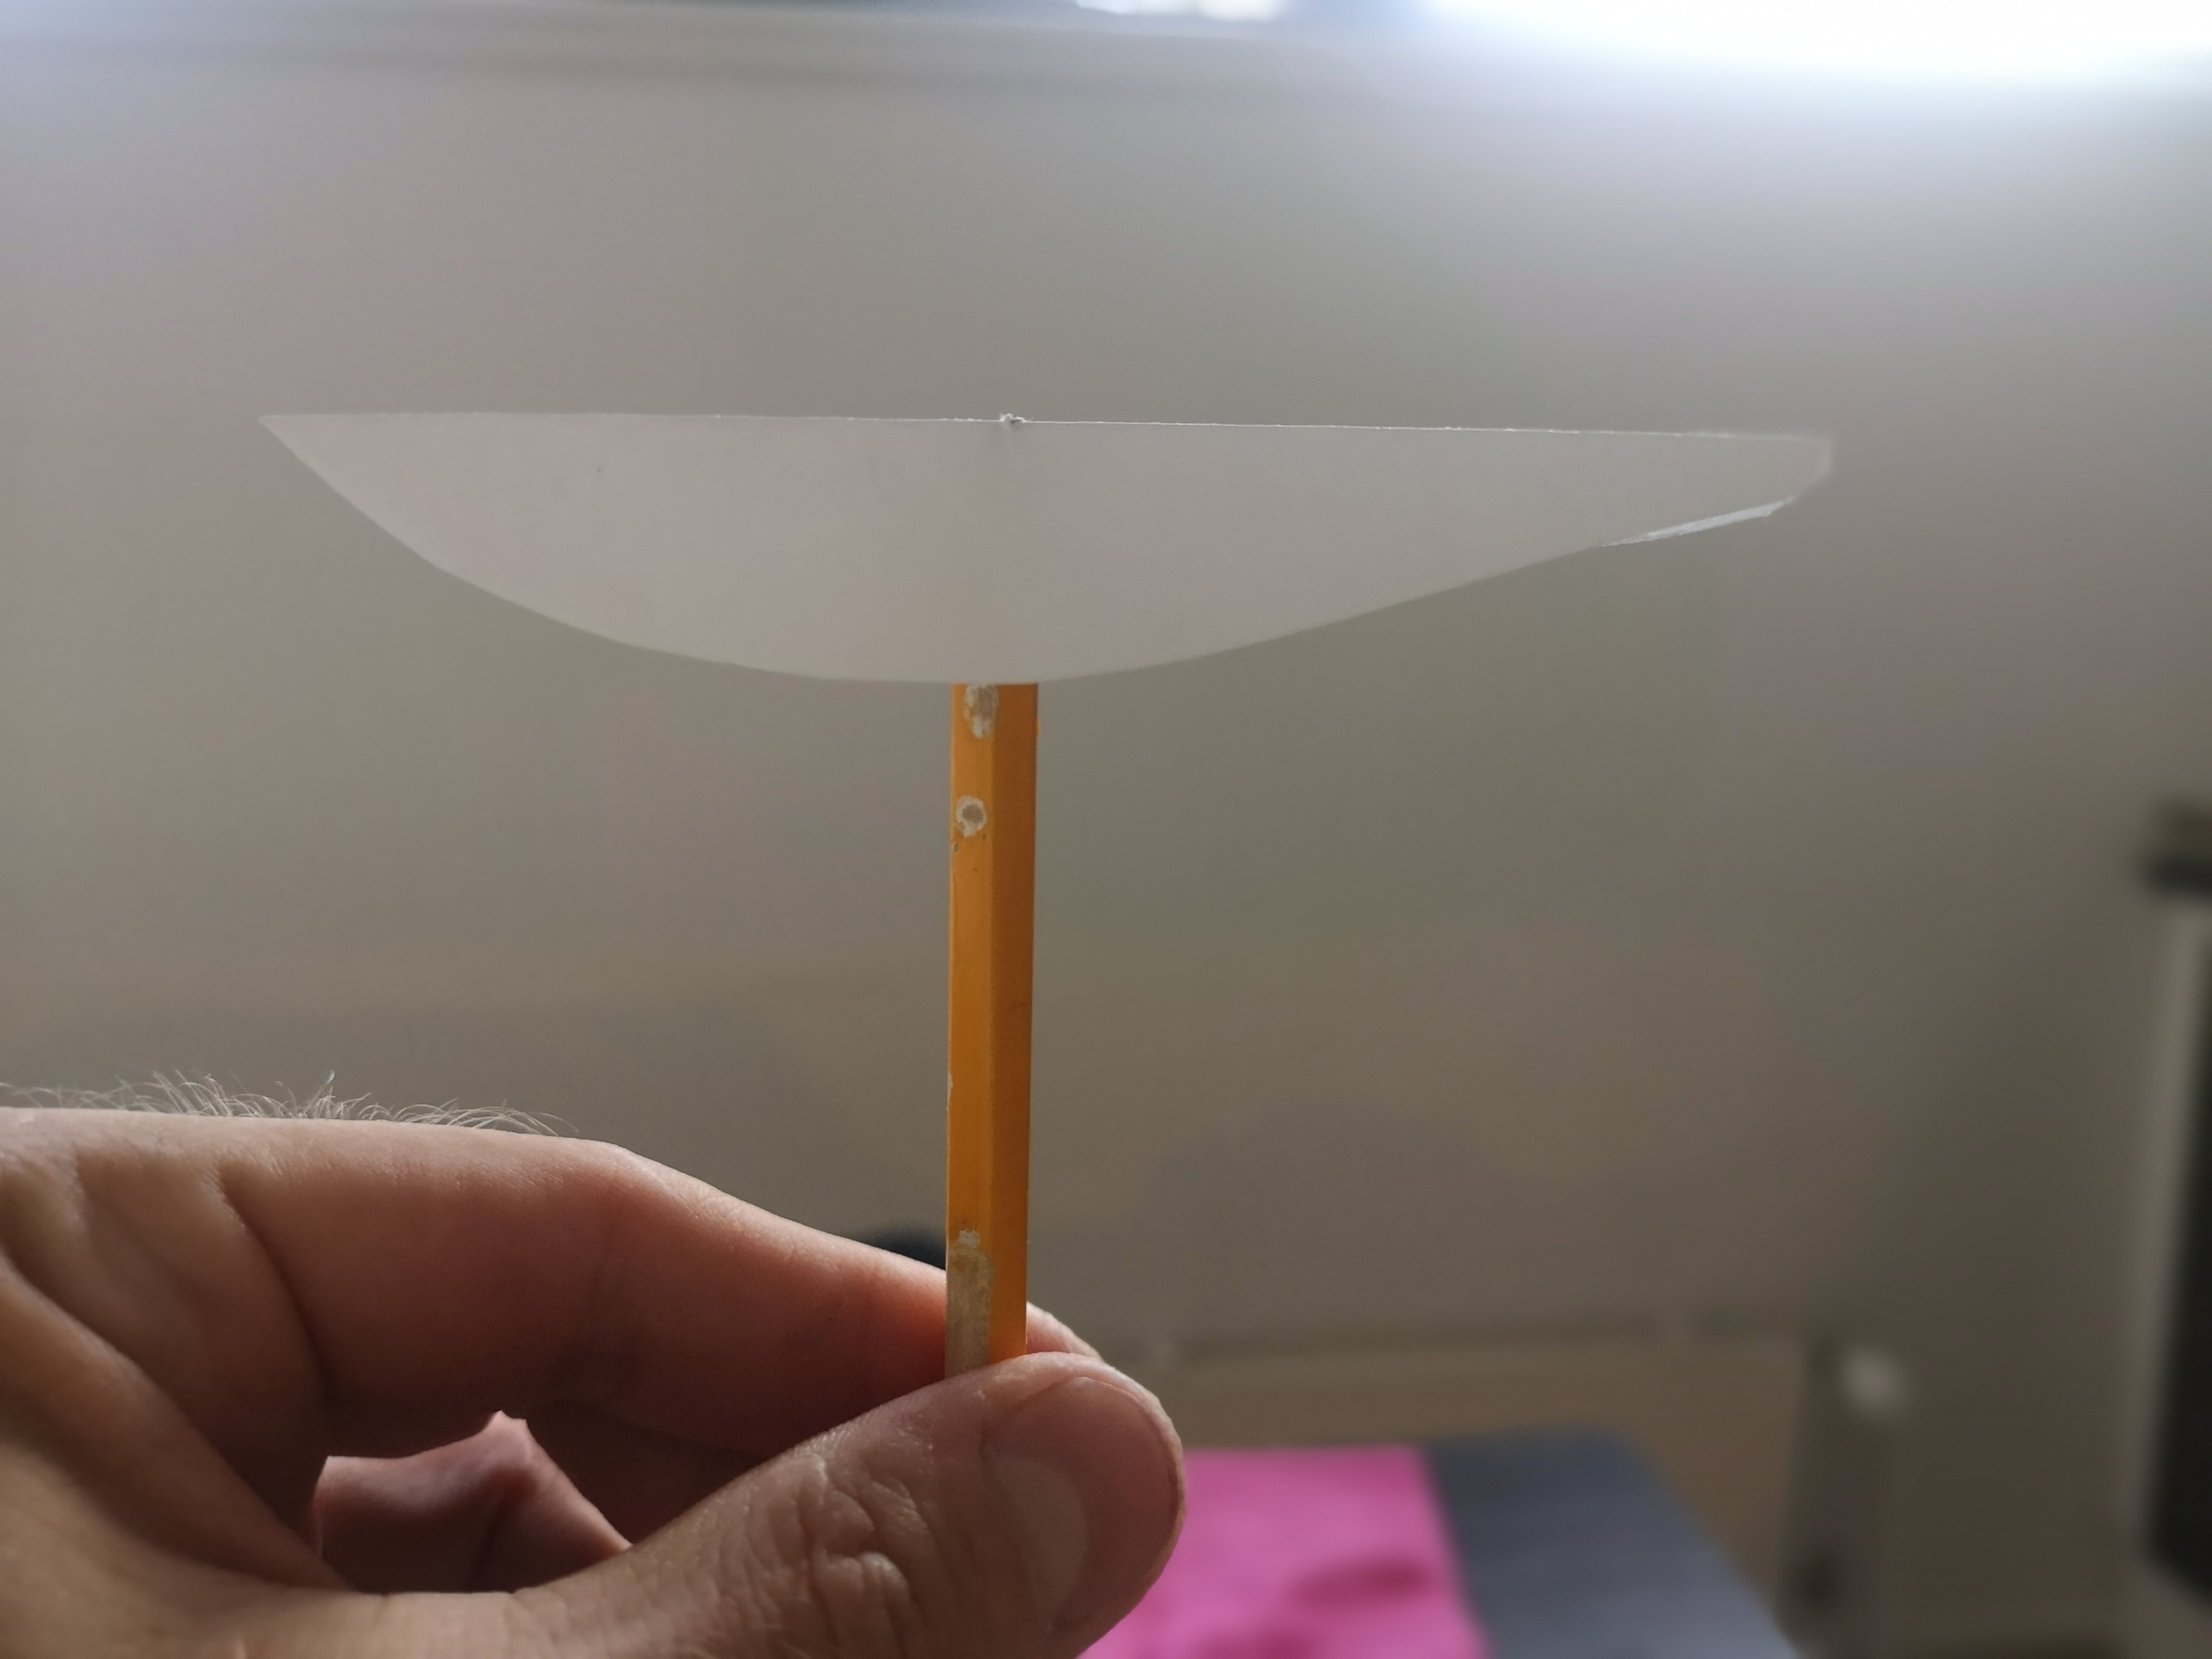
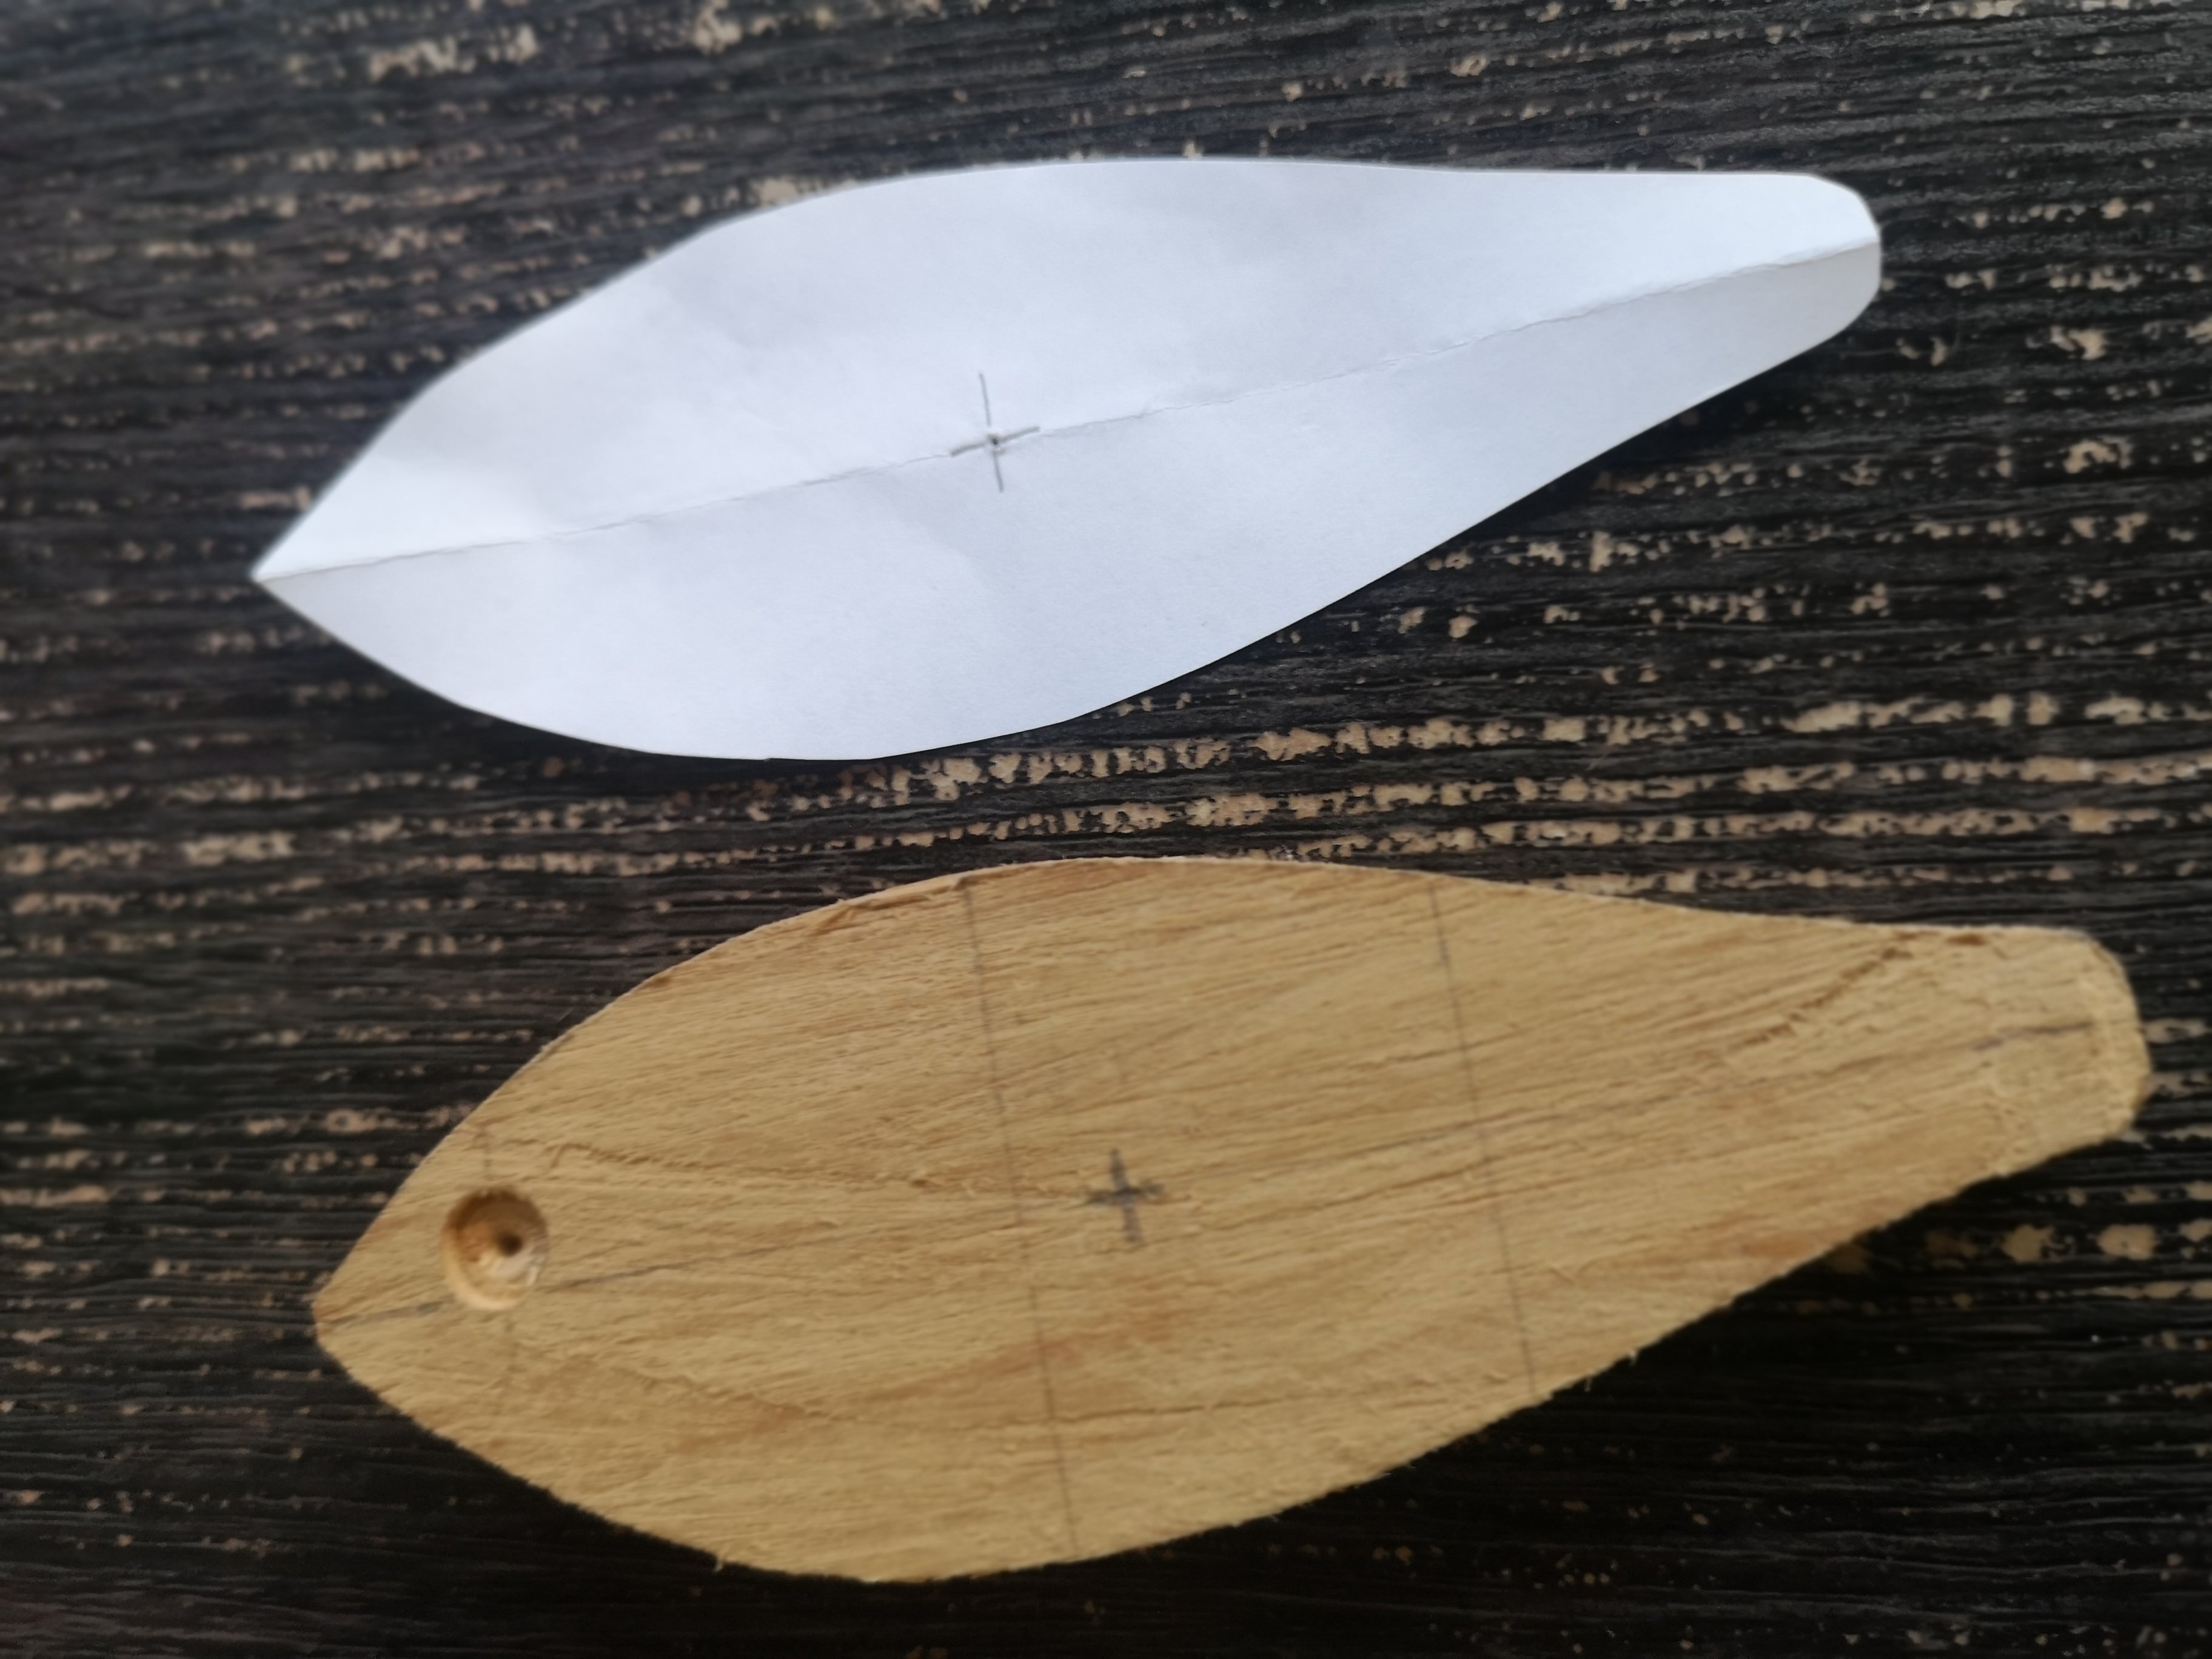
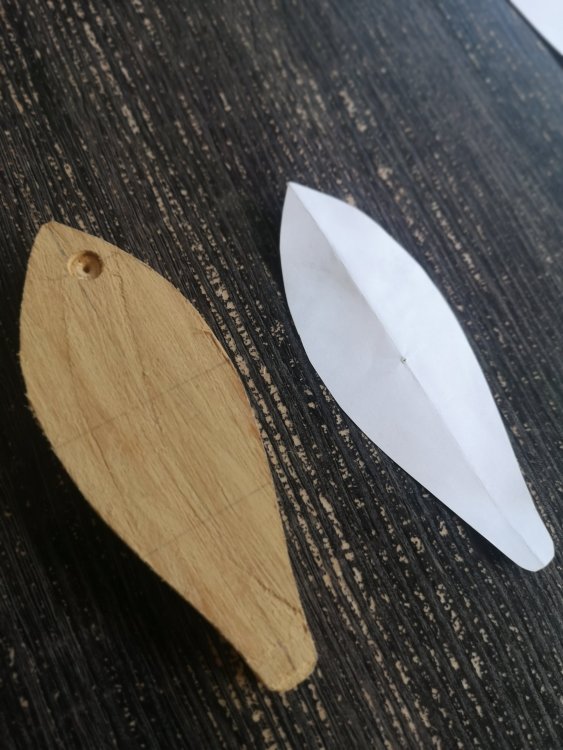
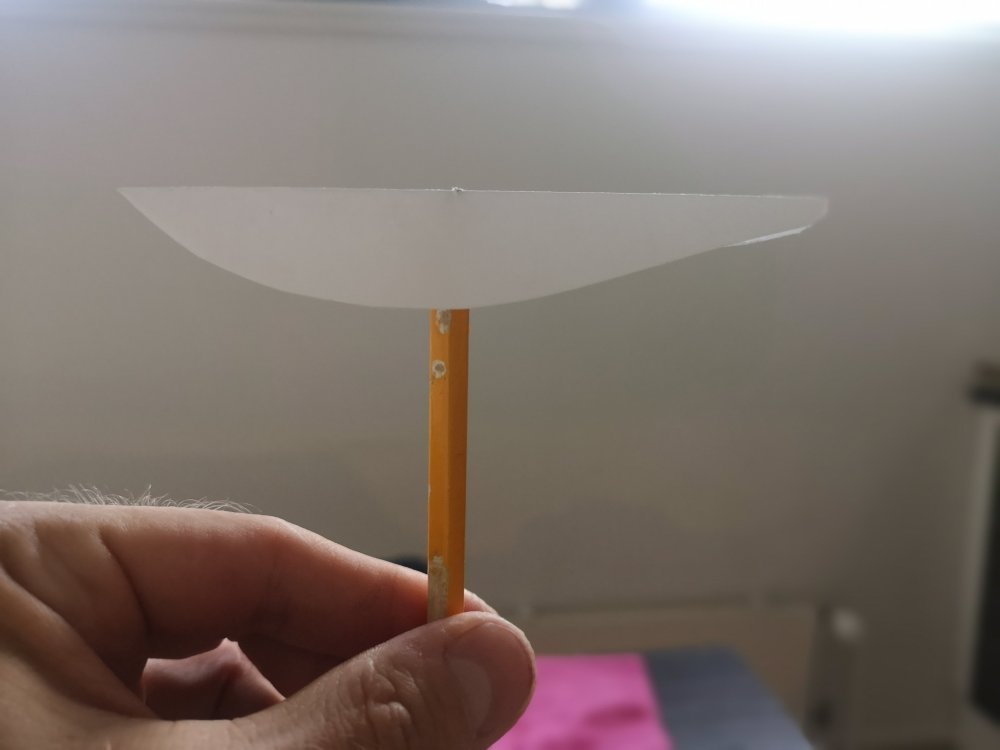
I use one of two ways, depending whether the bait is one part or jointed. For one part I use papertrick, shown below. First, I trace the bait to a peace of paper and cut it out. Then I fold it in half, find the balancing point and press my pen through. Then I mark the point to my bait. Easy way to find center of gravity for one part bait. For jointed baits, I always find the CoG for each segments. I could use this paper trick to find the center but then there's an weight distribution problems... So I use this method below instead. I'll take an rubber band and twist a small wire on to it. You can also use fishing line. I'll loop that rubber band on the segment of my bait and start adding weights to that wire. I can change the distribution of the weights by moving the rubber band to front or back, or adding a second one, like shown in pics below. Weight in front of the CoG. Weight behind the CoG. Almost perfect weight distribution. Then I mark these spots, drive holes and add these weights.


-
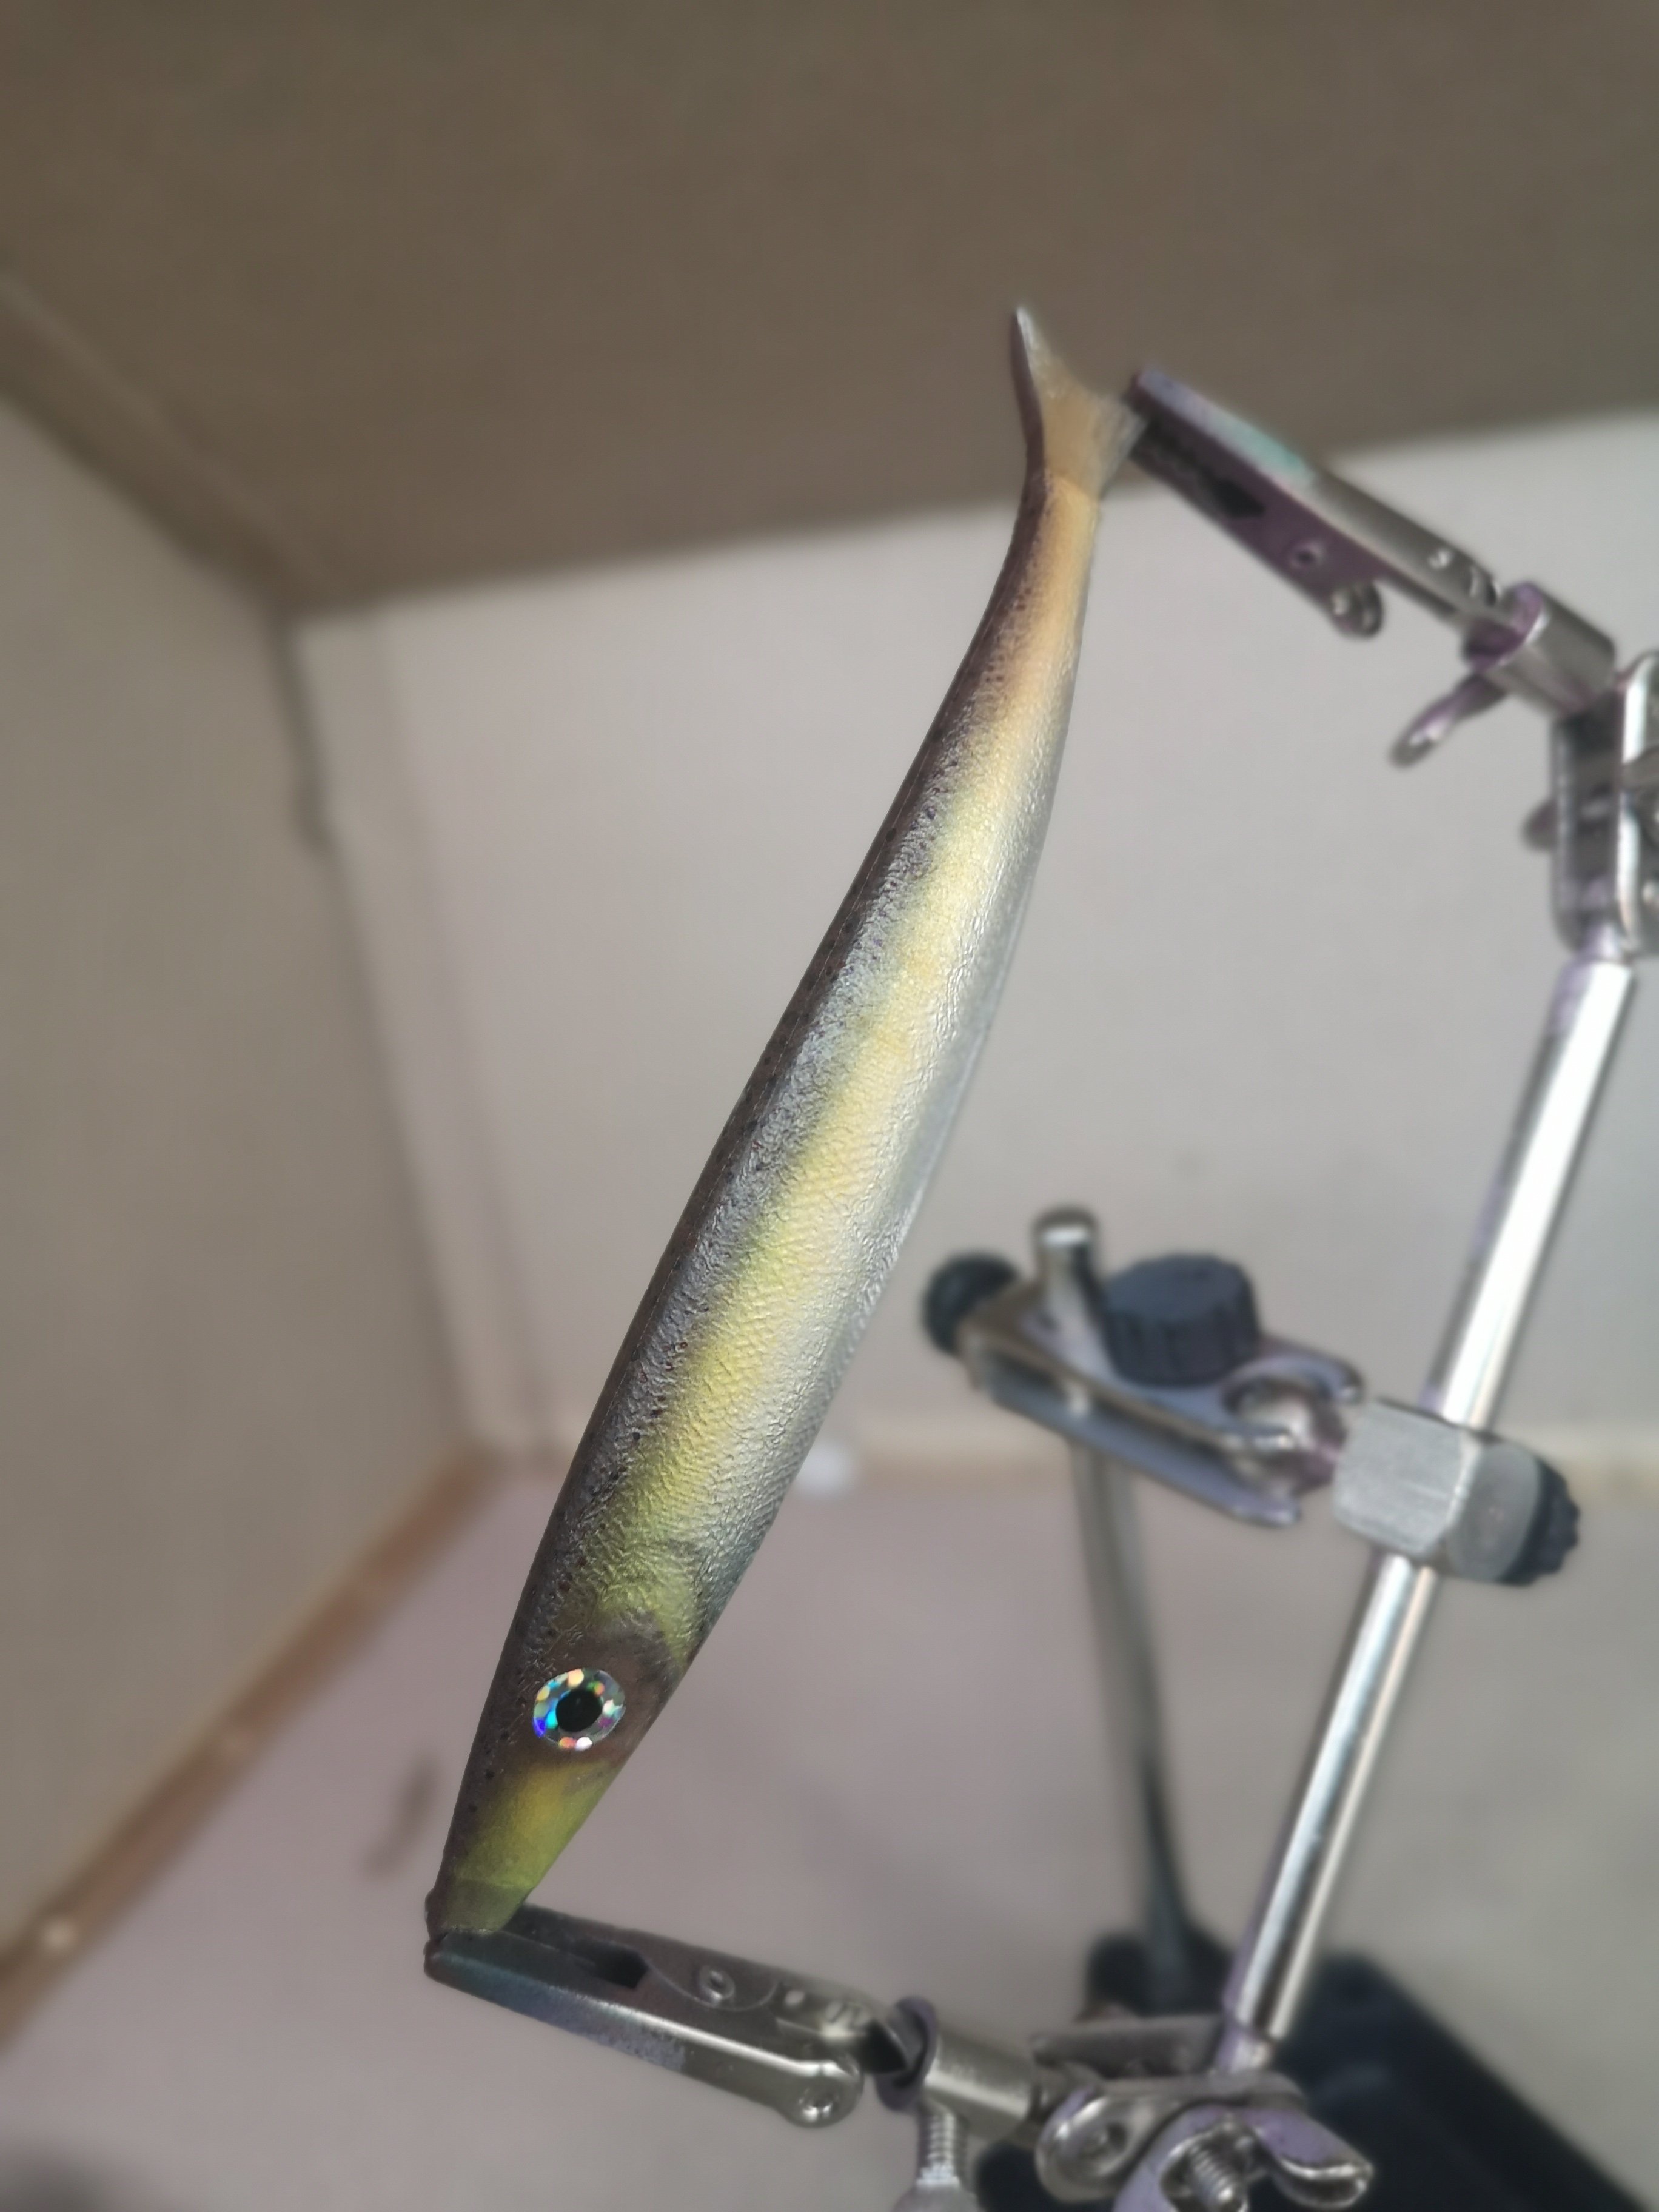
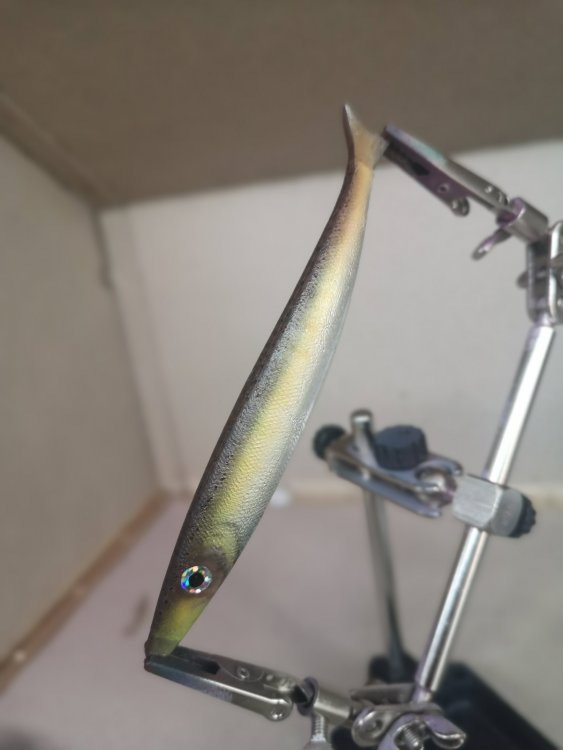
Weather is acting up so no testing yet for my lightened spoon. It means, I'll go forward with this design. Kinda mimicked an Roach fish here. Pretty basic color scheme, just a tad of fluoriscent red, blue and green on the sides which shows depending the lighting. Next step would be obviously epoxy coating but also making the stinger setup. Not sure how much it inhibits the swimming action but we'll see. Have to test with fluorocarbon, leader wire and Kevlar thread would also be one option. I know all of these are being used in these kind of baits so just have to test which is best for so small bait as this one.
-
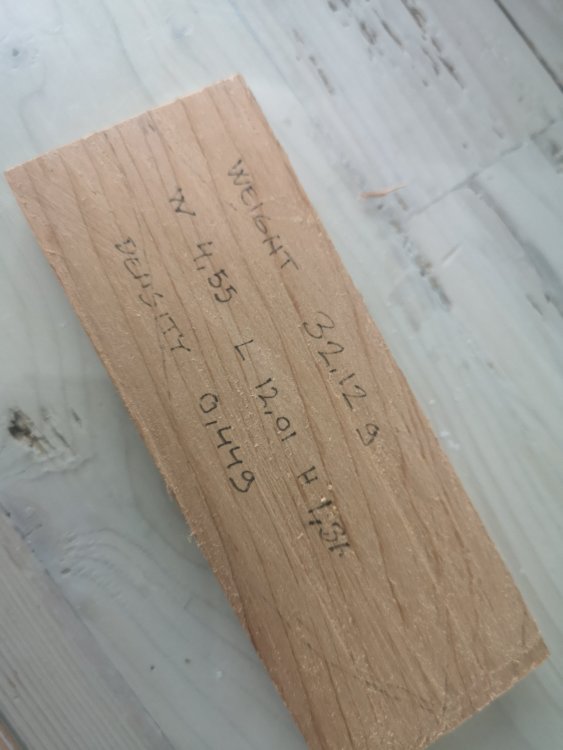
I got an PM asking how do I get the proximal weight and depths of the holes I melt the weight in. One important step I didn't tell or take pictures and now I'm kinda bummed because of it. But I'll explain the steps. I'll take the block of wood which I'll use to make my bait from. I'll measure and weight it, as shown below, before carving an bait out of it. This is just some scrap I'll use for and a ample. Using weight and dimensions to get the volume and the density of the block. Volume in cubic centimeters equals the amount this block has to weight for it to be neutrally buoyant, just before it starts to sink. So to super easy calculations, for density I need the weight and volume. To get that volume multiply width with length with height, W x L x H, which with this block is 4,55cm x 12,01cm x 1,31cm = 71,586 cm³ To get density, I need to divide weight of the the block with volume which is 32,12g / 71,586 = 0,449 g/cm³ Now that I have that density, I'll carve my bait from this block of wood and after it is carved, I need to know how much it has to weight for water displacement, to get it either neutral, slow or fast sinker. And to do that, I need to know the volume of the carved bait. And now I'll get that with one measurement and one easy calculation. No need to seal and sink it etc. I'll just weight the new bait and let's say it weights something like 17 grams. I'll take that 17 grams and divide it with that density, calculated previously. 17 / 0,449 = 37,862 cm³ It gives me the total volume of the bait in cubic centimeters which is 37,862 cm³. And because we're talking metrics here, we can change that cm³ directly to grams to get the weight needed for bait to be naturally buoyant. Add 10% from the weight that it weights now and it's a slow sinker. So this needs to weight, after rounding calculations up, 38g + 2g = 40g to make it an slow sinker. And this is after all the hardware etc. This is an very easy way to measure everything, throw the carved bait to scale, add hooks, rings and weights etc and then just assembly everything in place.
-
You sure can. It's common practice here in Rapala's birth country. It's usually done only for concave side, but you can test it and add it to both. Easiest way is to add epoxy glue, add thick coat of glitter and smooth this whole thing with epoxy. This usually adds about 2mm on both sides. This does wonder for the spoon, and gives a fair bit of lift to it. Cheers, Jarmo from O'baits
- 15 replies
-
- 2
-

-
- spoon
- trout spoon
- (and 2 more)
-
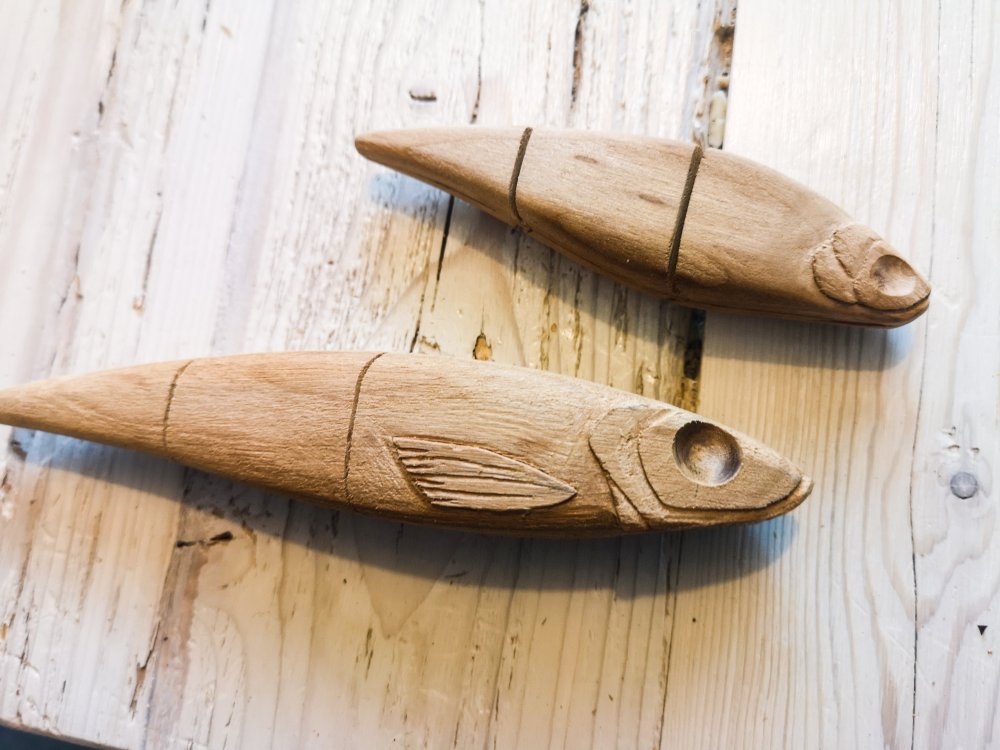
I watched your videos and they confirmed my initial thoughts, you my fellow luremaker have done a tramendous efforts in a way of research to give us all very good information. I've been studying various hinge types also, and double pin just gives that beautiful, almost real fish like swimming action. If this bait really works, I'll update my second version to an double pin variation. It's kinda big brother to this one, as seen in the photo.
-
Adjusting the weights. Have to say, this is the fun part as much as it is the pain in the a** part, trying to get every peace not just to sink in horizontal level, but to sink at the same rate. I always do this with my segmented baits, make a sink test with each part individually rather than connecting the peaces together and weighting the whole bait at once. Using bismuth as weight, doing my small good deed for the environment by leaving the lead out of it.
-
While my Trout spoon is drying, I'll go on with my other design, weedless swimbait. Weedless in a sence hooks are on the backside, kind of what you'd do with your soft baits. Hooks are attached to line, which runs along the backside of the bait, kept in place with small bits of silicone. Trying to get that perfectly balanced, three section swimbait. This is a small design, only 10cm (4") long, so it's going to be nitty pitty operation to get this swim right. But if I get this right, it's going to be one of the best hard baits I know. Cast, wait for it to slowly sink to bottom, then walk it slow or fast. You can get this where the big fish are, very close to bottom, with greatly reduced risk of getting it stuck on weeds etc and losing it for good. Although, I have to say, this might end up to be an epic fail... Carved and ready for the next steps After making the channel for the wire and hooks to attatch, and sealing the bait. Updating this as often as I get something done but it's probably going to be a slow project. Cheers, Jarmo from O'baits
-
Well it seems when choosing file to add, this site accepts GIF images also. So I took a small under 7 seconds video, downloaded an free app that changes video to GIF and run that. After changing my small video to GIF image, just added it to my post.
-
These spoons? These doesn't get bent as 3mm steel is pretty rigid. But I haven't had problem of cracking happening in any of my other spoons nor it has happened with my gliders either. I only use marine grade epoxy that is used with surfboard and boat building so it's a bit more flexible that regular laminating epoxy. Might be the reason this not happening to me. If someone had problem with epoxy cracking, would be interesting to study in which kind of bait this has happened and what kind of resin was used.
-
"Keep rollin' rollin' rollin' rollin' " Using epoxy to coat my baits, nothing to tell here that's not told several times already, but in case there's a lurker here searching for information, here's some.. Why would one use apoxy some might ask? Well there's nothing why it's a must. You could also use, say like polyrethane clear coat, dip you bait, wait for it to dry, dip again and so on. Depending what kind of paint, foil etc you've used, especially in case of glittering your bait, you have to dip quite a few times to get a glass like shiny surface to your bait. So there comes the ease of using epoxy, usually one coat is enough, sometimes I use it as a middle coat also after applying glitter, to get even base for paint.
- 15 replies
-
- 1
-
-
- spoon
- trout spoon
- (and 2 more)
-
Not yet but I'll post it as soon as I'll get this one made ready. Clear coating today so I'll try to post it later this upcoming weekend. I'll also post the swimming action of the traditional model so we can compare how both of these swim and if this is an upgrade or total failure. Jarmo from O'baits
- 15 replies
-
- 2
-

-
-
- spoon
- trout spoon
- (and 2 more)
-
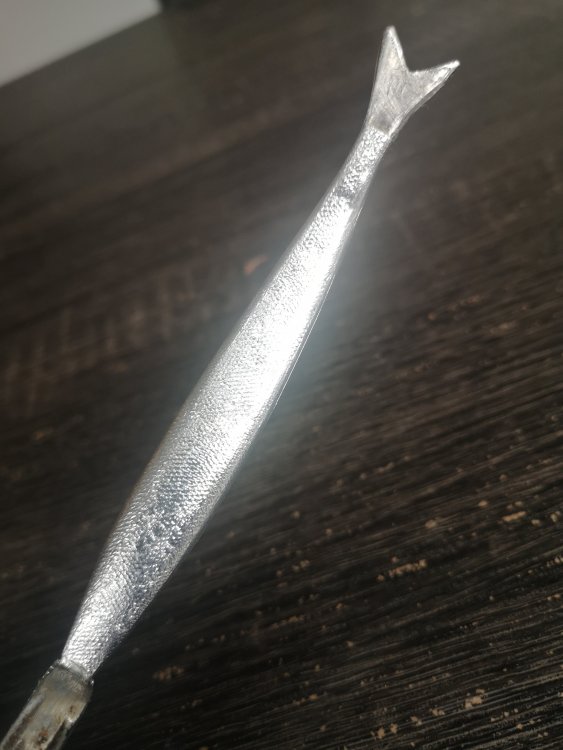
After foiling with aluminium tape. Pressed the scales by rolling exacto knife over the foiled spoon. And painted lure. Painted directly over the foil, without first adding clear coat. This way I can get more life to my paintwork, when paint adheres and reflects differently on high and low spots of the foil.
- 15 replies
-
- 1
-
-
- spoon
- trout spoon
- (and 2 more)
-
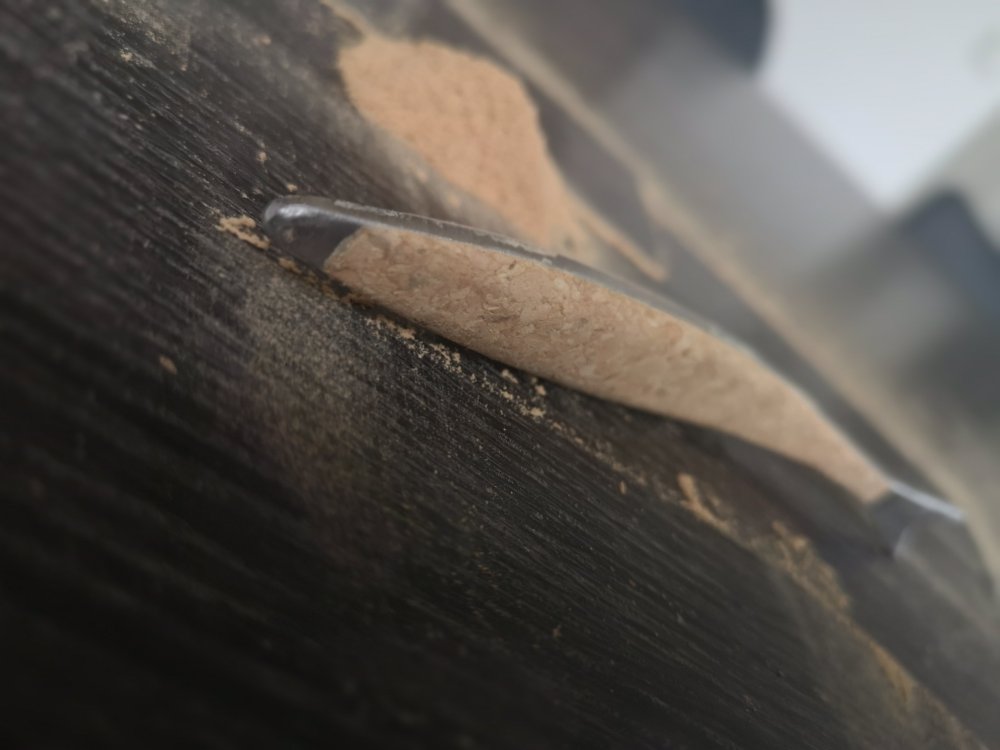
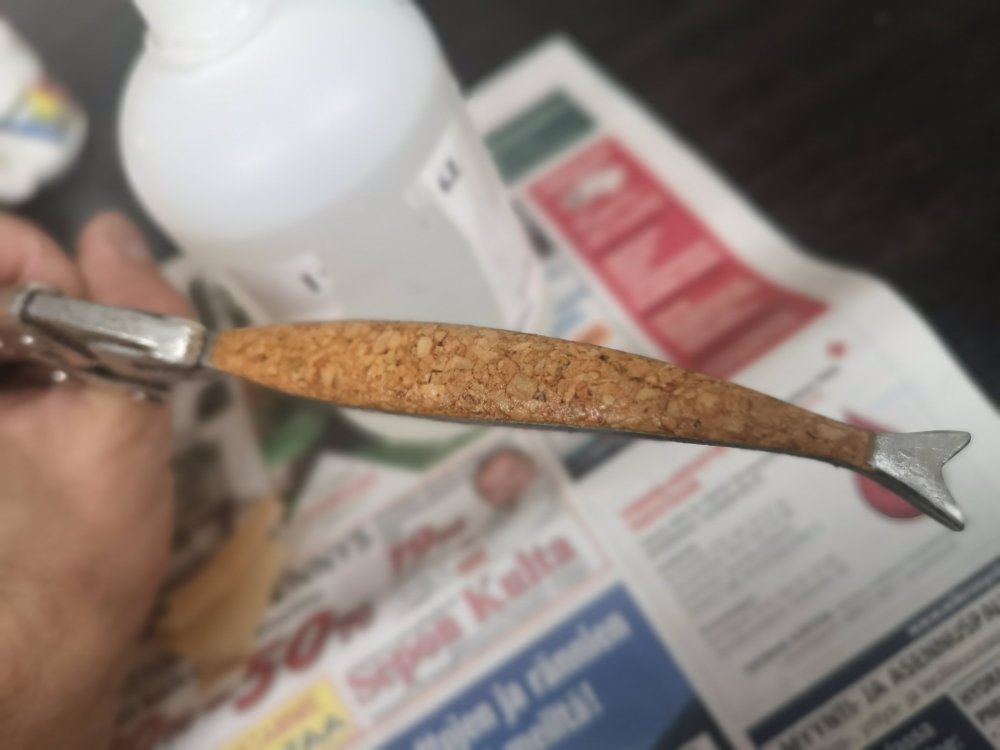
Next phase is obviously sanding the bait down to its shape. Convex side of the spoon is rounded evenly from top to bottom and head to tail. On the concave side I'll leave a flat area, from mid to tail. This is done to add water resistance and get a bit more swim in case tailfin isn't enough. Sealing the cork material with Cyanoacrylate. I'll always use CA with my wooden gliders also.