Search the Community
Showing results for tags 'carving'.
Found 20 results
-
Hello TU Folks! I just picked up a couple of nice planks of Douglas fir after seeing someone on here talking about making jerk baits with it. I have never used Douglas fir to make a lure and was wondering if anyone on here has done so and has also carved details into it? Does it carve well? Thanks to all!
-
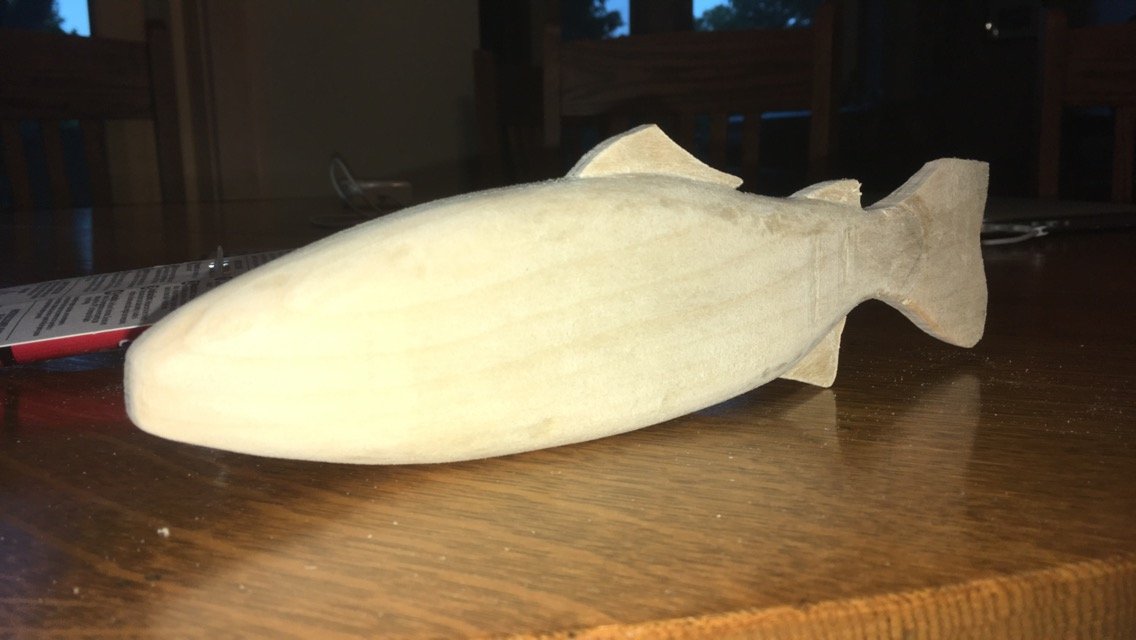
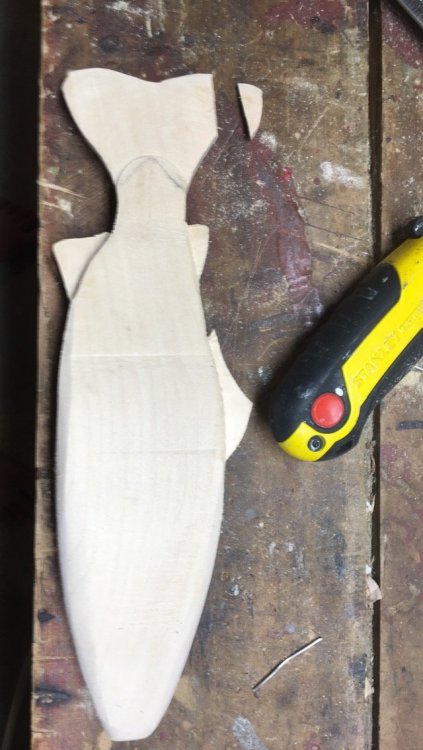
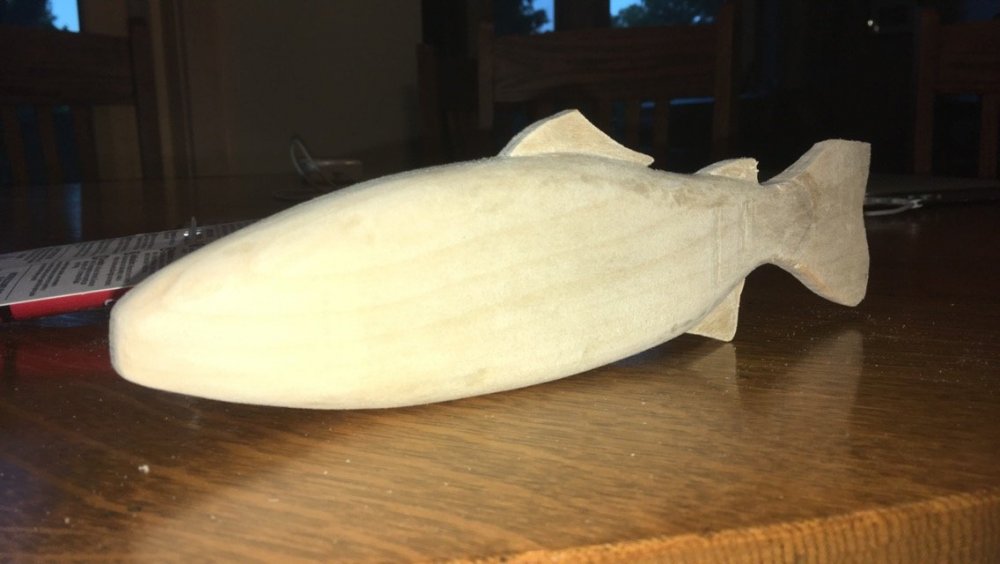
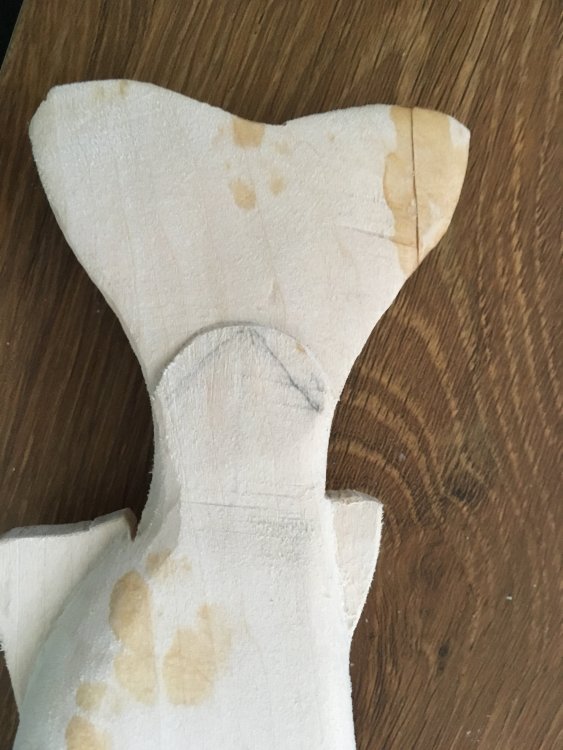
Hello everyone, this is my first post on here, so I hope it goes well. I've started getting more into carving baits, and I have a few questions for those of you with experience. First off, I'd like to say that I truly admire some of the great talent that I've seen on this website! I hope to get better and improve my baits, and hopefully you guys can help me out. I've designed two lures in CAD already, and they have gone well so far. The first bait is a small ~5-6" swimbait. The second is a huge trout swimbait. As a newbie, I don't know how to weight the lures properly (where to place the weights, and what weights to even use), as well as where to place a joint for the most effective swimming action. Any insight on those two would be greatly appreciated. My large trout lure has unfortunately gotten damaged, from it dropping onto concrete floor. Part of the tail has broken off, so I epoxied it back on. I am wondering if this will be strong enough. Should I have done something different? Also, how thin do you typically carve the fins? I'm using basswood, and I don't want to make them so thin that they're too weak to stay intact (like the tail). I've left the other fins around 1/4" thick, am I able to make them smaller without issue? My other question is about carving the details (gills, fins, scales). I've tried just carving grooves with a knife, but I haven't been able to get the results I'm looking for. I've ordered a Flexcut detail carving kit, and I was wondering if this is the type of tools you guys use for your detailing. Below are pics of the trout. Thanks in advance for anyone willing to respond!

-
I am trying to get into carving my hard body lures from wood by hand. I was wondering what tools any of you would recommend as a must have for that job. So far i have been using a sharp knife and a dremel engraver for fine detail. It works but I want to know how to make things more productive with better tools.
-
 Final product.
 -
 The finished lure after painting and epoxy.
 -
 wrap a piece of cloth type sandpaper around a dowel, and smooth the two sides of the nose.
 -
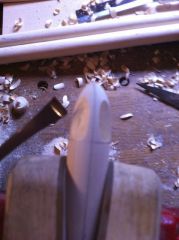
 This is what the nose looks like after the rasp.
 -
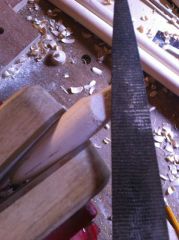 Another pic of using the rasp to smooth and final shape the nose.
 -
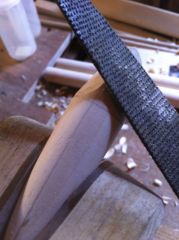 Using a rounded rasp (I use a Dragon file), lightly continue to shape and smooth the two sides of the nose.
 -
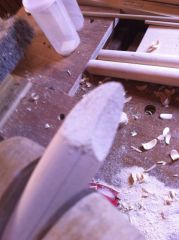
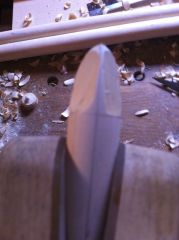
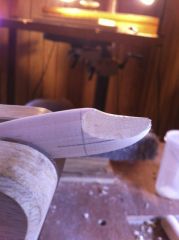 Profile view of carved nose.
 -
 This is how the nose looks after carving.
 -
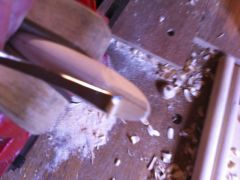 Now, using the bent skew chisel, continue working the two sides of the nose to the new top centerline.
 -
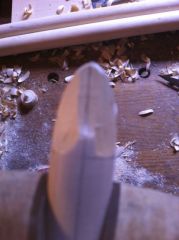 Redraw the top centerline along the new flat area just created in the last step.
 -
 Using your chisel, carve right down the top line to start creating a curve nose.
 -
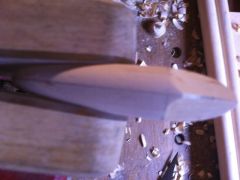
 Continue carving until you achieve carved sides that meet the two lines that are 90 degrees away from the top line .
 -
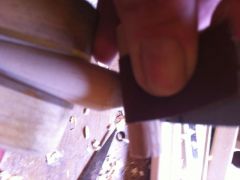
 Using a bent skew carving chisel, start along the 1" line one either side of the top line and start removing material. Move from side to side to keep the two sides symmetrical.
 -
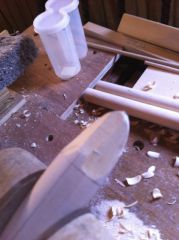
 Runt blank inserted into soft jaw vise, ready for carving.
 -
 view of the marked lines from the nose.
 -
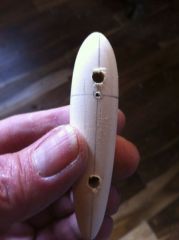 Drill hook eyelet hole at intersection of two lines on bottom of lure. Drill weight holes if adding weights.
 -
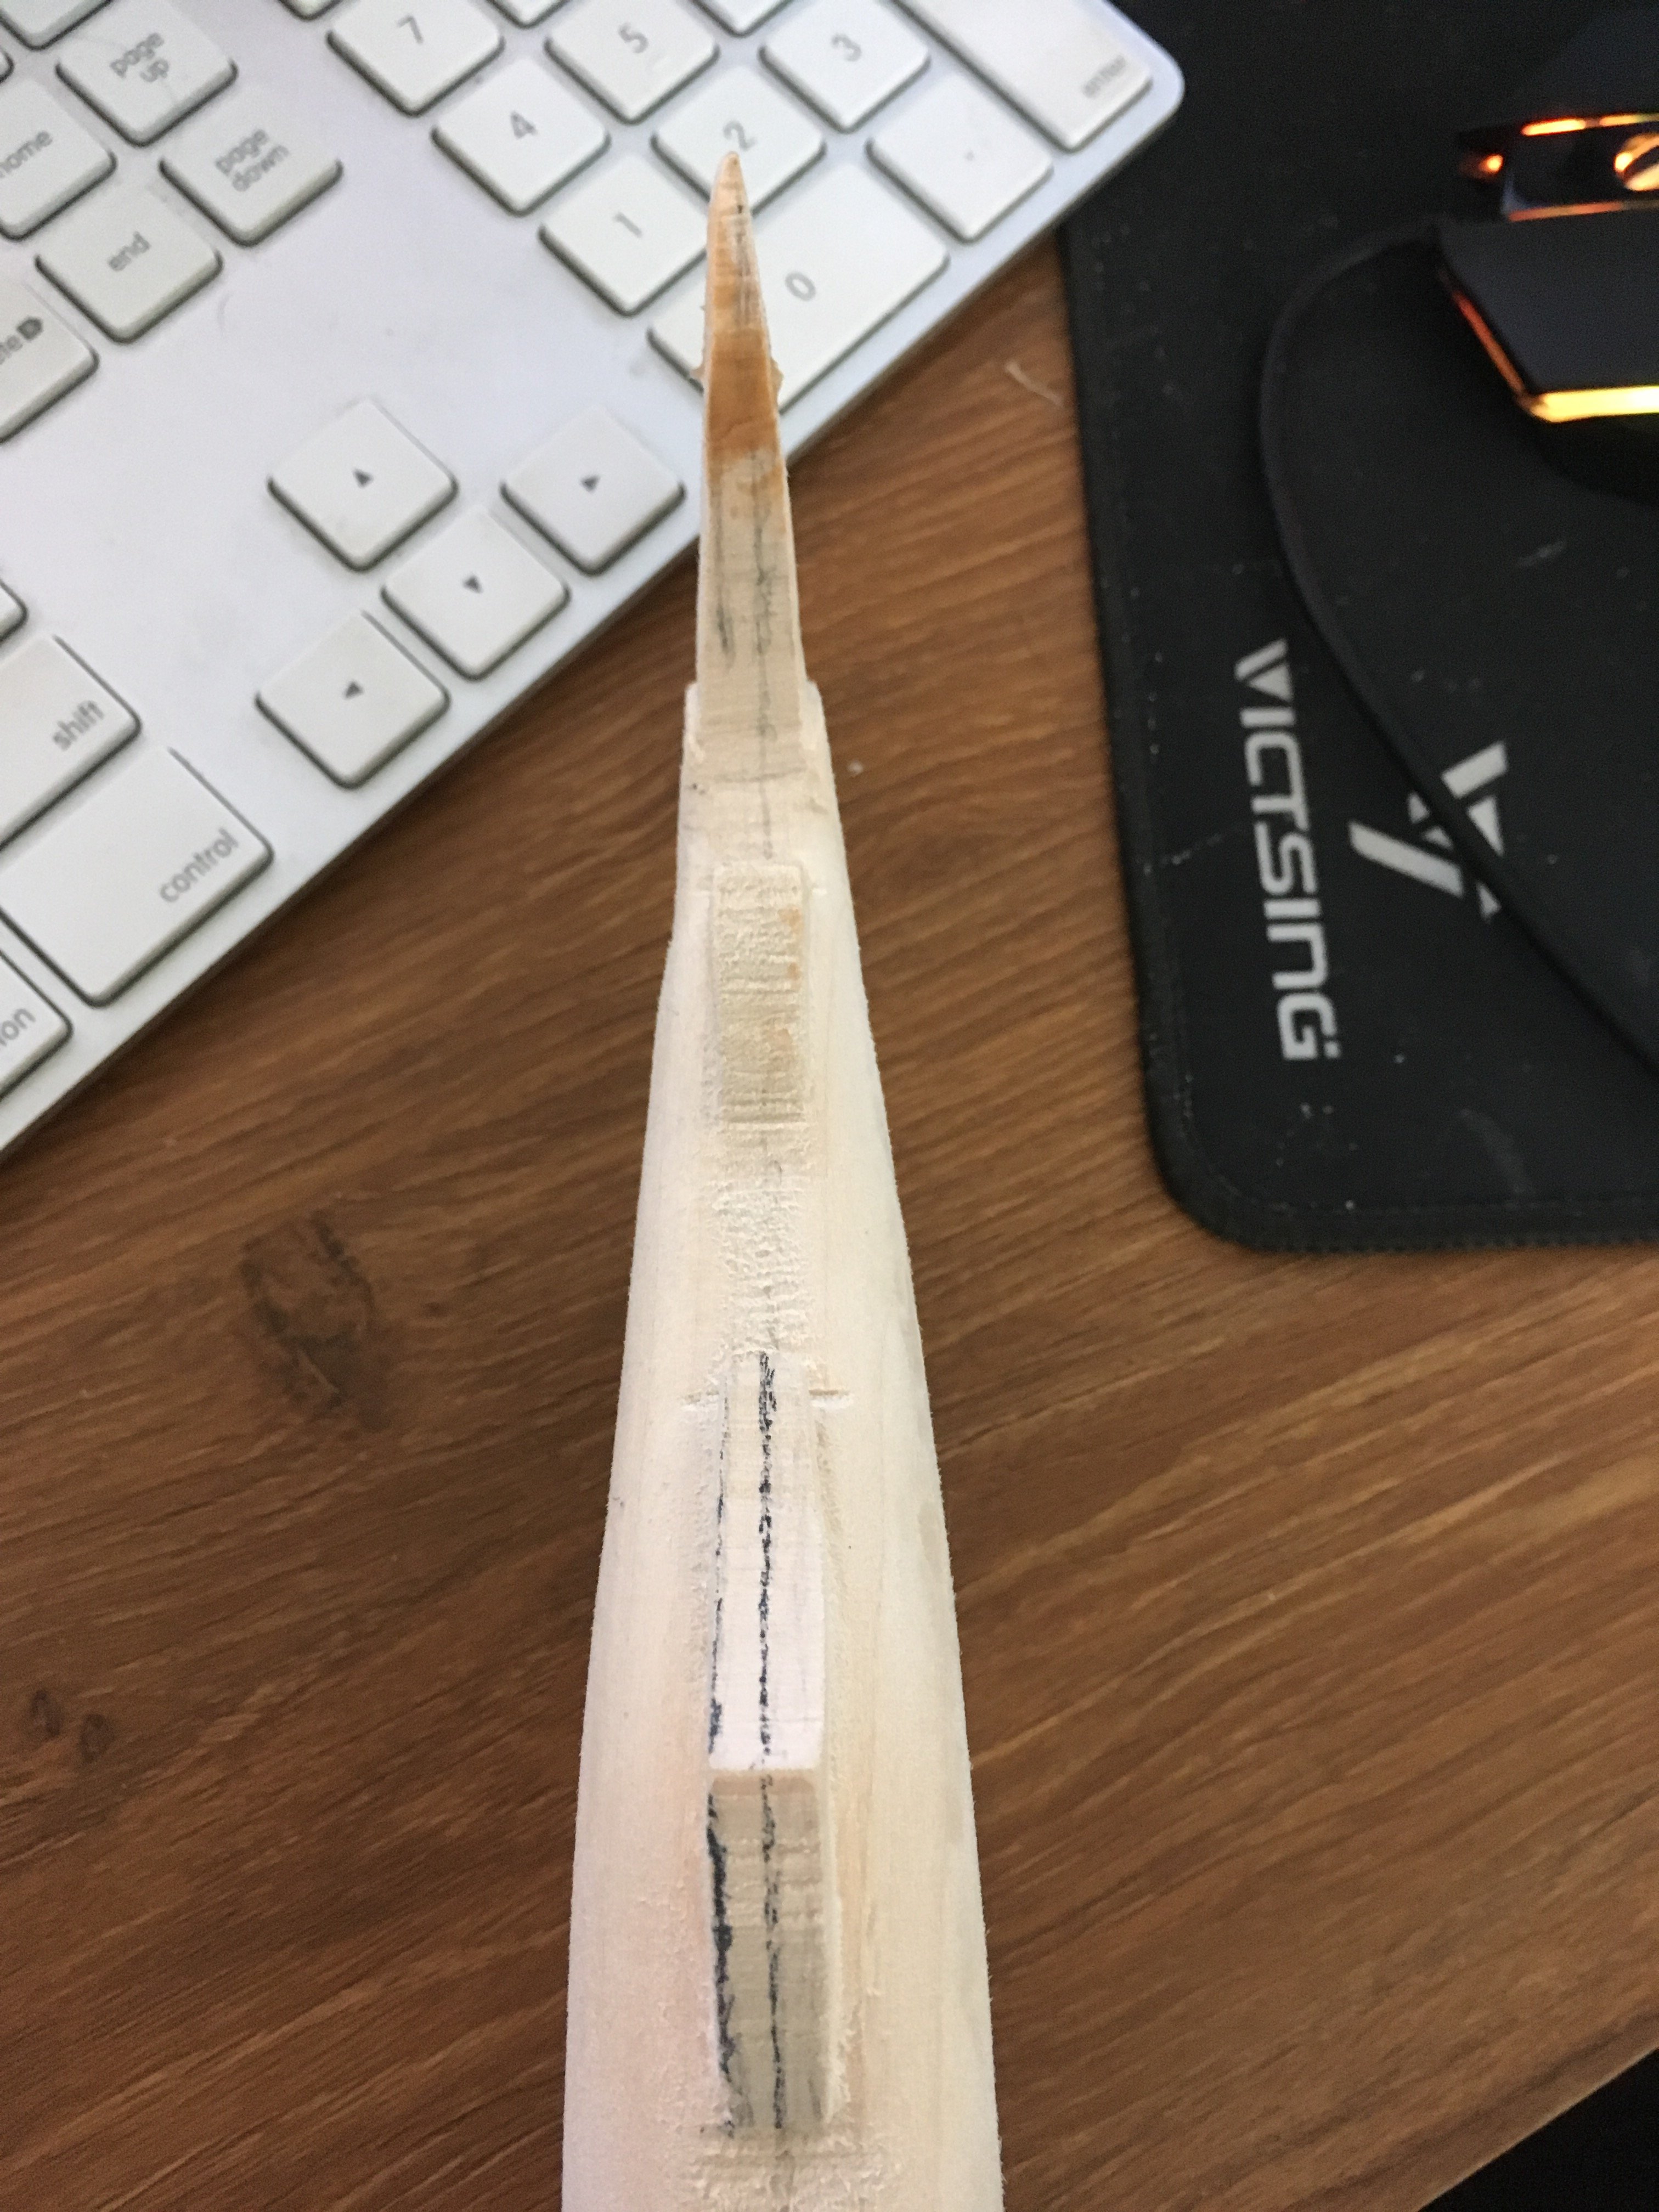
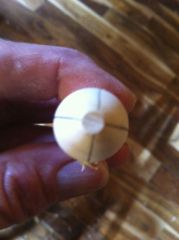
 Marking a turned blank for a river runt nose. Mark line along lure every 90 degrees. Mark a line around the lure 1" from nose.