Leaderboard


Popular Content
Showing content with the highest reputation on 02/13/2013 in all areas
-
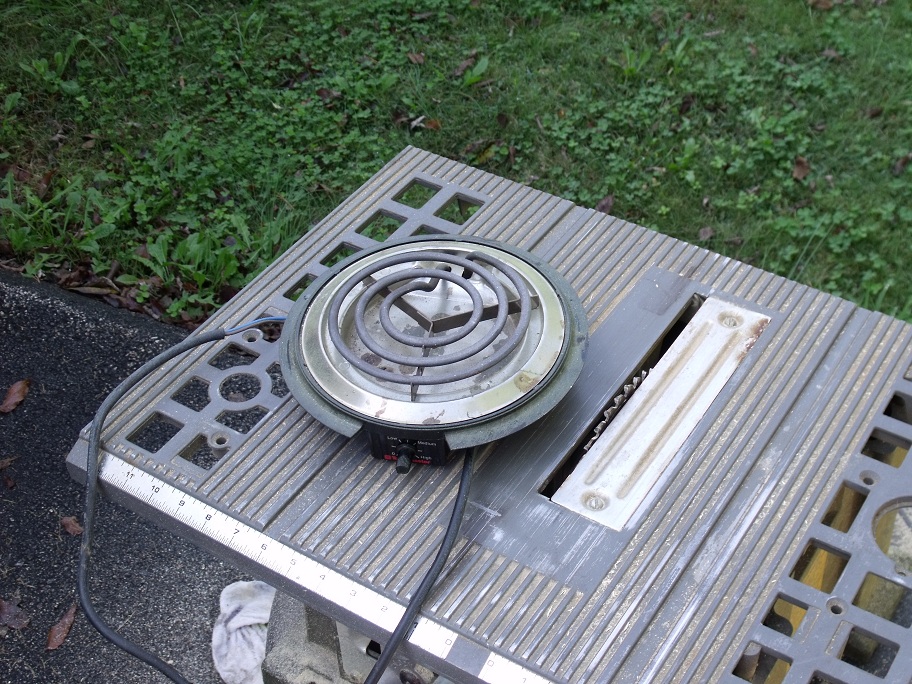
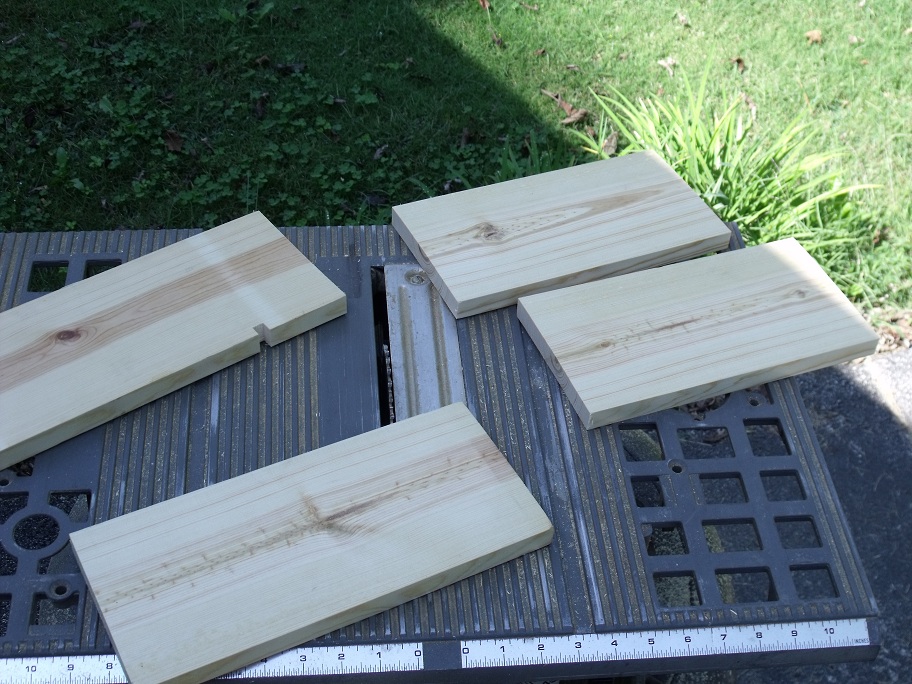
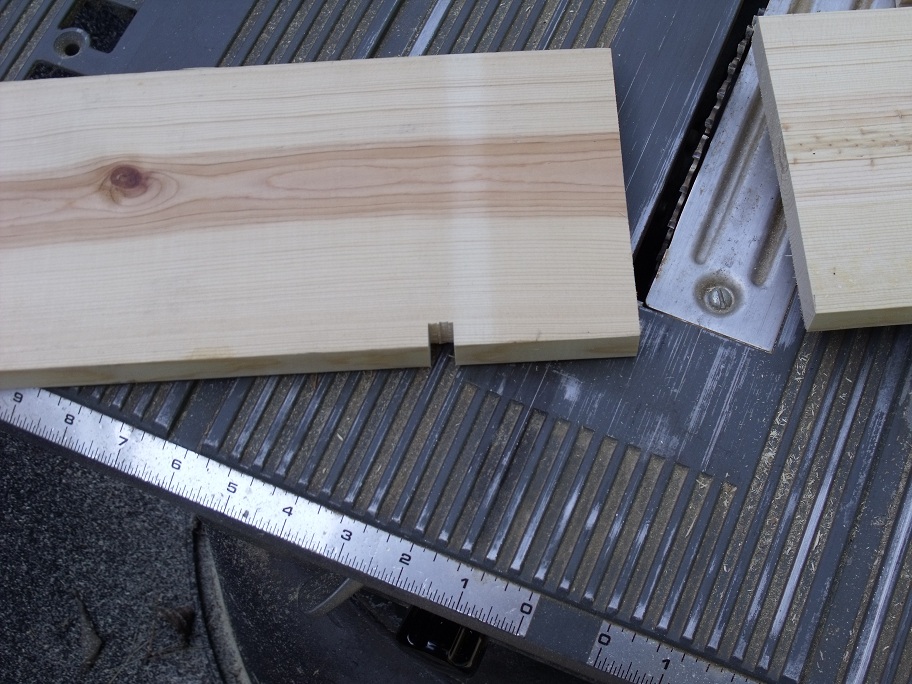
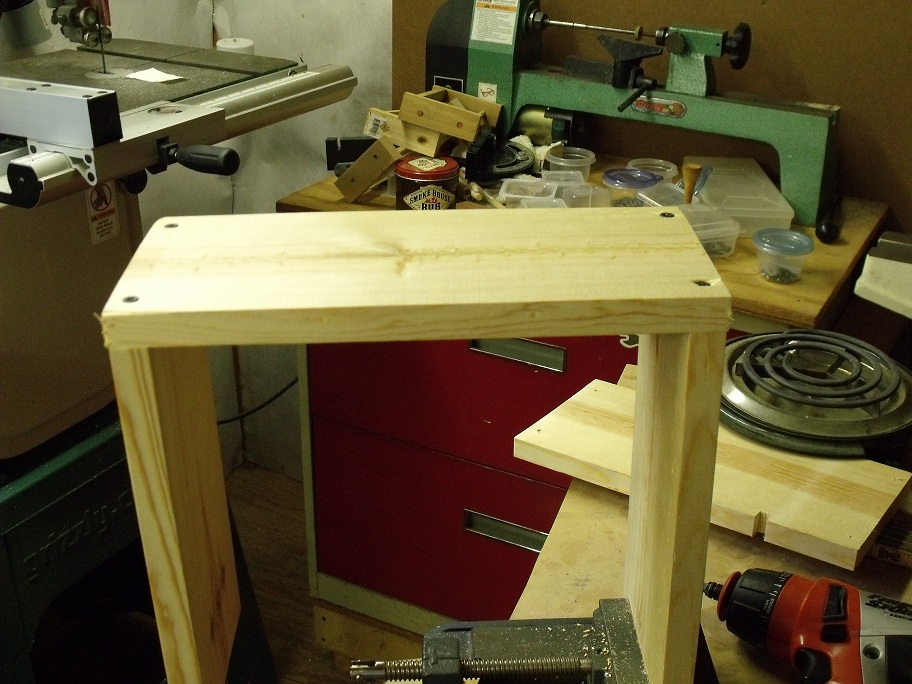
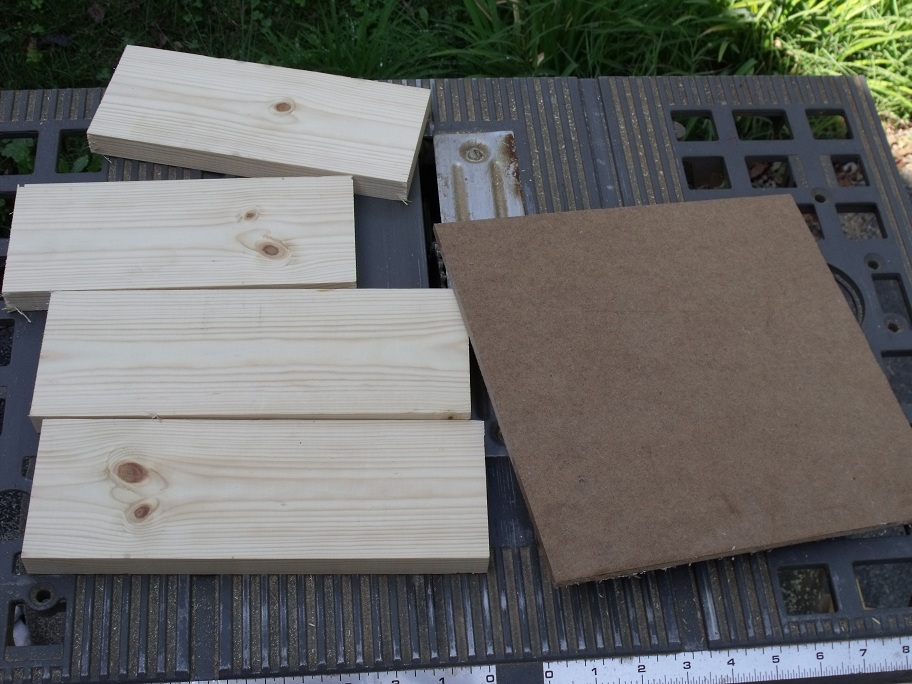
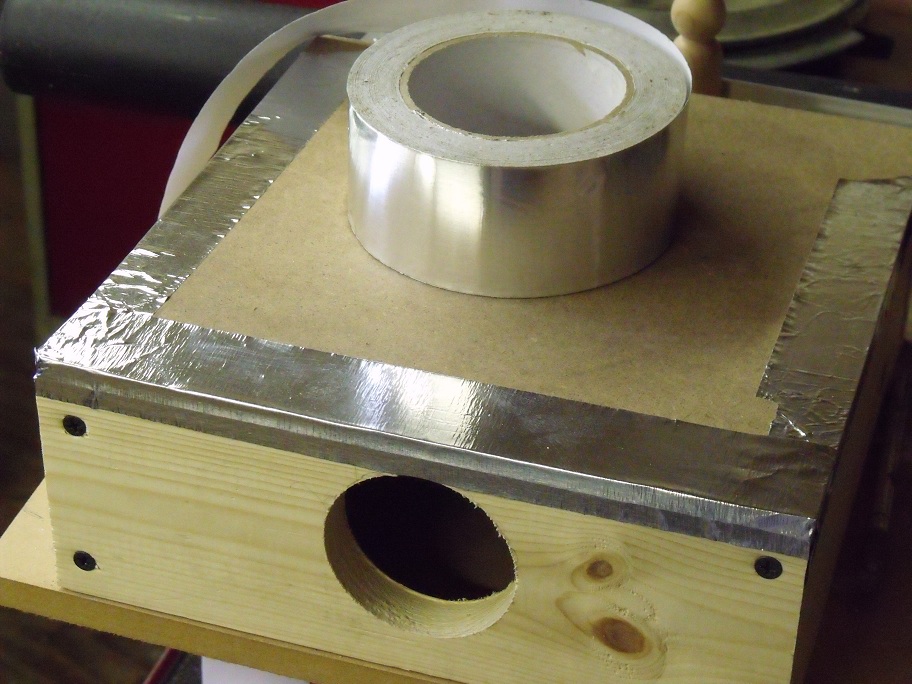
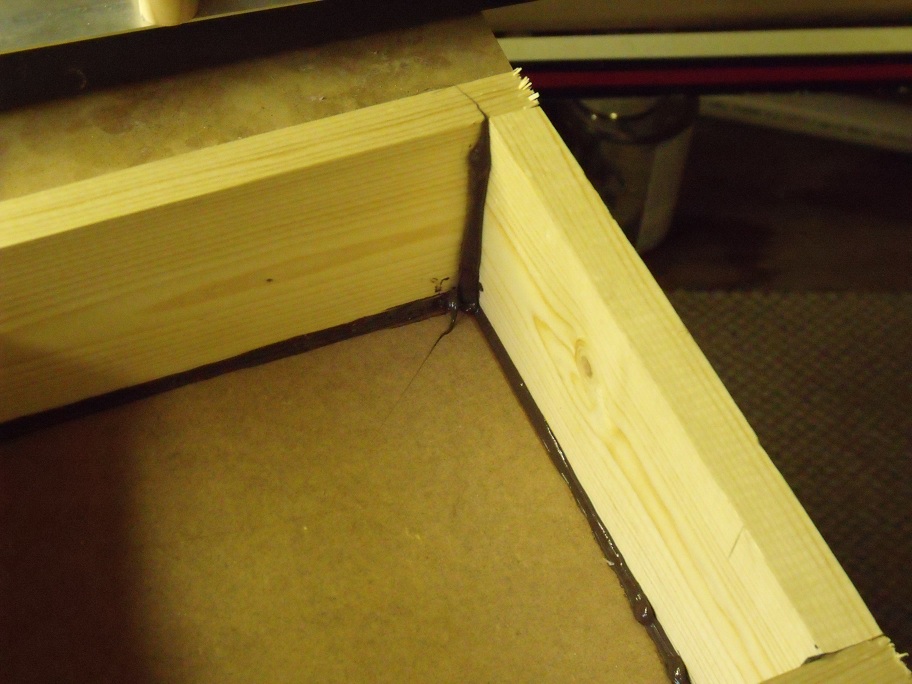
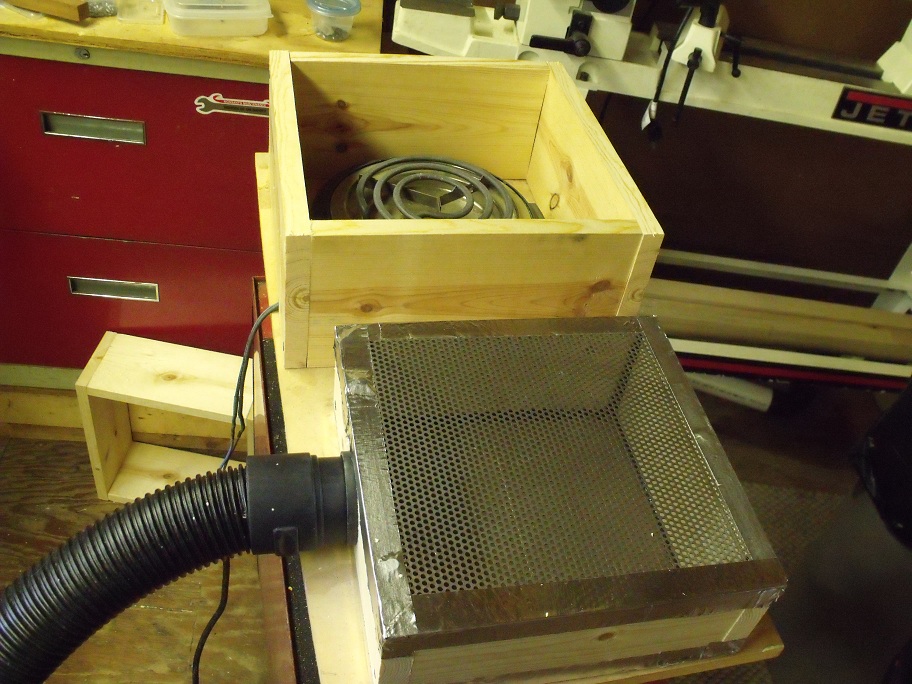
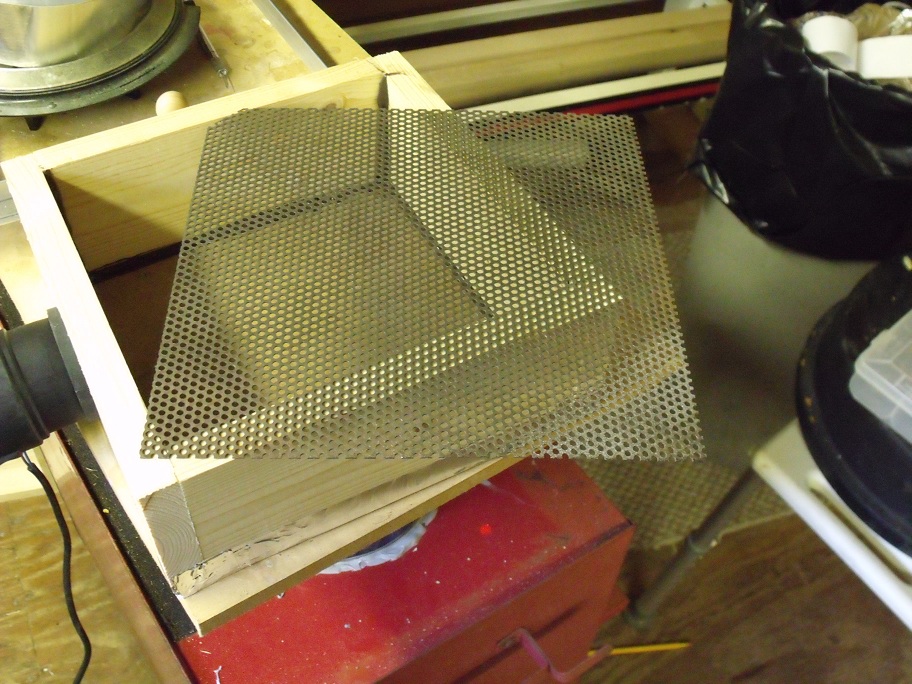
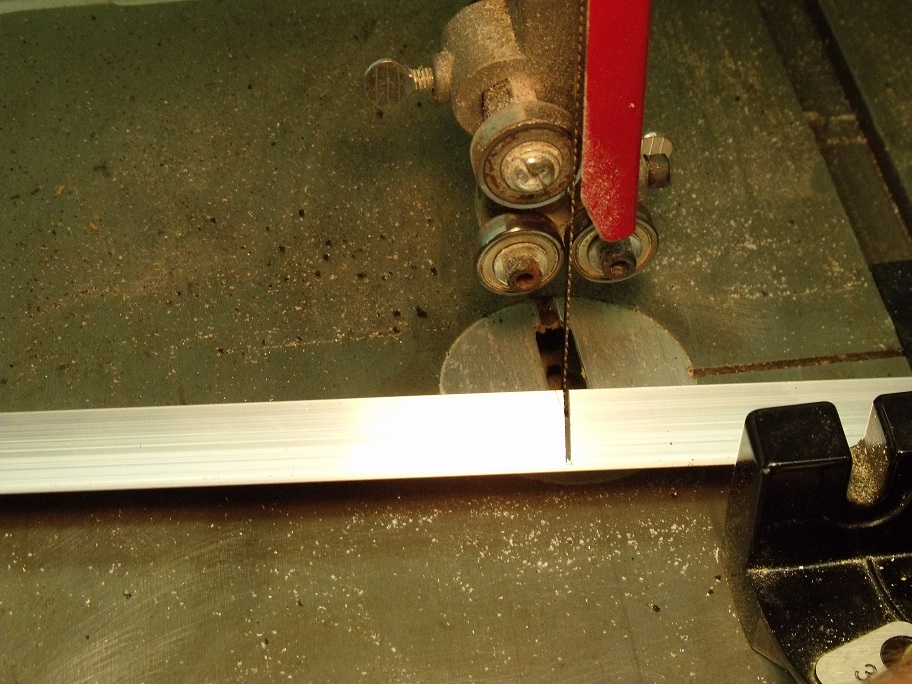
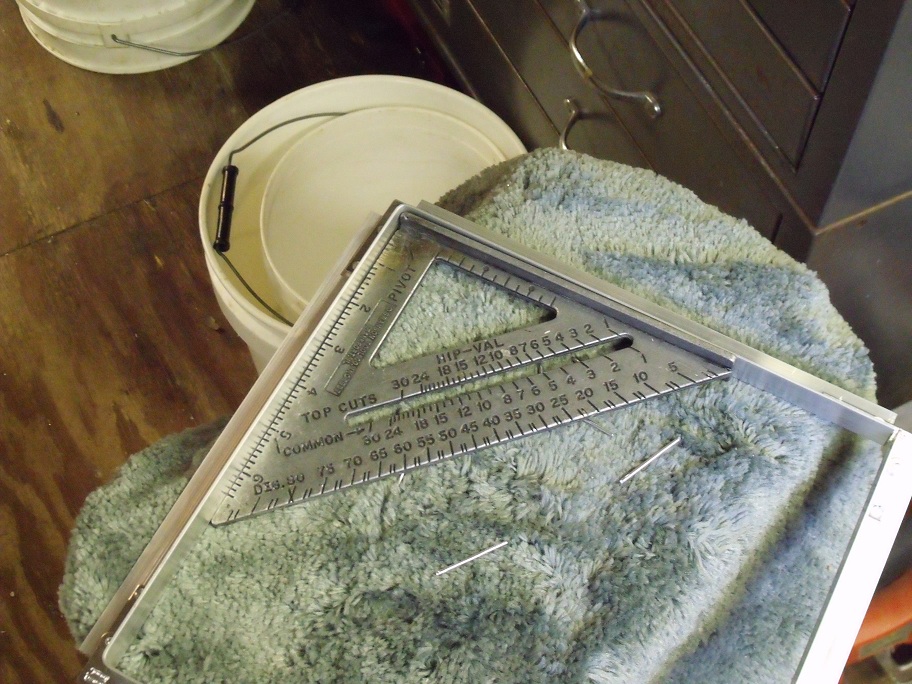
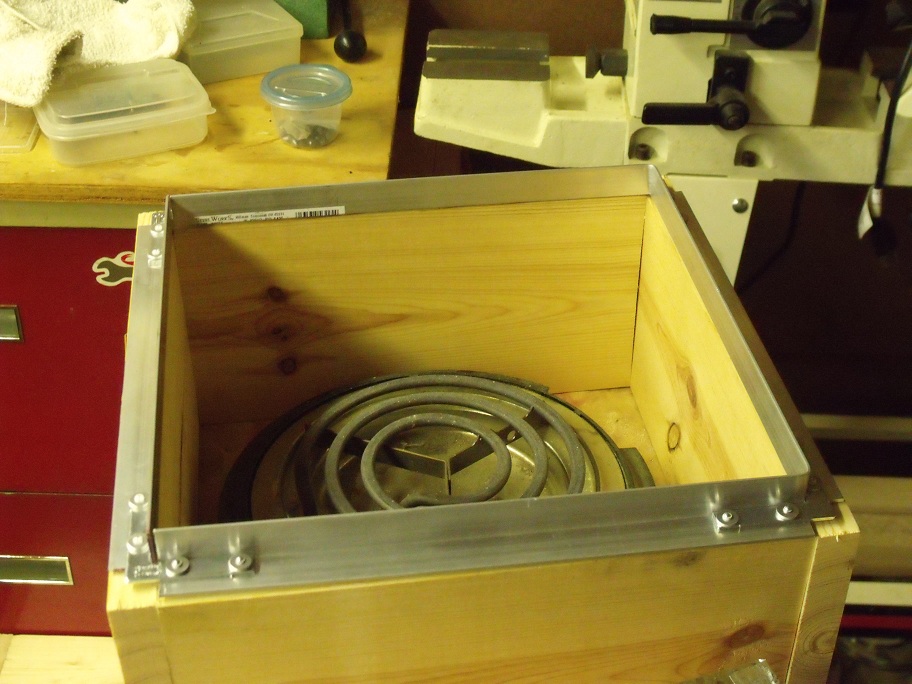
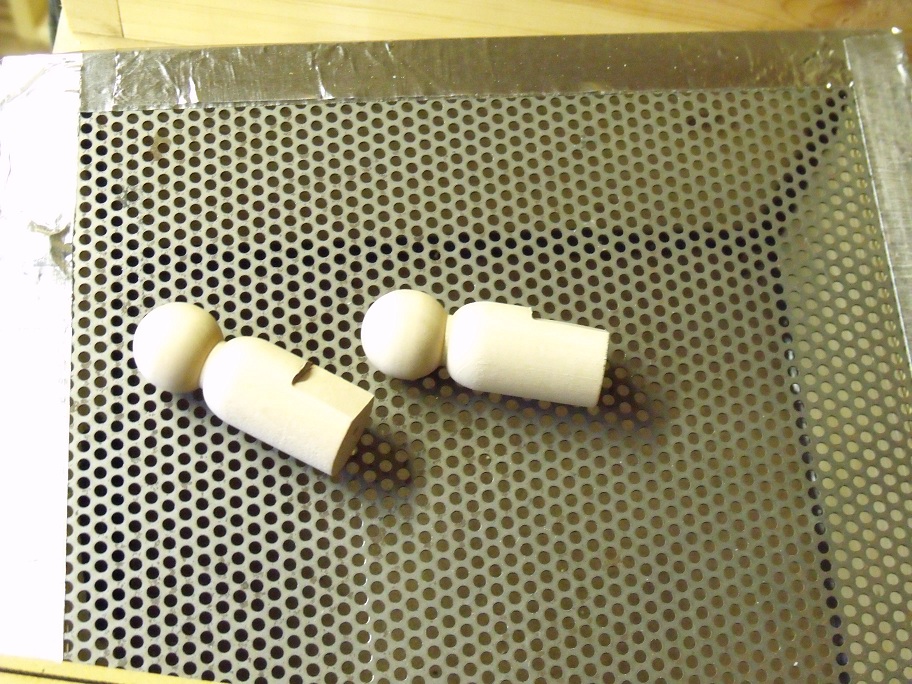
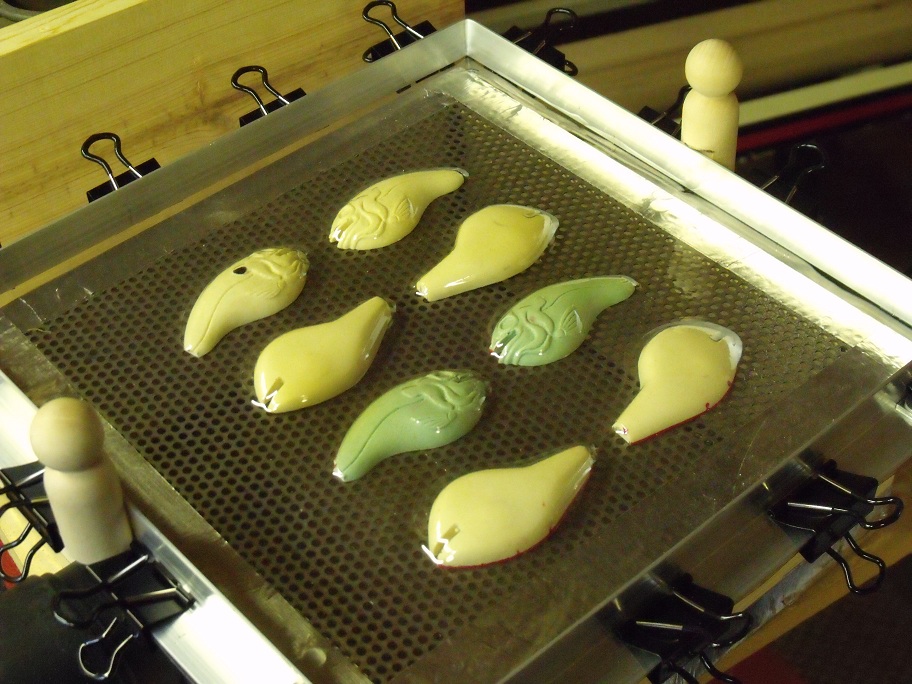
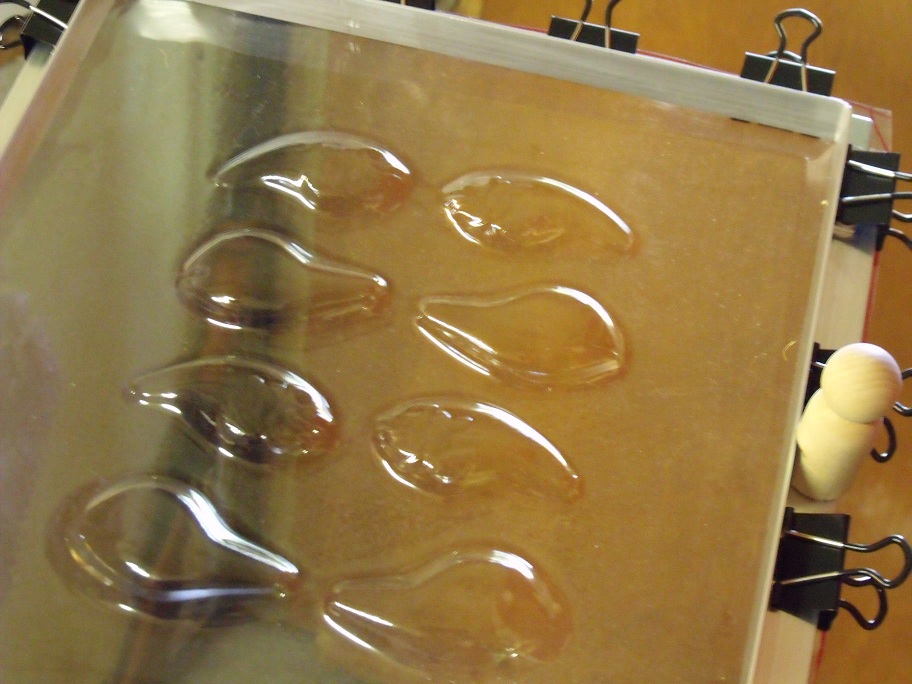
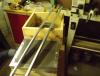
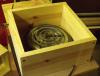
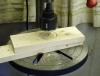
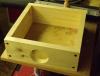
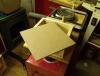
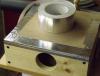
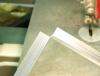
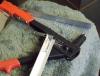
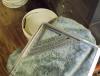
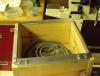
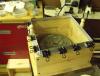
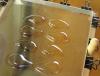
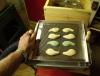
You will need a small hot plate, you can get this at wally world or other store. Enough 1"x 6" x 3/4" to build a 12" OD square frame. We are going to use a shop vac for our suction. One 1" x 6" x 4' piece of pine lumber One 1" x 4" x 4' piece of pine lumber Four 3/8" x 2" flat angle braces 16, 1/8" x 1/8" pop rivets with back up washers. One piece of thin scrap wood, plastic or other type of material 10" x 10" One piece of what is called punch plate for vacuum bed top, 10" x 10" Some silicone caulk, some tape, (I used alum. tape) 16 dry wall screws 1 1/2" long OK, lets get started by building a 12" x 12" box for the hot plate to set in. Using the 1" x 6" lumber cut 2 pieces 12" long and 2 pieces 10 1/2" long. Cut a small notch in one of the boards for the hot plate cord to come through this will become the bottom of the box. This box is screwed together with the dry wall screws. Screw the 12" pieces to the 10 1/2" pieces. Now lets build the vacuum bed. Using the 1" x 4" piece of lumber, cut 2 pieces 10" long and 2 pieces 8 1/2" long. and screw the 10" pieces to the 8 1/2" pieces using the dry wall screws. Before screwing the last piece on use a hole saw to cut a hole in it that will fit your shop vac. The bottom of this hole should be about 3/8" from the bottom of the box we are building. We are also going to tape the 10" x 10" piece of whatever you use on the bottom of the box. We will then caulk the seams inside the box. Now tape the punch plate on top of the box. We now have our vacuum bed. Now we need to build an angle iron frame with a 10 1/2" inside dia.and a 12" outside dia. I think the pictures will explain this. The frame will match the 12" box perfect and slip down over the 10" box. Use the 3/8" x 2" flat angle braces on each corner, attach with the pop rivets and washers. Add a couple handles from a piece of dowel. This completes the construction process Now to use this, cut your plastic to form 12" x 12" and attach to the alum frame with the binder clips. Place your models on the punch plate, I use baits cut in half, and get a good right and left side. Set the temp on hot plate about theree fourths of the way, not on high. I have had not a fire but, i guess you could if it got too hot. Place the plastic in the frame over the hot plate and start the shop vac. The plastic will sag at first then tighten up then sag again, it is time to place it over the vacuum bed.


 1 point
 -
Not yet, but soon. Before I got my Solarez, I had contacted another company and asked them specifically about this application. I told them that I was a hobby lure maker, not a big guy, so I did not expect them to go out of their way. Nevertheless, they must see potential themselves. They have asked for samples of my lures and they will test several of their UV cure and let me know if they meet the list of requirements I gave them, as well as the UV frequency and strength that performed best. I will be sending the lures off Tuesday. They want completed, ready to clear coat, lures. I will have my airbrush up and producing tomorrow. I don't want to name names yet, just in case they cannot find a suitable product at this time, but if it works, I will let you guys know. In the mean time, I am not seeing any down side to the Solarez.1 point