


BobP
-
Posts
5,772 -
Joined
-
Last visited
-
Days Won
188
Content Type
Profiles
Articles
TU Classifieds
Glossary
Website Links
Forums
Gallery
Store
Image Comments posted by BobP
-
-
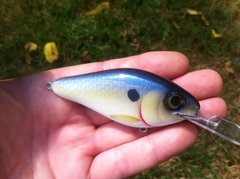
That one is really sweet. Yum!
-
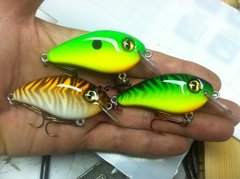
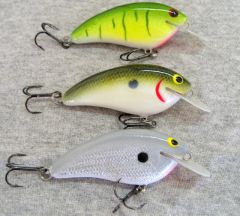
I really like the way you faded the black stripes on the firetiger. Nice baits.
-
Dale, I trace the crank and cut the foil tape and apply. It will conform some to a round body but you can't cover the whole bait with foil or it will bunch up and develop seams - just down to the belly and up to the shoulders. I paint those anyway, so no loss. It's important to burnish the edges down so they don't show after texturing the foil. Some guys like to coat the foil with clearcoat before painting. I don't bother. I texture them with the knurled knob from a Vise Grip. Clean paint overspray after color basecoating with Qtips dipped in denatured alcohol, to keep the foil shiny.
-
Nicely done!
-
Sweet! Nice pattern on those, Mark.
-
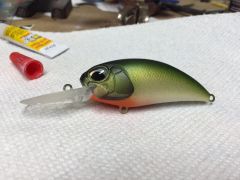
I like this one. Alot. Nice work.
-
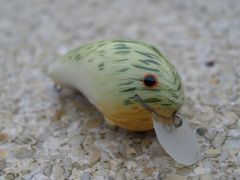
I think smallies anywhere will jump on that one. Nice pattern!
-
Well, tried it and found the body was too light to sink even at 3/4 oz. it acts like a wake bait right now and am not sure the blade will be large enough to shake it if I add much more ballast. Think I need a narrower body with less buoyancy. Back to the drawing board!
-
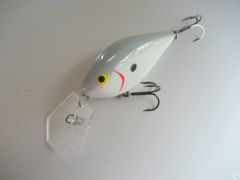
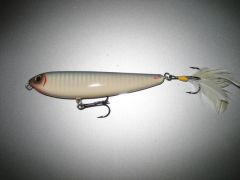
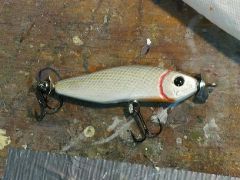
Kayjay, the lip is the same as the blade on a Chatterbait, except it is Lexan instead of metal. The line tie point is actually on the underside of the blade in the pic. When retrieving, the blade pops up at a 45 degree angle to the bait and begins to 'chatter' back and forth, shaking the body of the bait. I wanted a bait that would sink quickly and could be slowly retrieved along the bottom while chattering. An actual Chatterbait does this and basically is a jig with the added vibration caused by its blade.
Barry - I know it won't work in weeds like a Chatterbait due to the trebles - but I wanted a bait I could fish deep on ledges without grass, or for suspended bass. What really prompted me to build it was having to buy expensive swimbaits to use as Chatterbait trailers. Just thought I'd try building a permanent shad type body and save the expense.
-
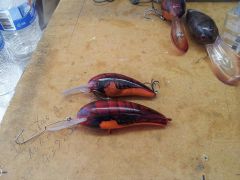
Outstanding craw shell sections! Nice lure.
-
Thanks guys!
Zev, I used Venture Brite-Bak adhesive foil, which is thin but strong and has a very good adhesive backing. It's designed for stained glass artists and the thinness makes it easy to burnish down the edges to disappear. I understand they have stopped manufacturing it, unfortunately, but I still have part of one roll left! I textured the foil after applying it, with the little knurled knob from a pair of vise-grips. You can use any knurled wheel for texturing. Some guys like the knurled shaft of an X-acto knife, for instance.
-
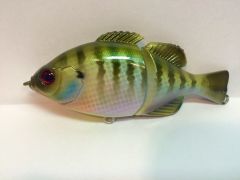
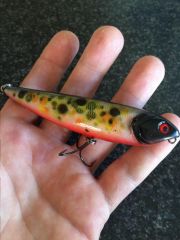
Thanks Ben. The middle one is a version of Tennessee Shad. I catch a lot of bass on the foiled pattern at bottom.
-
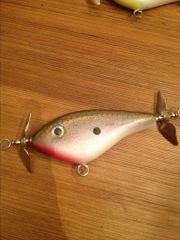
Nice looking topwater. One enhancement you might want to try - if you dry fit the props onto a buzz bait rivet and sand down the rivet with a Dremel sander to make the rivet tube shorter, the props spin much easier because it eliminates any side-to-side flopping of the prop on the wire. Not that it won't work great now - but it makes the bait easier to work.
-
Nice work Mark! I appreciate the specs in case I want to try one myself.
-
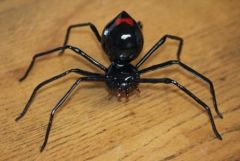
If I saw that on the floor of my garage, I'd either run or start whacking it with a broom.
-
Thanks guys - I try to put the 'build formula' when I post a pic. No secrets! Forgot to add that the ballast is an integral weight/hanger .073 oz with 2 tungsten BB's behind the hanger, totaling .095oz. The final lure weight with #4 trebles is .42 oz.
-
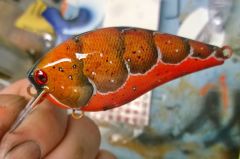
The colors on the shoulders an back are really neat work!
-
Thanks guys!
-
Nice design and great body shape Mark! Did you consider a thru-line scheme like that used on soft plastic swimbaits, where the body would slide up the line? Just a thought.
-
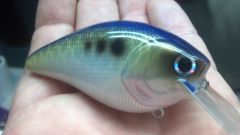
That's an interesting color scheme. I like seeing something entirely different!
-
Like I've said before, it's refreshing to see a style of painting that's wholly different and distinctive - and looks good to boot! Nice baits!
-

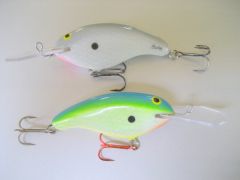
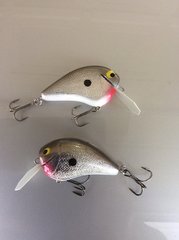
Thanks Ben. The pic isn't very good - it was dark and cloudy yesterday. The top bait has small scale, the bottom large. This was an experiment building with basswood vs balsa/paulownia and making the baits thicker than the 1/4" width of a typical "D-bait" style crank. I'm looking for more thump and better casting ability. They baits weigh around .4 oz versus the .3 oz with balsa - but they float well and it will be interesting to see how they fish.
-

That's a really sweet pattern you got goin there!
-
Nice work, Joe! You got the knack!

F6D8976E-5816-4202-9D0C-ED42CCE9ADD9.jpeg
in Hard Baits
Posted
Great job!