


Dauds
-
Posts
33 -
Joined
-
Last visited
-
Days Won
2
Recent Profile Visitors
668 profile views


Dauds's Achievements
")


-
Striper - it's official: I need to make one of these. Like I said earlier, I use wheels. I was coating fairly heavy 7 inch baits this morning, so I load a wheel completely so it stays in balance and spins nicely (8 baits). To begin the process, the baits are un-coated. I pull one off, replace it with a "dummy" to fill the space and keep the balance, start the wheel, and coat the one I removed. Then, stop the wheel, put the freshly coated bait back in place of the dummy, pick a new un-coated lure, put in the dummy, start the wheel... repeat. In a lapse of concentration (and moment of stupidity), when I stopped the wheel, I grabbed one of the baits I just top-coated instead of the dummy. Yep... handful of epoxy... great way to start the day.
-
I went high tech and came up with an alternative to hot gluing the dowel directly to the lure: I layered a few pieces of painters tape on the back of the lure, then glued the dowel onto the tape. No issues with the top coat and it made removing the dowel simple and quick.
-
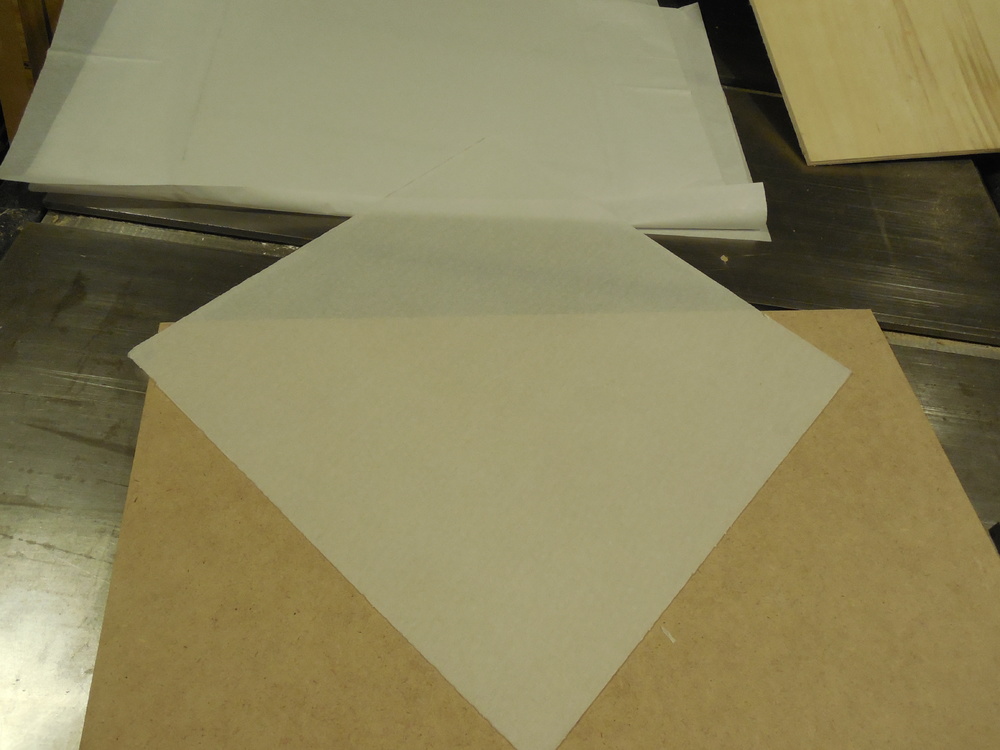
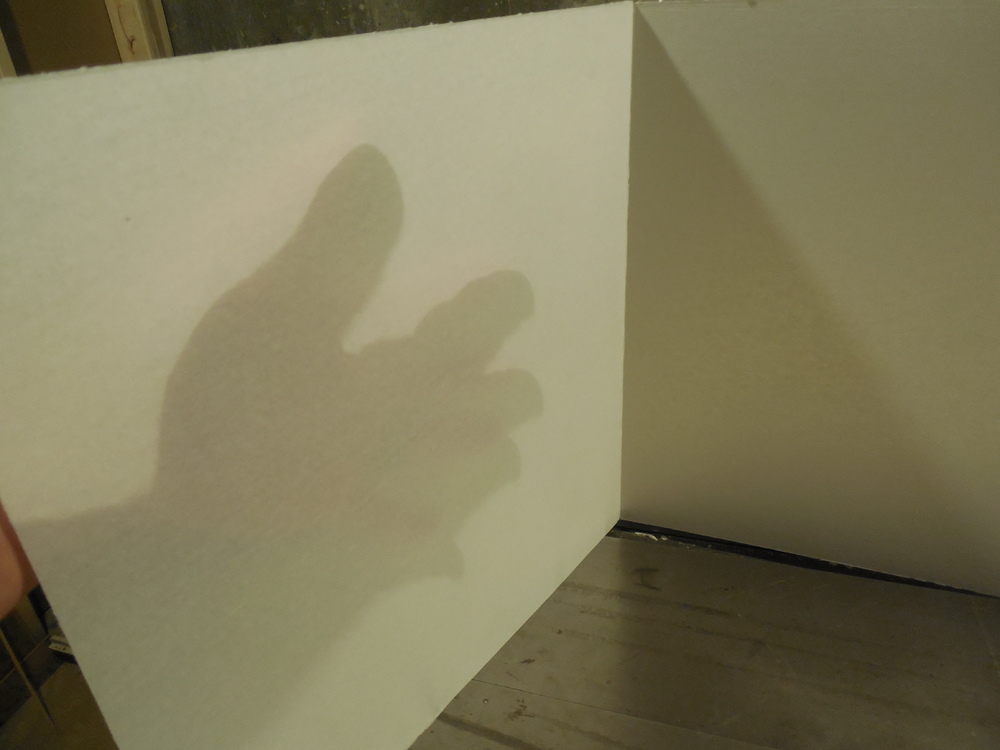
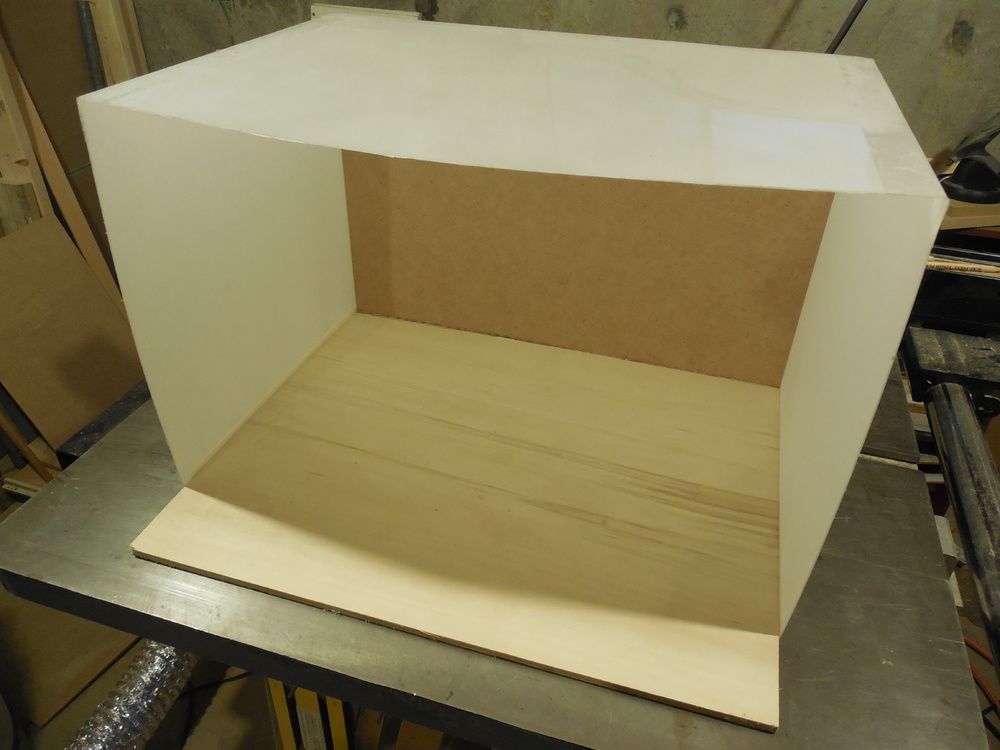
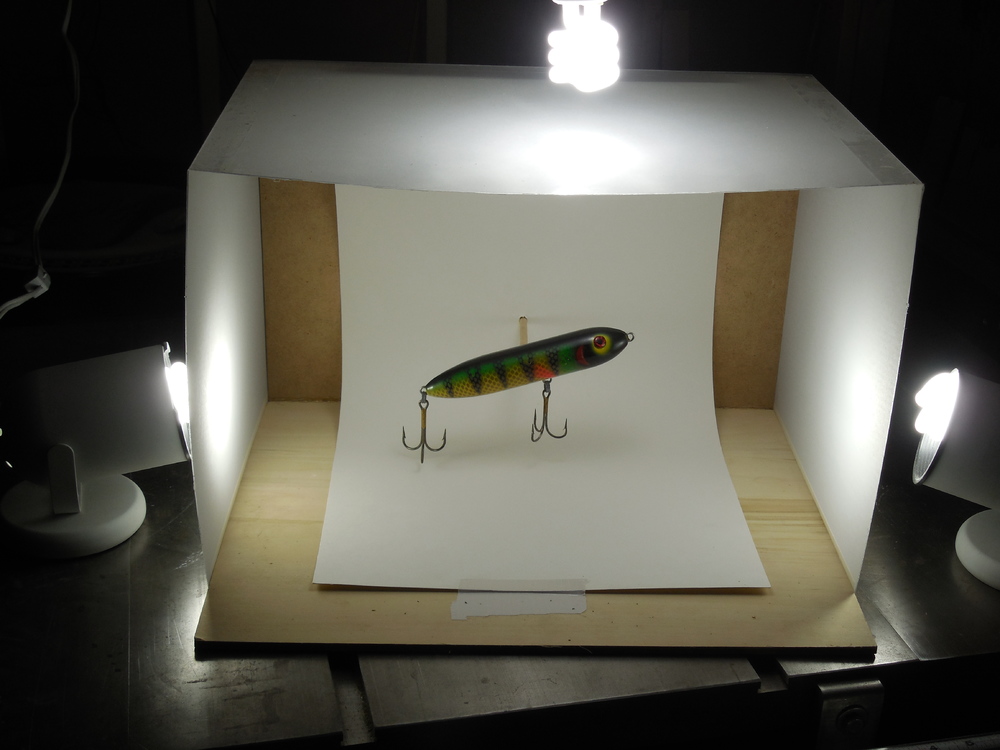
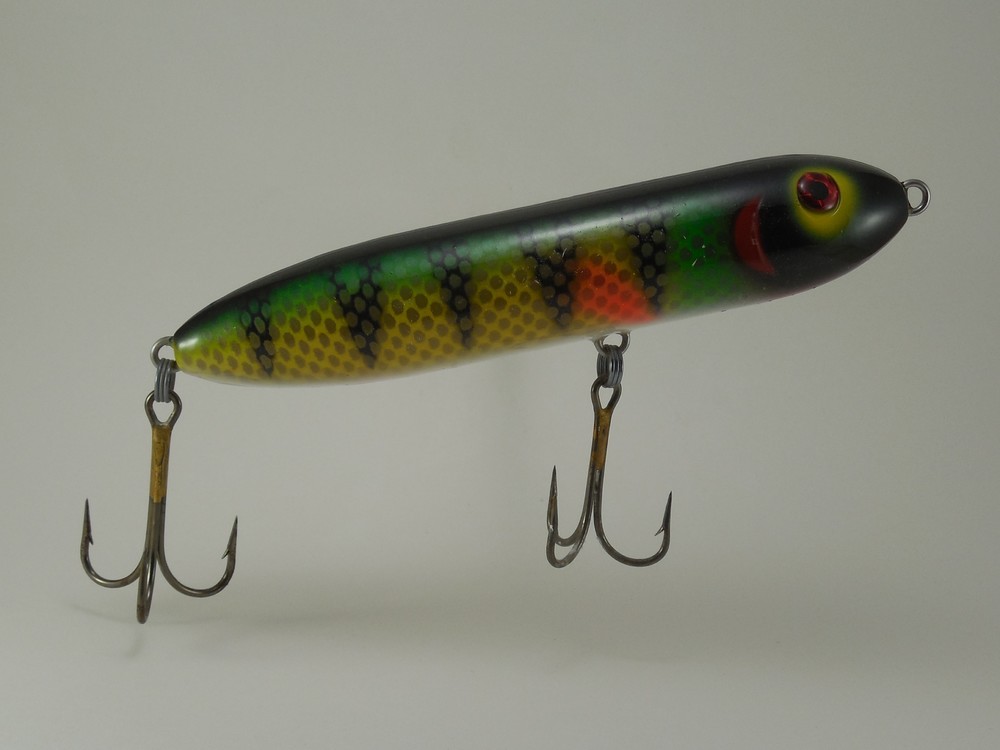
First, a disclaimer: I used a store bought lure in my photos. Blasphemy, I know, but I'll explain why later on. Anyway, I wanted better photos of my lures. I'm tired of 'posing' them on the tabletop, pile of rocks, in my hand, waiting for the sun to come out, etc. So, I built this photo booth out of some scrap wood, ultra thin plastic sheet, tissue paper, and a piece of poster board. I had all this laying around, so the cost was almost nothing. I cut the wood and plastic to size to make a roughly 12x12x20 inch 5-sided box. I used spray adhesive to stick the tissue on the plastic sheets. Clear packing tape holds most if it together so more light will come through (hopefully that'll hold for more than a day). The tissue helps to diffuse the light. When assembled, the 'tissue plastic' goes on the sides and top. I wedged in a piece of poster board and taped it in place when the curve looked nice. I decided I wanted the lure to look like it was floating. So, I drilled a hole through the back of the box, hot glued a dowel to the lure, and stuck the dowel through the hole. I'm not sure I want to use this concept going forward. Not in a hurry to see how my top coats will react to the hot glue (thus the reason I used the store bought lure). I used 3 fluorescent 'daylight' bulbs to light the top and sides. I turned off every other light to avoid any orange glow. Here's how it looked with the fluorescent lights: And here's how it looked in direct sunlight, at just about noon: So, there's a tiny difference between the artificial and sun light, but nothing too significant, in my opinion. Anyway, I hope this may help anyone looking to get more consistent pics of their work.


-
Nice. I dig it.
- 42 replies
-
- 1
-

-
- lure spinner
- lure rotisserie
- (and 1 more)
-
Agreed. I've always had good experiences with LPO. Recently received an over-shipment from them. It was nothing of significance; I owed them another $5. But I had to call and let them know (couldn't in good conscience ignore it). Short version, they were appreciative I notified them, and said keep the extra items at no charge. Again, the situation was nothing big, but the call back, the 'thank you,' and the 'go ahead and keep them' goes a long way with me.
- 1 reply
-
- 1
-
-
I dig the tool storage you added on the front of that setup, along with the smaller 'turning' piece (noodle). Again, I hate the space I'm wasting with larger wheels.
-
Doors are an added bonus. (When I got married, her cat came along with the deal. At home or in the shop, those damn orange hairs get everywhere.) Reluctant to throw a link in here, so let me know if I'm breaking any protocol... These are not the exact motors, but I picked up several sets of something similar a few years ago: http://www.ebay.com/itm/5-x-TYC-50-AC110-Synchronous-Motor-15-18RPM-CW-CCW-4W-Torque-1-5KGF-CM-Silver-/182505118374?hash=item2a7e271aa6:g:VE0AAOSwDKtY2Pkw They spin a little quicker than I'd like, and they're not the highest quality (plastic insides have failed on a few, but I was admittedly over-burdening them; was using them on rod drying racks). Regardless, the price is right. Also, having the same motors makes the wiring a breeze. Had them running in parallel, each on it's own switch. They do spin in both directions, so sometimes I had to toggle the switch a couple times to get them to spin in the desired direction. Just throwing out an option for your next build.
-
My only advice on your first rod: take it slowly with your thread wraps and keep them simple. If at any time you find yourself thinking, "Ehh...that should be fine," stop what your doing, unwind, and start again. Epoxy has a terrible way of magnifying any imperfection in your mind. 100 other people could look at the rod and notice nothing. But, since you made it yourself, you will somehow notice that tiny thread gap on the underside of your rod on every cast.
-
Big fan of StriperCandy's concept with individual motors and vertical space use. I've been trying to dream up something similar with only one motor, but my mind keeps severely over-complicating things. I'm using typical "wheel" setups, but I dislike having to stop the whole thing to put a bait on (typically, I'm spinning larger baits, so it's not just a quick clip on). Not to mention, they eat up an annoying amount of space.
-
I really like the "add a dressed treble" idea from clemmy; never would have thought of that. I think I'll be trying that in the future.
-
Agree 100% with the aggravation of finding your "limiting factors" when trying to turn out baits quickly. For wood baits, I've had good results using flat white Rustoleum thinned with acetone. Ratio of thinning will depend on how thick you need that coat. Submerge and allow to soak. Slowly removing them from the solution should provide a drip-free coating except at the bottom. If you're using through wires, you'll have to wipe the bottom drip away when it accumulates. If you're using screw eyes, you can insert a small wire, or nail, where the eye will be and the bottom drip will run off your bait. I allow them to hang and cure for about a week. Painting too soon will most likely cause issues. If you're making a ton of baits, keep as many batches going at a time as you need. It may 'span' a lot of time, but it doesn't eat up a lot of your time. Once you have a stockpile of cured white blanks, paint what you need for the day, then dip that many at days end to replenish your 'blank' stock. I should add that a quick rig to hold multiple baits (and appropriately large container) is much quicker (and simpler) than dipping one at a time.
-
Another option: try to pick up an inexpensive ultrasonic jewelry cleaner. I think I paid $40. I fill it with Windex. Note: I'm most often using Createx paints.
-
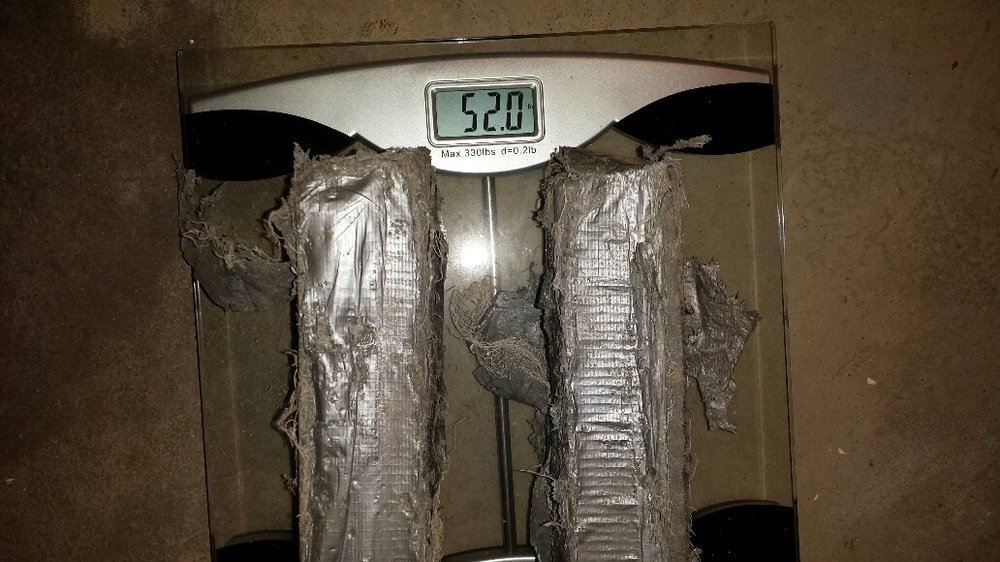
The never-ending debate, huh? Again, as BobP said, you can find plenty of posts on the topic. That said, I think many worry a screw eye will pull out. I recently did a little experiment to try and convince a buddy screw eyes provide plenty of strength. Here are two 26lb lead bricks hanging from a 1.5 inch .072" screw eye in a poplar bait with no problem. I actually got 4 bricks, 104lbs, hanging with no issue, but I don't have a pic to back it up. (There was only so much my wife would stand after she noticed me using her bathroom scale for my "experiment.")

-
As RayburnGuy said, Bob summed it up very well. My small piece of advice is on your painting: keep track of your colors. If you're just getting started, no matter how you're painting your baits (airbrush, paint brush, splatter, finger-paint) you may find yourself mixing some crazy paint colors. Keep track of the colors you mix and in what proportions because you may never find them again. Terrible feeling when you look at one of your own baits and think, "That's Awesome. How did I do that?" At the beginning, I swear there was some magic in my paint mixing that I've never been able to replicate. Absolute magic... gone forever. ::sigh::
-
Yeah... I feel bad. My initial advice was based on my jig/ sled for a fair sized flat-sided muskie bait. Obviously, a whole new dimension added for a bait that will have contoured sides. Can't believe that didn't "click" in my mind until just now.


