


Big Epp
-
Posts
799 -
Joined
-
Last visited
-
Days Won
18
Content Type
Profiles
Articles
TU Classifieds
Glossary
Website Links
Forums
Gallery
Store
Posts posted by Big Epp
-
-
1) Don't be afraid to try new things.
2) Slow down and work on a quality finish.
3) Don't be in a hurry to sell, build and improve quality first!
4) Test lures before painting them.
Merry Christmas and thanks to everyone for all the insight you have shared!!!!!
-
 2
2
-
-
Your bait looks good! Glad to hear the lake test was more promising. I've been wondering lately a lot about the differences between one and two piece glides in terms of action and effectiveness, so this thread has been fun!
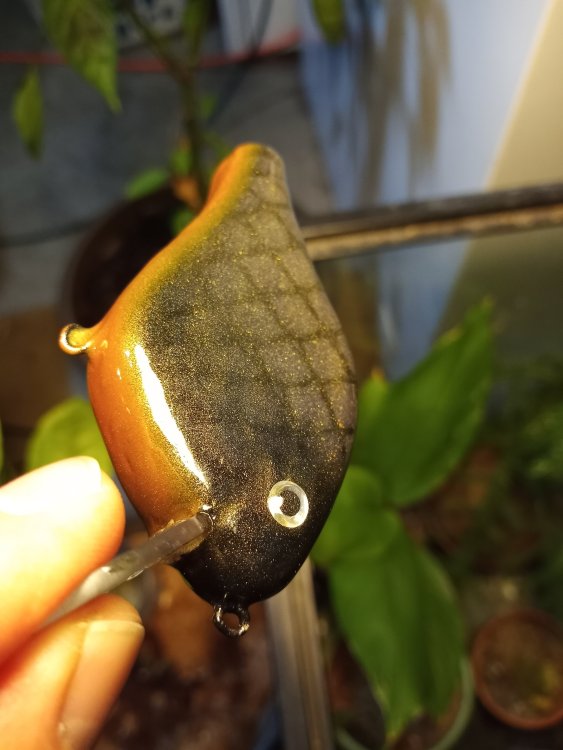
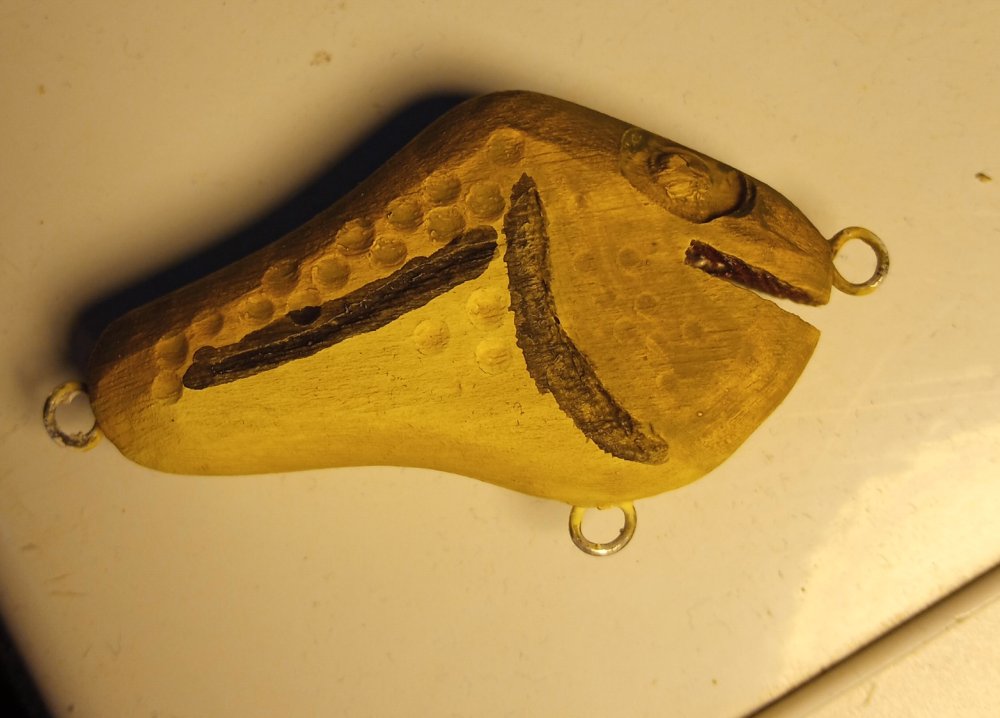
I'm pretty sure this is the picture I used for the profile. It's an arowana, which, while not local to Illinois, look awesome! I made the first one as a wake'n'crank earlier this year.

-
The lead in this bait is all in a single hole just behind the belly hook hanger.
-
1
-
-
I just recently made a 6-in glide bait and instead of distributing the weight across the length of the bait I used a single lead hole at the point of balance on the lure. I've also made several much smaller glide baits and used two lead holes equidistant from the balance point. I found that both of those approaches produced a very nice glide, but none of those had plastic tails.
Are you talking more about a hard plastic thin like on a hellhound or some of the other musky glides?
As for getting it subsurface, what kind of wood are you using? A lot of the musky glide baits are made with a more dense wood like maple. The one that I just made I actually made of oak. With the one lead hole for balance and weight it slow sinks very nicely. I would imagine something like a hard Pine might also work, but for a Glide bait I probably wouldn't use a more buoyant wood like cedar, redwood, basswood, etc...
-
1
-
-
I used airbrush paint on some sunglasses and didn't seal it with anything. It wore off very quickly(granted, I gave them to my two year old...)!
-
 1
1
-
-
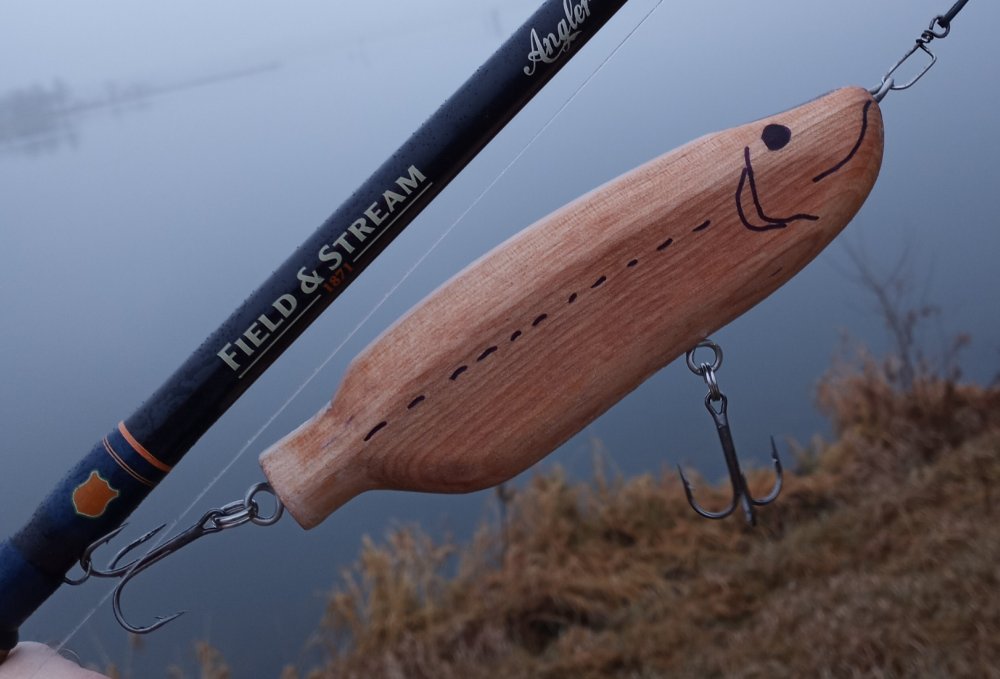
Funny you should mention glide baits...
I just weighted a 6" arowana glide bait and swam it today. This one is made of oak and has a single lead hole at the point of balance. The hole does (I think) go up past the centerline. It has a good side to side glide and a very nice shimmy as it falls.
Could flat sides have anything to do with the shimmy?
And yes, I believe the centerline goes nose to tail down the middle of the side.
@mark poulson i have never even seen a 7lb largemouth, so nice work!
-
2
-
-
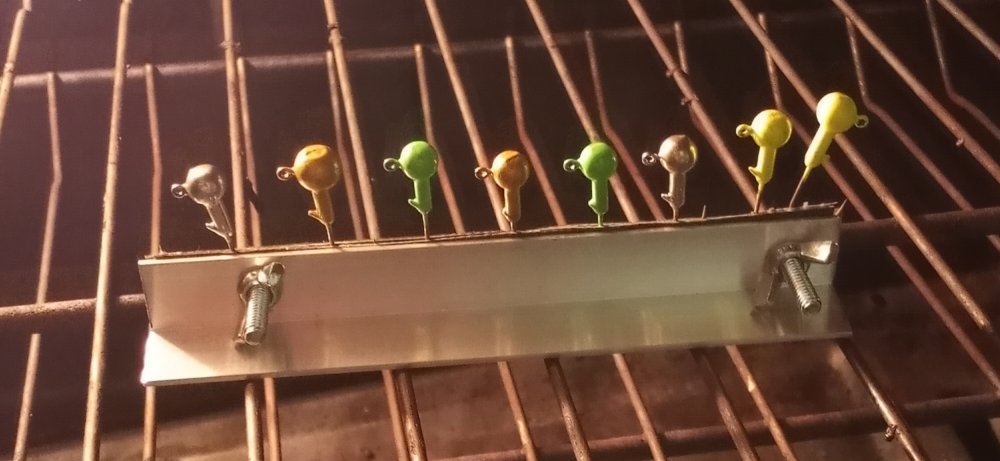
Yes, and yes! It is a nice way to make nice looking, unique spinner bodies. I do something similar to @Kasilofchrisn. After dipping them I take them off the wire I use to dip them and cure them in a row on a different wire, spaced to avoid the wire racks in my oven.
-
1
-
-
thanks for all the feedback! I ended up using some ¾" aluminum angle and a silicon baking mat to make a jig baking rack. It was a really simple process, and im very happy with the results so far!
-
1
-
-
On 12/2/2022 at 4:51 AM, swimb8s said:
Seems I can see ridges or bumps , I think they are 3D printed parts
Good observation! I hadn't noticed that.
-
Those look really cool!
It's a bit of a stretch, but you could make something like this with the Motts applesauce pouch lids.
-
On 11/29/2022 at 10:41 AM, The Artistic Angler said:
It would be kind of cool to see what everybody could do without using their airbrushes.
Yes! That would be really cool.
-
On 11/28/2022 at 6:18 PM, 21xdc said:
I hate glitter over the eyes...
Yup, that was the first thing I noticed after the fact...
-
The challenge I've found with single hooks is the size of the eye. Many of the smaller hooks I've tried have eyes so small they won't take a split ring. If you attach the hook directly to the spinner you probably have a ton of options.
-
I use the poison tail mold and really like it. I made several to use as swim jigs with no modifications and they worked great.
-
1
-
-
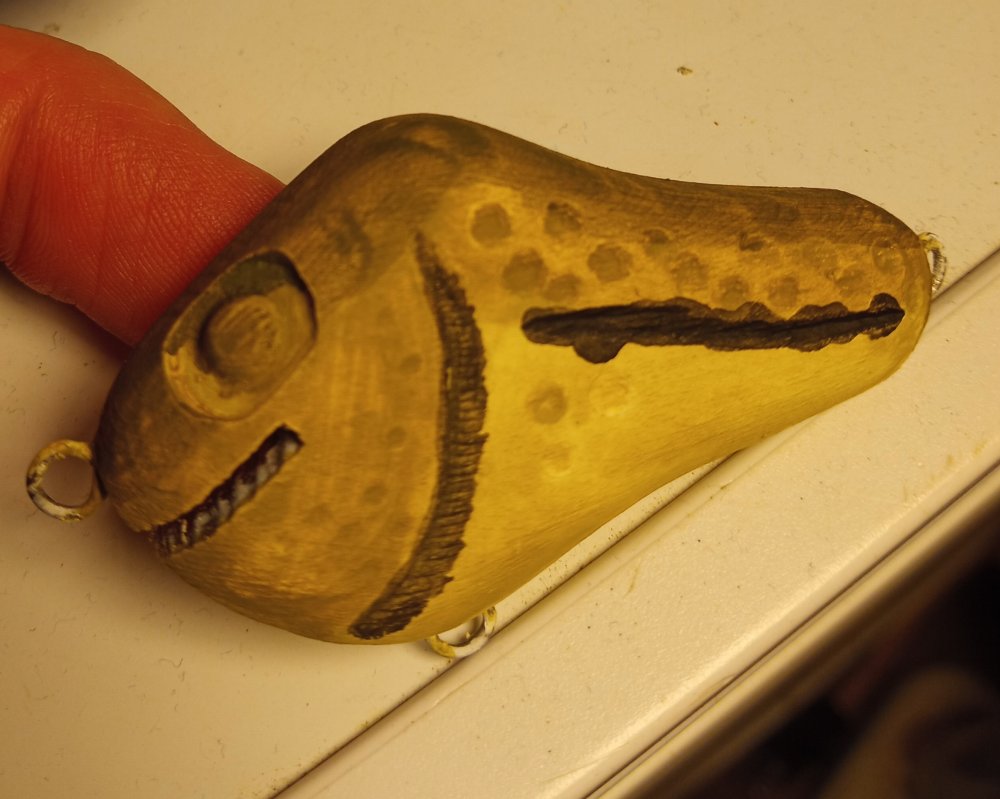
I've only done this once, but I have some gold powder paint that I mixed into epoxy. I had some in a cup for coating some jig heads, and when I poured the cup back into the main container there was some left in it. I added epoxy and coated a couple lures. It looks good so far!
-
3
-
-
I have also heard good things about True Coat but not used it yet. I've use moisture cured urethane, D2T, and Etex Lite. All are different, but all have good qualities.
-
On 11/25/2022 at 12:17 AM, Norwegian said:
t probably takes a bit more time than the airbrush but I like the look
I get that! I bet we could do some really good work, it's just a matter of time and priorities.
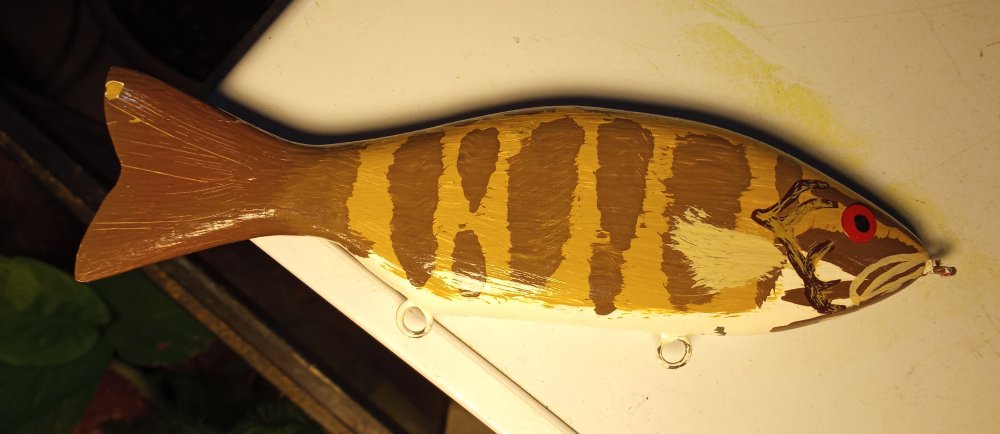
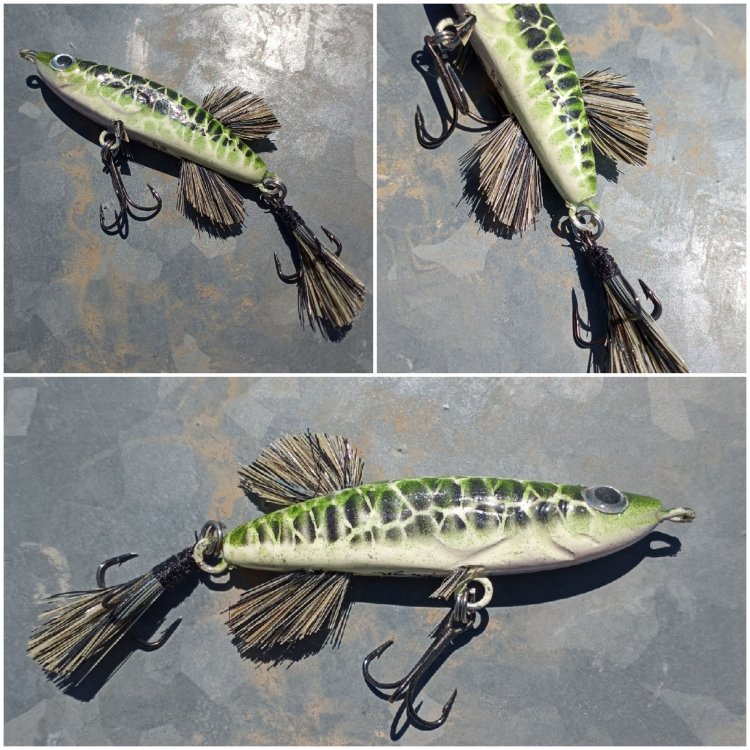
The small crank is the lure I tried the wash technique on, and the bass is a 7" glide bait I made a couple years ago and is all hand painted.
-
4
-
-
I found this stuff referenced in a post on bassresource: https://www.brownells.com/gunsmith-tools-supplies/metal-prep-coloring/paint-finishes/air-cure-aerosol-paints/aluma-hyde-ii-prod1117.aspx
Seems like maybe a good option if you find the right color.
-
Might get in trouble for going nude, depending on the campground at least!
That was my thought as well for colors, solid base colors, especially white and black, with a few accent colors like red, blue, and silver (maybe some green too).
I'll have to try the hydro dip thing. it sound interesting!
-
1
-
-
Biggest rule for safety (I tell this one to my kids ALL the time)... Don't lick it!
If this seems overly simplistic, keep in mind my kids are 7, 5, 3, and 2...
-
1
-
1
-
-
22 hours ago, Travis said:
As mentioned several ways of making do and in the right hands all will give excellent results. Now the issue is developing the skill set to do it well and not have it coming off like a 4 year old finger painted it.
I think that's a pretty big key to it! I tried the "paint wash" method, and it is definitely something I'd need to practice a lot to get any good at. Brush painting is quite a bit different that airbrush painting!
Part of the idea behind the post in the first place is the idea of being highly mobile. I've been reading about families who "roadschool," in which they travel around the country in an RV, converted school bus, or camper. Generally this is a couple year journey, and they get to take their kids all over the country and see all sorts of things, emphasis put on first hand experiences instead of textbook knowledge. One dynamic of this includes limited storage space... I would't be able to bring my whole shop, so I've been "what if-ing" my way through the process, what tools would I bring, what type of lures would I make, would I just take a break (probably not!), how would I simplify the whole process as much as possible.
One bonus of this idea is my kids and I could catch fish in all 48 continental states and maybe some provinces in Canada too! Oh the possibilities...
-
1
-
-
Lots of great ideas! It's interesting to think back to the beginning.
I've been reading books on carving and paintings birds (decoys, decorative, etc) and came across an interesting technique for working with acrylics. Basically, you dilute the paint to the consistency of milk and then apply it in multiple, thin washes. It sounds very similar layering paint within an airbrush. I'm going to try it out and see how it goes.
-
How would you paint lures?
-
I've only done one, so I'm nowhere near an expert. I used the brush for fins, not the tail on this one, but I'd assume it's a similar process. I used an old paintbrush and used superglue to install it. I trimmed mine after installation.
-
1
-


Aquarium use for KBS Diamond coat
in Hard Baits
Posted
That's a clever idea! I'm not sure of an answer for you, but at the outset it seems doable. I wonder if they have a customer service department that could provide a solid answer.