Leaderboard
-
in Image Comments
- All areas
- Images
- Image Comments
- Image Reviews
- Albums
- Album Comments
- Album Reviews
- Topics
- Posts
- Stories
- Story Comments
- Story Reviews
- Classified Ads
- Classified Ad Comments
- Classified Ad Reviews
- Records
- Record Comments
- Record Reviews
- Websites
- Website Comments
- Website Reviews
- Status Updates
- Status Replies
-
All time
-
All time
February 2 2011 - July 27 2024
-
Year
July 27 2023 - July 27 2024
-
Month
June 27 2024 - July 27 2024
-
Week
July 20 2024 - July 27 2024
-
Today
July 27 2024
- Custom Date
-
All time
Popular Content
Showing content with the highest reputation since 02/02/2011 in Image Comments
-
4 points
-
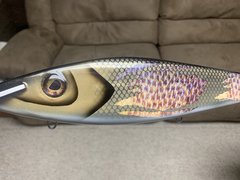
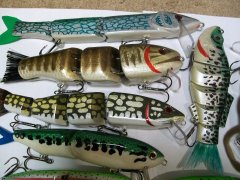
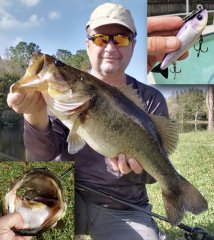
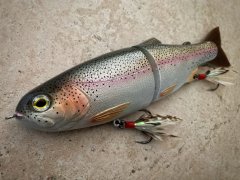
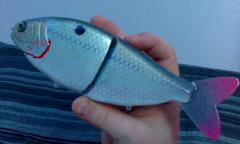
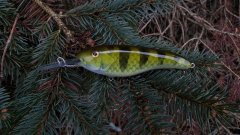
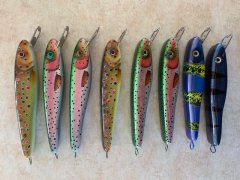
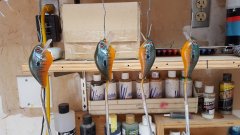
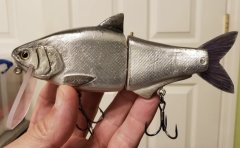
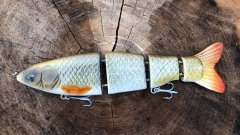
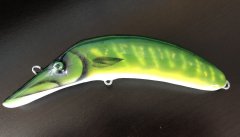
There is a rattle can rainbow trout clipped at the bottom this pic. It is also in pic 2 at the top. What I do is: 1. paint+primer flat white base coat on whole bait 2. pearl mist on belly with belly directly facing nozzle. Sometimes I skip this and keep the white bottom for stained water. 3. You can use a fine mesh here for scales if you want. Metallic silver or Shimmer Metallic silver (Krylon) with back(top) of the lure facing nozzle at slight angle so the paint hits the shoulder and fades down the sides. Give a good dry time here. 4. Use low adhesion masking tape to mark a stripe area down each side of the bait. Spray a few light passes in pink. I found a can of ‘English rose’ color that makes a good rainbow trout stripe. Here you can also do something like paint the stripe purple, keep tape on and let dry, apply mesh, and hit same are with pink so you get purple and pink in the stripe. 5. Spray the back of the bait with a green with the center of the back directly facing the nozzle. The top will get hit and fade onto the shoulder. I have used army green, camo green, dark olive, forest green. 6. Dot with black or purple Sharpie. Or hand dot with small brush. I have used small cans of Rustoleum here because I have a bunch of them. 7. Optional- you can do another light pass of the green on the back here to blend in the shoulder dots a touch. 8. Optional- hit the sides with a quick light pass of Krylon Glitter blast in gold or silver. Keep the nozzle a bit further away from the bait. Only looking for a light dusting here. I do a practice spray away from the bait to gauge the spray flow so I don’t cover the paint job in glitter. I have done a bunch of rainbow trout baits. I sometimes change the colors a bit depending on what I have and what is on sale. It is easy but there is some drying time in between steps. You can use a hair dryer to speed this up if you keep the coats light.3 points
-
3 points
-
2 points
-
2 points
-
2 points
-
2 points
-
2 points
-
2 points
-
2 points
-
2 points
-
2 points
-
2 points
-
2 points
-
2 points
-
2 points
-
2 points
-
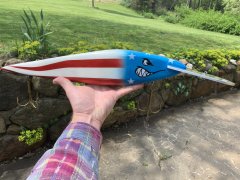
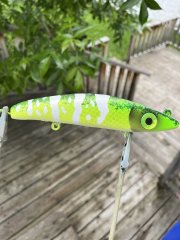
Not perfect, but the bait looks great! It's amazing how much information is on this site. So many people have so much experience. I've learned a bunch over the last couple years. My next jump is going to be into using an airbrush, as the finish is just so much higher quality looking. Did you airbrush this?2 points
-
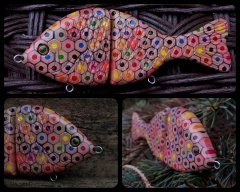
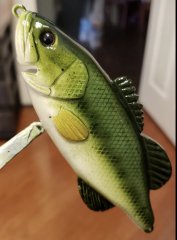
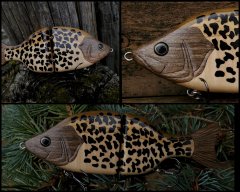
Thanks, yea totally use the idea. I'm definitely not the first one to do this! Honestly, I don't exactly make lures just to sell, but I made a few of these as gifts last year, and they were super popular. So I made more this year, and sold more than I could make before Christmas. You end up reaching a MASSIVE demographic of people who would never buy a lure, but know someone in their life who loves hunting/fishing. It makes a great gift for any "man cave".2 points
-
2 points
-
2 points
-
2 points
-
2 points
-
1 point
-
1 point
-
1 point
-
1 point
-
1 point
-
1 point
-
1 point
-
1 point
-
1 point
-
1 point
-
1 point
-
1 point
-
1 point
-
1 point
-
1 point
-
1 point
-
1 point
-
1 point
-
1 point
-
1 point
-
1 point
-
1 point
-
1 point
-
1 point
-
1 point
-
1 point
-
1 point








.jpg.0f995028012296b39b140eca24608cd2.jpg)



.jpg.5fd722b8ac00d0d25acec16c17639fb2.jpg)
